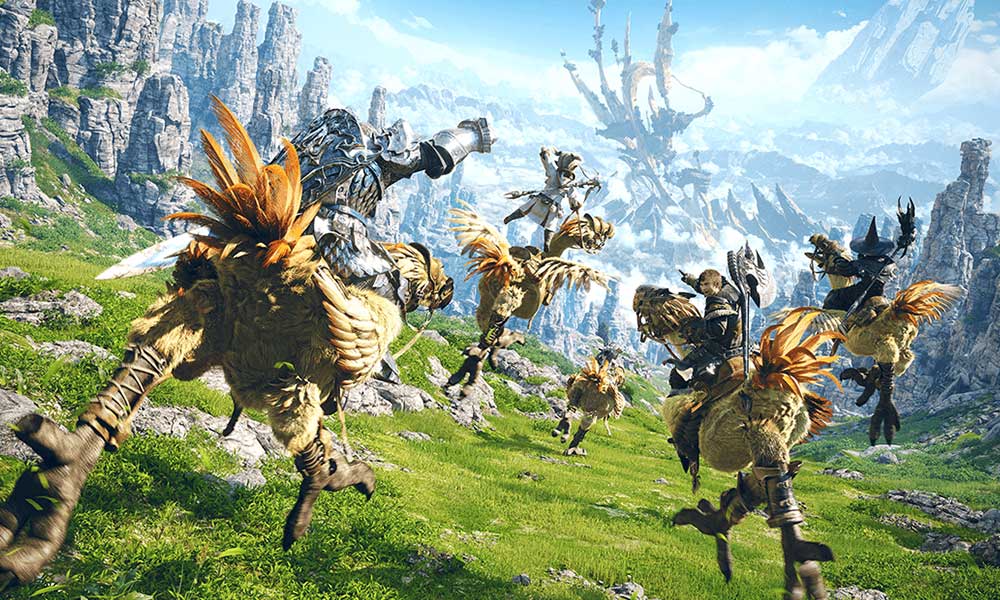
Square Enix has done a great job by releasing Final Fantasy XIV back in 2014, which is a massively multiplayer online role-playing video game. It’s an epic and ever-changing journey that allows players to explore friends across the globe and get into the adventure gameplay. Multiple bugs or errors are troubling a lot of Final Fantasy XIV players, and it looks like the particular FF14 game cannot download patch files error on the PC while startup.
Now, talking about this specific error, unfortunately, FF14 players cannot get into the update process due to the patch files error, which feels frustrating. Well, it’s happening with every patch update to the Final Fantasy XIV game, which is unfortunate enough. We should mention that some players have experienced such an error previously, which was related to the firewall or system permission. If you’re one of them, don’t worry.
Also Read

Page Contents
Fix: FF14 Unable to Download Patch Files Error
If we talk about the possible reasons behind such an error, the chances are high that somehow an outdated game patch version, issues with the corrupted or missing game files, not running the game program as an administrator on the system, blocking issues with the Windows Firewall program, etc can trouble download patch errors. Whereas a poor or unstable internet connection, server outages, geo-restricted access, and issues with the DNS server can be another reason.
Luckily, a couple of potential workarounds mentioned below should come in handy. So, without wasting any more time, let’s jump into it.
1. Check Your Internet Connection
You should check the internet connection at your end to ensure there is no issue with the networking glitch. If there is an issue with the network connection due to slow speed or instability then you might need to fix it. You can switch from the wired to a wireless network or vice versa to ensure no glitches. Additionally, you can try rebooting the Wi-Fi router manually to clear out temporary glitches.
2. Try Updating Final Fantasy XIV
An outdated game version can sometimes trouble you a lot when running the game. So, you can follow the steps below to upgrade the game.
- Open Steam > Go to Library.
- Click on Final Fantasy XIV from the left pane.
- Steam will automatically search for the available update.
- If there is an update available, click on Update.
- Make sure to wait for some time until the update completes.
- Once done, ensure to reboot the PC to apply changes.
3. Verify and Repair Game Files
Sometimes missing or corrupted game files on the PC can trigger several issues with the game launching as well as joining into the matchmaking screen. So, you can verify and repair the game files on your Windows by following the steps below.
- Launch Steam > Click on Library.
- Right-click on Final Fantasy XIV from the list of installed games.
- Now, click on Properties > Go to Local Files.
- Click on Verify Integrity of Game Files.
- You’ll have to wait for the process until it gets completed.
- Once done, restart your computer.
4. Disable Windows Firewall
The chances are high that you’re using the default Windows Firewall protection on your PC, but sometimes disabling it temporarily before launching any game might greatly reduce downloading patch update issues. To do this:
- Click on the Start Menu > Type Windows Defender Firewall and open it.
- Next, click Turn Windows Defender Firewall on or off from the left pane.
- Select the Turn off Windows Defender Firewall (not recommended) option for all domains.
- Once done, click OK to save changes > Reboot your PC to apply changes.
5. Delete the Downloaded Patch Folder
You can easily delete the downloaded patch folder, which should be marked as the ‘4e9a232b’ folder of Final Fantasy XIV. You can easily find the folder under C:/ drive > Users > Username > Documents > My Games > Final Fantasy XIV > Downloads > Patch. Next, you can delete the folder “4e9a232b” and then try downloading the update again.
6. Try Using a VPN Service
Make sure to use a VPN (Virtual Private Network) service on your PC to ensure there is no issue with the geo-restricted content or game server connectivity from your end. You can try it out.
7. Change DNS Addresses
If none of the methods worked for you, try changing the current DNS address on your gaming device or Wi-Fi router to a public DNS address for better reachability and faster connectivity speeds. Google DNS address is so popular and widely used by gamers or streamers worldwide as a public DNS. Sometimes your specific DNS address provided by your internet service provider may have some blocking issues that eventually trigger online server connectivity errors.
Please Note: You should write down your existing DNS server address from the screen as a backup. If anything goes wrong, you can change it to the previous DNS address and save the changes.
- Open the Start menu > Go to Control Panel.
- Click on Network and Internet > Select Network and Sharing Center.
- Select Change adapter settings > Right-click on the active network connection.
- Click on Properties > Select Internet Protocol Version 4 (TCIP/IPv4) in the list.
- Click on Properties > Select Use the following DNS server addresses.
- Enter 8.8.8.8 for the Preferred DNS Server addresses.
- Next, enter 8.8.4.4 for the Alternate DNS Server addresses.
- Once done, click on OK to save changes, and restart the PC.
That’s it, guys. We assume this guide was helpful to you. For further queries, you can comment below.
