Miracast is a wireless (Wi-Fi) display feature that uses a screen from one device to stream on another device at the same time. It’s basically used to view content on a bigger display from such a relatively smaller display device such as mobile to TV or PC to TV or mobile to PC etc. Windows 10 OS also has the same feature of screencasting but some users are reporting that the ‘This device doesn’t support receiving Miracast’ Error is bothering them.
As a result, you won’t be able to cast the screen on your Windows computer from another device which is really irritating a lot. To be very precise, the particular error message should say “Projecting to this PC – This device doesn’t support receiving Miracast, so you can’t project to it wirelessly.” Now, if you’re also facing the same error notice then make sure to follow this troubleshooting guide.
Also Read
Fix: This device doesn’t support receiving Miracast Error
So, without wasting any more time, let’s jump into the steps below.

1. Check whether your PC supports Miracast
It’s worth recommended to check whether the computer supports the Miracast feature or not. To do so:
- Press the Windows + R keys to open the Run dialog box.
- Type dxdiag and hit Enter to open DirectX Diagnostic Tool.
- Now, click on Save All Information… > Once the Save As popup window appears, select Desktop from the left pane and click on Save.
- Open the DxDiag text file from the desktop screen > Under the System Information section, search for Miracast.
- Here you can get to know whether it’s available or not. If it’s unavailable, then your PC doesn’t support the Miracast feature.
However, if the Miracast feature doesn’t support your computer then you may need to purchase a wireless display adapter to run screencasting.
2. Connect the same Wi-Fi on both devices
Miracast or screencasting feature basically works over a Wi-Fi network that should be connected on both devices. Also, keep in mind that both the devices should be connected to the same Wi-Fi network to enjoy the screencasting.
- Press the Windows + I keys to open Windows Settings.
- Click on Network & internet > Click on the Wi-Fi toggle to turn it on.
- Similarly, ensure that the Wi-Fi is enabled on another device too.
3. Restart Your PC
It’s also better to restart your computer once to refresh any kind of system glitch or temporary cache data issue (if any). Sometimes rebooting the system can fix multiple issues whatsoever.
Read More: How to Set up and Use Miracast on Windows 10?
4. Update Windows OS Build
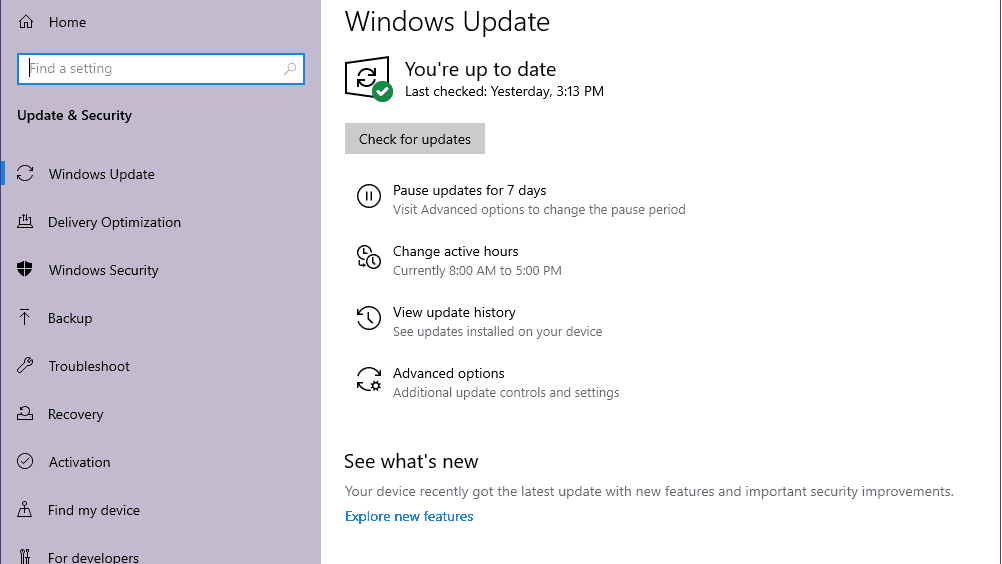
An outdated Windows OS build can always cause multiple issues with the system performance or using any programs or even features. if in case, you haven’t updated your system for a while, try checking for the update and install it (if any). To do that:
- Press Windows + I keys to open up the Windows Settings menu.
- Next, click on Update & Security > Select Check for updates under the Windows Update section.

- If there is a feature update available, select Download and install.
- Wait for some time until the update gets completed.
- Finally, reboot your PC to apply changes immediately.
5. Update Networking Drivers
The chances are high that somehow your networking drivers either got outdated or corrupted on the computer. Therefore, it’s recommended to update the networking drivers on your PC by following the steps below:
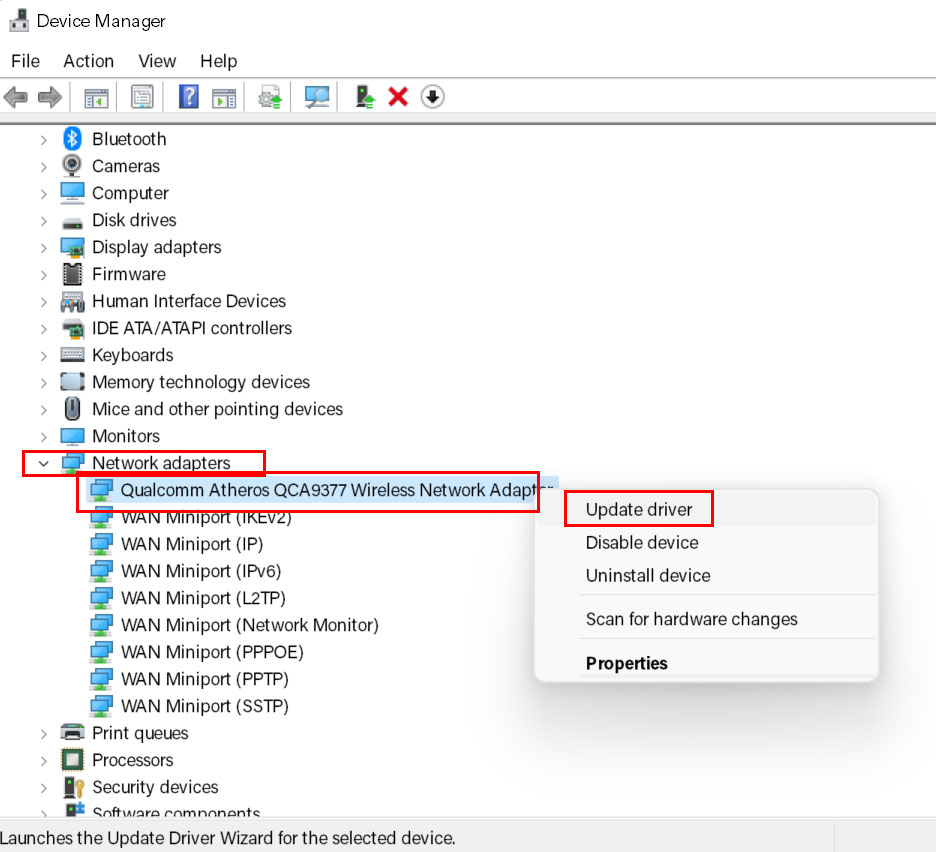
- Press Windows + X keys to open the Quick Start Menu.
- Now, click on Device Manager from the list > Double-click on Network adapters.
- Right-click on the active networking adapter that you’re currently using.

- Next, select Update driver > Choose to Search automatically for drivers.
- If there is an update available, it’ll automatically download & install the latest version.
- Once done, restart the system to apply changes, and check if that fixes the issue.
6. Reinstall Networking Drivers
However, if you’ve recently updated the networking driver on your PC, and somehow the problem starts bothering you after that, then it may be due to the corrupted or buggy update. So, you can go back to the previous version of the networking driver if that was more stable. To do this:
- Press Windows + X keys to open the Quick Start Menu.
- Now, click on Device Manager from the list > Double-click on Network adapters.
- Right-click on the active network adapter that you’re currently using.
- Next, select Uninstall device > If prompted, confirm the uninstallation process to complete it.
- Once done, restart the system to apply changes immediately.
- Finally, the Windows system will automatically reinstall the networking driver on the computer.
If that didn’t happen, make sure to visit the official website of the motherboard/laptop manufacturer that you’re using and get the latest version of the networking driver right for your specific model.
7. Disable VPN Service
Well, disabling the VPN service is something that you may get benefitted in some cases if you’re facing networking connectivity issues. if you’re using a VPN service then we’ll recommend you disabling it temporarily to check if that helps you or not.
8. Set Auto Wireless Mode Selection
It may possible that your wireless adapter is running on 5GHz or 802.11blg instead of the Auto Wireless Mode. You can set it to Auto by following the steps below:
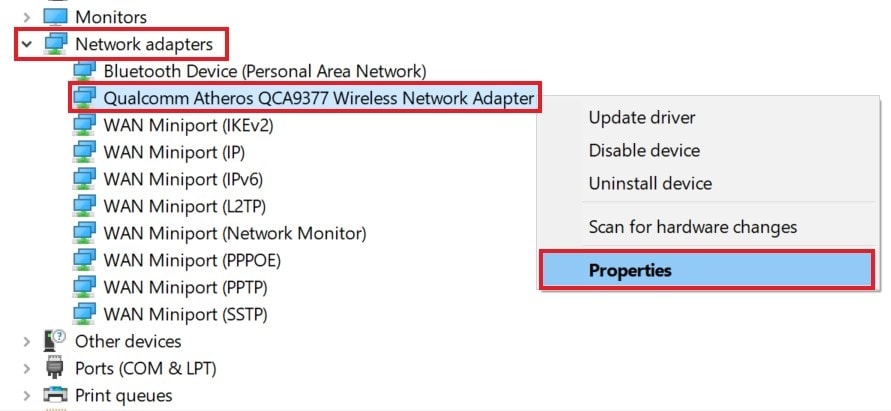
- Press Windows + X keys to open the Quick Start Menu.
- Now, click on Device Manager from the list > Double-click on Network adapters.
- Right-click on the active network adapter that you’re currently using.

- Select Properties > Click on the Advanced tab.
- Make sure to set the Value to Auto > Click on OK. [OR, select No Preference from the Preference Band option]
- Once done, reboot your computer to apply changes.
That’s it, guys. We assume this guide was helpful to you. For additional queries, you can comment below.
