If you wish to install and run Android apps on Windows 10 machines, then Genymotion Emulator is the way to go. However, Genymotion is not a straight-up installation media. You have to set up a virtual environment and install the emulation separately. More on that later.
Genymotion is an Android emulator based on the virtual box. Suppose you love to play high-end 3D graphic games that require more than 2 GB ram. Then, Genymotion lets you play them on a larger display with a great performance. So, let’s check how you can run apps on windows 10 using the Genymotion Emulator.
Page Contents
Genymotion Emulator – Run Android Apps on windows 10 guide
To install Genymotion, you have to first make a separate emulation environment in a Virtual box. The process is very easy, and we have made a 5 Step tutorial for your convenience.
Step 1: Download and Install Genymotion Emulator
1) For using in Genymotion Emulator in your PC, you have to install a virtual box along with it. So, you can download a virtual box software separately, or you can download it along with Genymotion Emulator from its download page.
You can also see the minimum system requirements there. But I would suggest you have at least 8GB of RAM to work things perfectly.
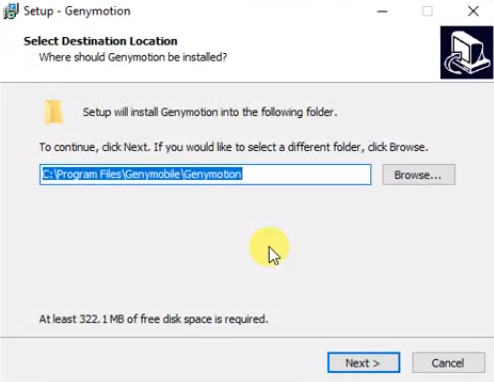
2) After downloading it, click on the setup file. During the installation, select the language to any desired one. Then it will ask you to choose the folder path, make sure to have at least 315 MB free disk space to install it.
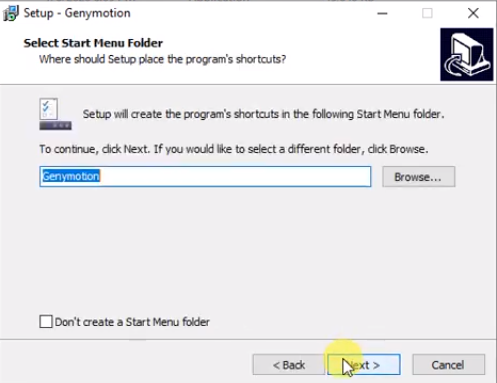
3) You will also have a choice to acreate any Start menu folder. It will restrict the app to not make any conflict with other functions of your PC. After that, click on the Next button and wait for the setup to install.
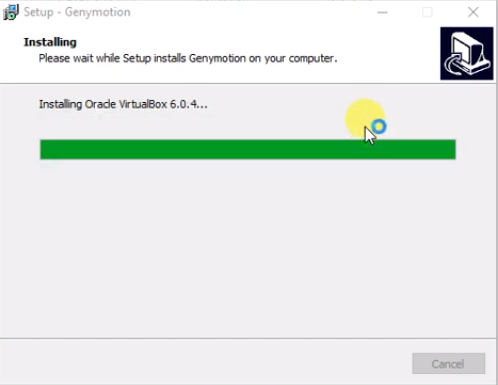
4) When the Genymotion installation gets finished, it will automatically start the installation of the virtual box.
Step 2: Installing Virtual Box
1) Select ‘Next’ to start the installation of the Virtual box.
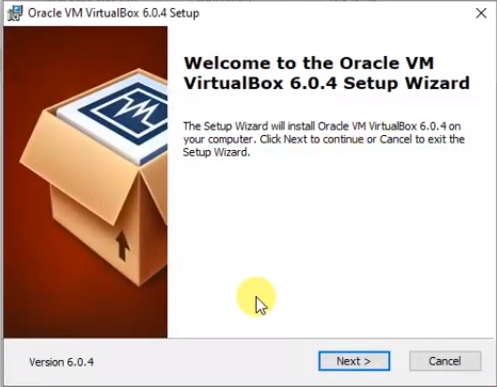
2) After that, you will be presented by the Virtual Box installation setup. It will install some internet components.
Click on ‘Next’ to continue further. You will get the same options as above, like selecting the disk, creating the startup icon and shortcut, just proceed from there.
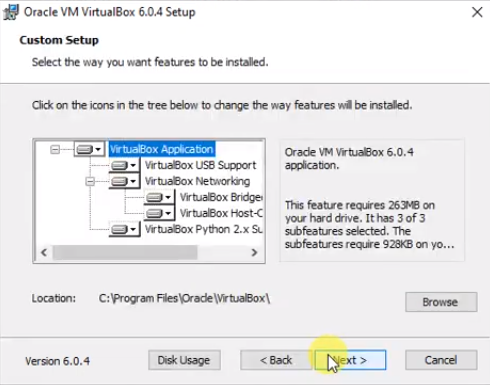
3) If you get any network restriction warning, just ignore it and click on ‘Yes.’ Now the virtual box is going to install. Just wait for the installation to get finished.
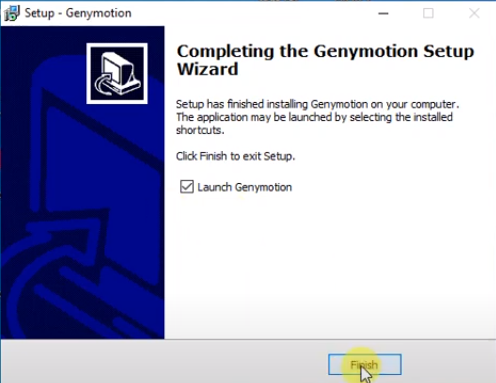
4) Click on ‘Finish’ to proceed. After that, launch the Genymotion and follow the guide further.
Step 3: Activating Genymotion
1) When you open the Genymotion app, there you will need to create an account to continue. If you already have an account, then sign in from there or create the account.
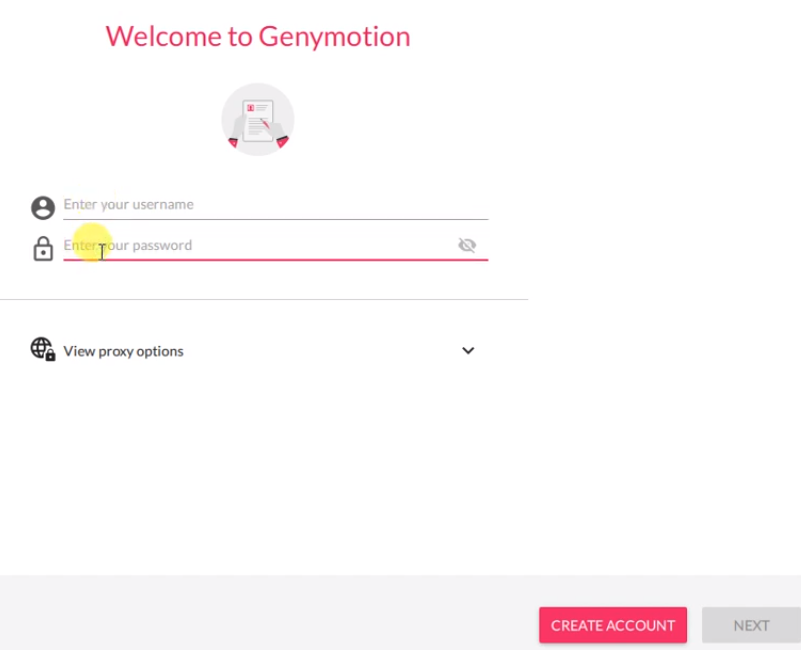
2) While creating the account, make sure to choose the “Genymotion for personal use/Gaming” option. On the last step, just agree to the End User License Agreement.
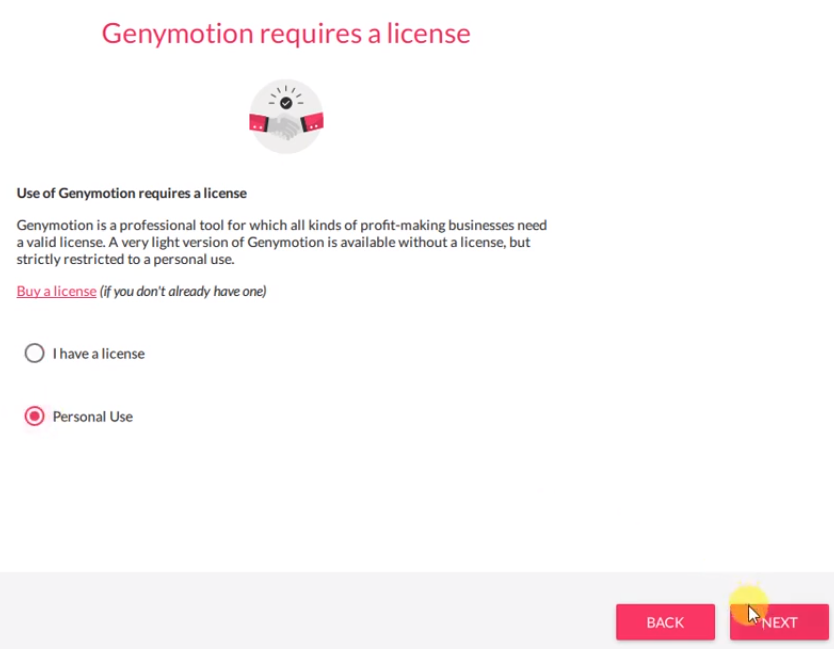
Then, you will be on the Genymotion Dashboard.
Step 4: Installing Virtual Devices in Genymotion
1) Functions of Genymotion are so easy. For installing the virtual devices to run an emulator, just click on the ‘+’ icon. You can use multiple virtual devices on your PC according to the amount of ram you have.
2) There will be a list of several virtual devices with their configuration, and you can choose any of them.
You can also try the ‘custom phone’ option by which you can set up your device according to you.
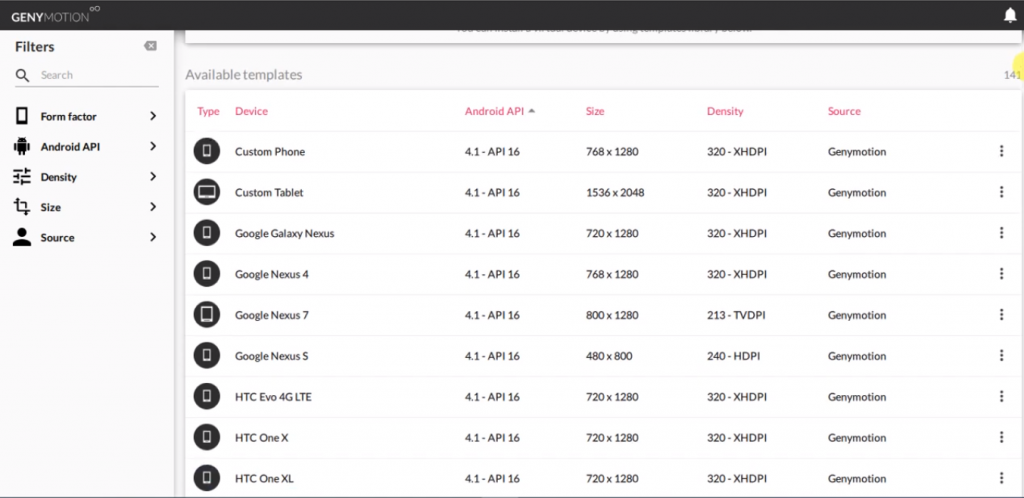
3) After choosing the device it will give open a new window, there you can change the configuration of your devices like ram or Android Version. I would recommend at least 3 GB ram to make it work perfectly.
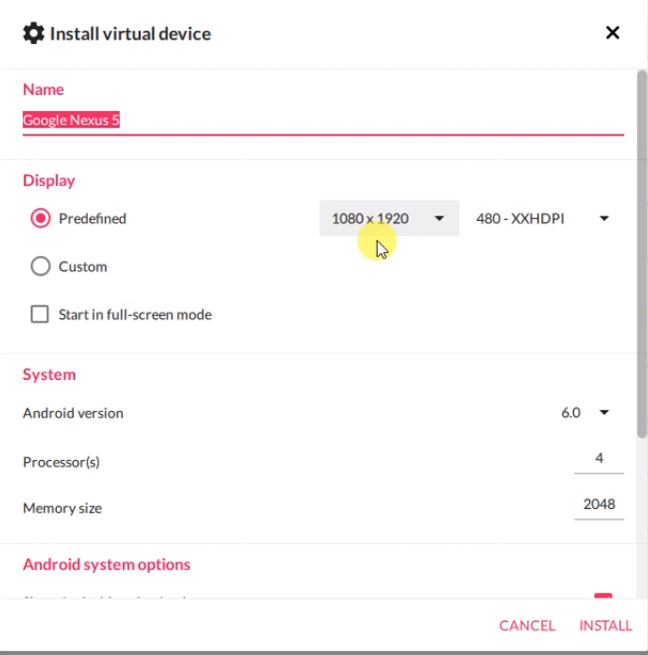
4) Click ‘install,’ then it will start installing the device. It may take time according to the size of the device. When it gets installed, you can directly boot it from there.
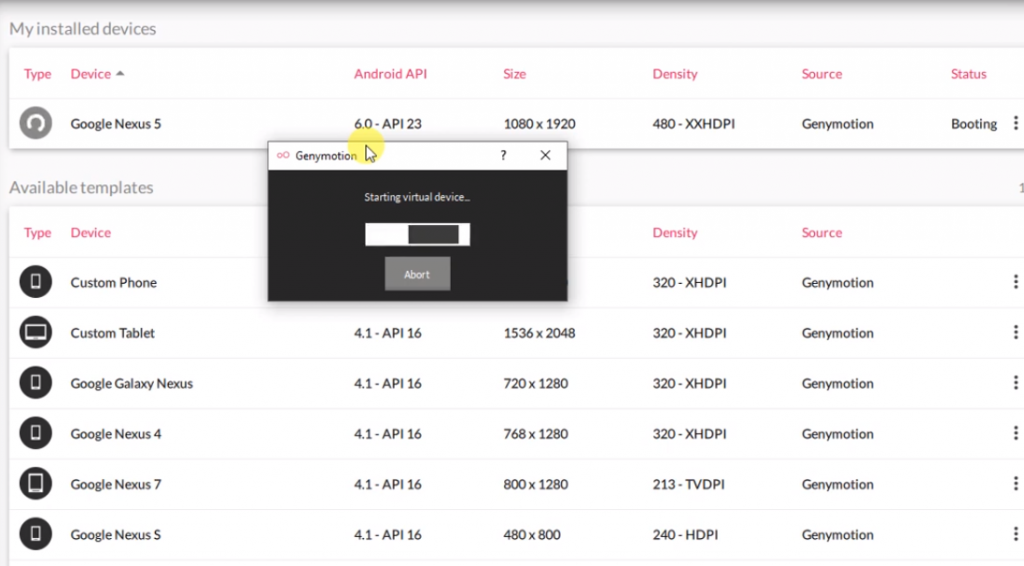
5) For booting to your device, just click on the three dots under the status tab. It will then start booting and may take some time during the first boot.
Step 5: Run Android Apps on Windows 10
1) When you open the device, you will be in an all-new Android environment. Some of the apps will be preinstalled there, and you can use them for simple tasks.
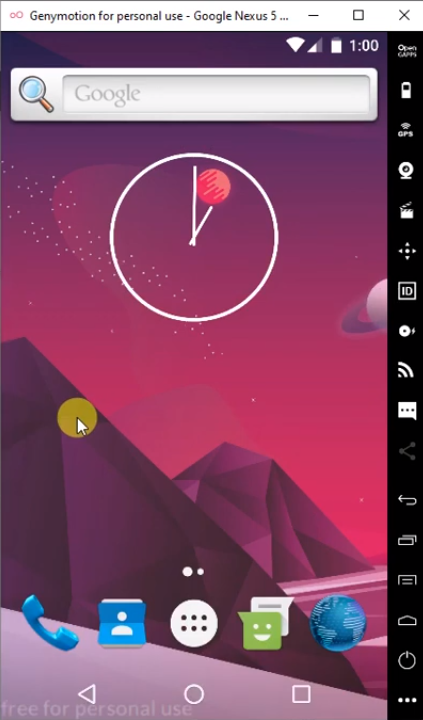
2) If you want to install any app, just open the browser and search for it. You will get some downloading websites from where you can download and install android apps.
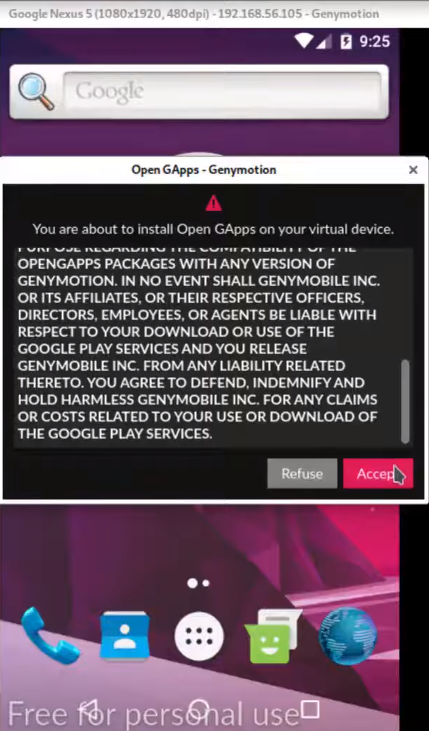
3) But every other App may not be available on the Internet. So, you have to install Playstore. For using the play store, you have to install GApps on your device. You can access it through the right system tray.
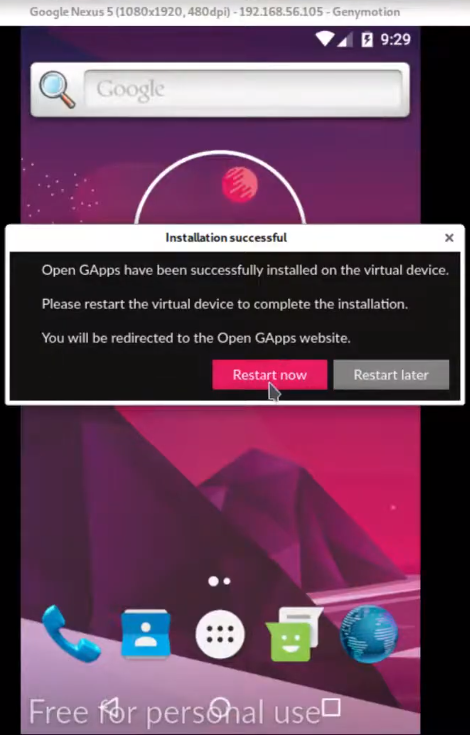
4) When the play store is installed, it will ask to restart the virtual device. It will automatically boot again.

5) You can now download any app directly from the play store. But make sure that if you want to use any high-end app or game, just select a higher Android version and more ram during the configuration of your device.
Conclusion
Genymotion is one of the best emulators that you can use on your PC to play Android games. It provides several options like joysticks, accelerometer, and other controls that support advanced technology features. This emulator is also better than others in terms of speed. The smoothness which it gives makes multitasking easier.
