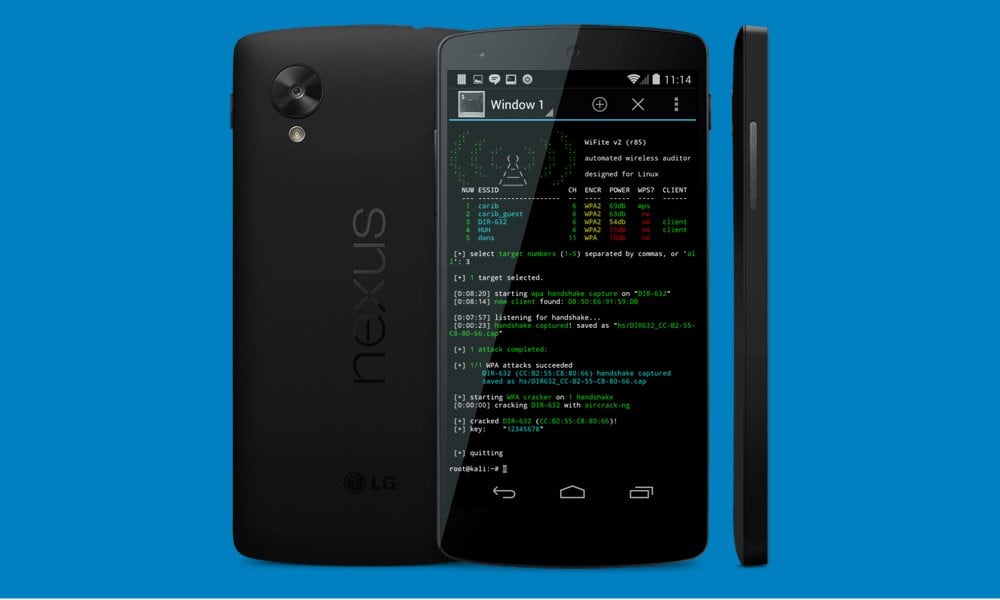
In this tutorial, we will show you the steps to install Kali Nethunter on any Android device. Kali Nethunter is an open-source mobile penetration testing platform for Android devices. It is based on Kali Linux, which in itself is a Debian-derived Linux distribution system. So if you are a tech geek, looking to find any exploit or searching for security flaws across any apps or the system as a whole, then this ROM is the perfect place to start.
However, as opposed to installing other custom ROMs like LineageOS and Pixel Experience, the steps are a lot different. Furthermore, you might also need a couple of other files, all of which are given below. With that said, let’s get on with the guide on how to install Kali Nethunter on any Android device. Follow along for the complete instructions.

How to Install Kali Nethunter On Any Android Phone
Initially, this exploit was only possible on a couple of smartphones. However, since then it has expanded its domain, and now includes Nexus, OnePlus, and Samsung Galaxy devices. You could check out the complete support list from the Downloads page linked below. On that note, head over to the below requirement section and then proceed with the installation steps.
Prerequisites
- To begin with, create a complete device backup.
- Your device needs to have an unlocked bootloader. If that is not the case, then refer to our guide on How to Unlock Bootloader via Fastboot Method on Android.
- Next up, your device should be rooted as well. You could take download the Latest Magisk zip v21 and Magisk Manager v8.0.0 and Root your phone.
- Once your device is rooted, download and install the BusyBox app from Play Store.
- Likewise, install a command-line app such as Terminal Emulator.
- You will also need a file explorer with root capabilities, such as the Solid Explorer File Manager.
- Finally, download the Kali NetHunter ROM for your device from the Offensive Security page.
That’s it. You may now proceed with the steps to install Kali Nethunter on any Android device.
Instructions Steps
- Extract the contents of the downloaded ROM on your device.
- Then head over to its /data/app directory and install all the apps present there.
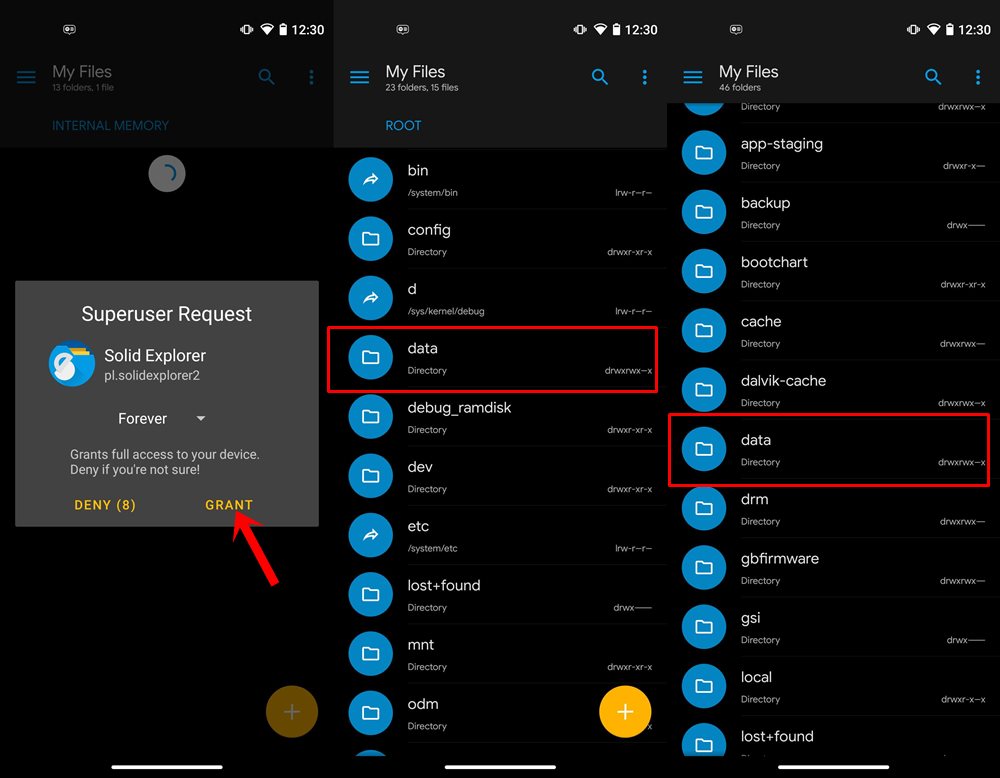
- Now launch the Solid Explorer File Manager (or the one that you have downloaded) and head over to the below location
/data/data/com.offsec.nethunter/files/scripts

- You might get a Superuser Request asking for root privileges, tap on Grant.
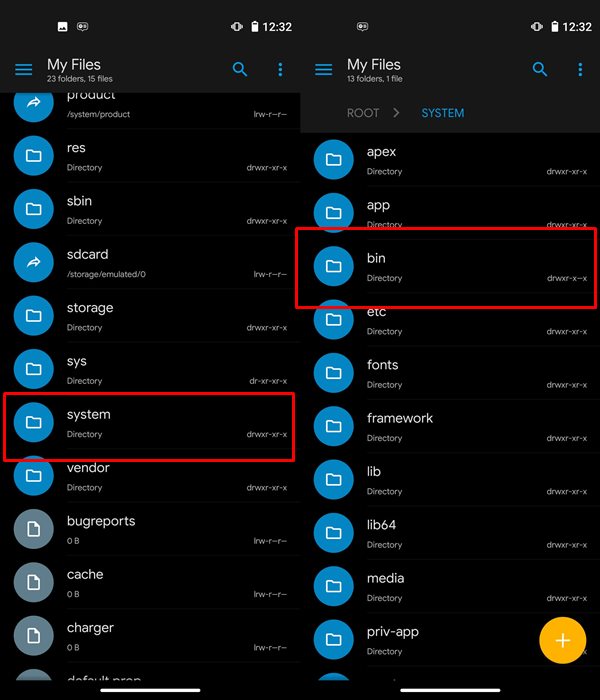
- Then copy all the files present and paste it inside the system/bin directory.

- Once that is done, launch the Nethunter app and head over to Kali Chroot Manager. Then tap on “Minimal Chroot”. You might also see an option to install “Full Chroot”, but that isn’t recommended.
- Now launch the Terminal Emulator app and grant it the root permission. Then select Kali to open its shell.
- Execute the below-given commands inside the emulator one by one:
apt-get update
apt-get upgrade
apt-get dist-upgrade
apt-get install kali-linux-nethunter
- After this, you will have to install the Metasploit testing tool. For that, run the following command:
msfdb init
- Then launch the Nethunter app, go to the Kali Services section, and tap on “Start at boot”.
- So with this, you have set up the app, its now time to run it using the following command:
msfconsole
- As of now, it might only be limited to the command line interface. If you wish to add a Graphical User Interface, then execute the following command inside the Kali Emulator:
apt-get install tightvncserver
- Next up, you will have to run the VNC Server using the following command:
vncserver :1 -geometry 1280×720 -depth 16
- You could now head over to Play Store and download the preferred VNC Viewer of your choice.
- Once installed, you will have to connect it to Kali NetHunter GUI. You should use for the following credentials for the setup process:
Alias: Kali Linux
Password: The one you entered initially
Address: Either your Private IP or 127.0.0.1.
Port: It depends on display- for display 1, Port 5901 will be used, 5902 for display 2....)
Username: root
That’s it. With this, we conclude the guide on how to install Kali Nethunter on any Android device. Do let us know your views about this ROM in the comments section below. Rounding off, here are some iPhone Tips and Tricks, PC tips and tricks, and Android Tips and Trick that you should check out as well.
