Users have complained about the MacBook Air black screen issue on various mediums. Many users have shared how they ended up with the black screen issue. The Apple laptop didn’t turn on the next day after shutting down last night. Another user shared that the Air model didn’t wake up after putting the Apple laptop in sleep mode. There are many reasons why MB Air ended up with a black screen issue. We will dive deeper into the MacBook display issue and resolve the problem by applying official solutions.
Also Read
Fix: MacBook Air Charging Slowly or Not Charging Issue
Fix: MacBook Air Screen Flickering When Watching Videos
Fix: MacBook Air Not Detecting External Display
Fix: MacBook Air / Pro Not Detecting AirPods or Bluetooth Headphones
MacBook Air M3 Release Date, Rumors, and Price
15-Inch MacBook Air M2 vs. 13-Inch MacBook Air M1: Why You Should Upgrade?
Fix: MacBook Air Not Receiving Emails and Messages
Page Contents
Why did my MacBook Air go black?
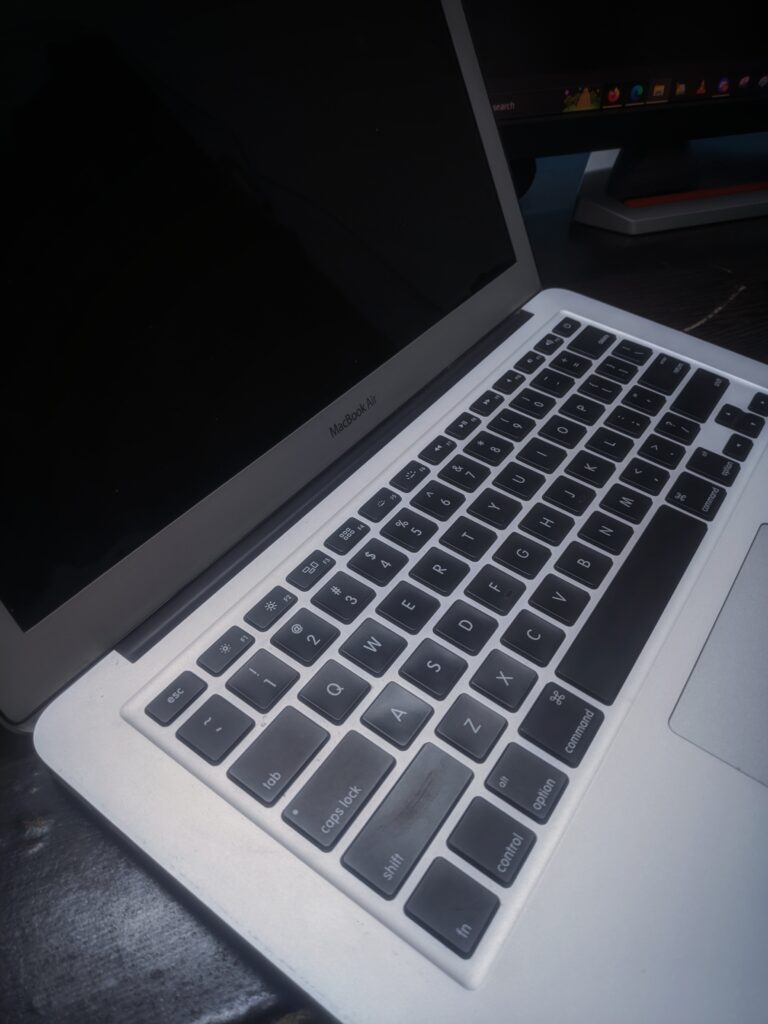
We can speed up the process by learning the contributing factors to why your MacBook Air screen went black. I have mentioned valid points in the black issue. A few solutions mentioned in the article came from experience after visiting the Apple service center. Read them all and try to remember what triggered the Air model black screen issue.
Settings:
A setting is preventing the Air model display from brightening up. Correct the display setting, and the laptop screen lits up as usual. Read the tutorial till the end because I have given you information on when to reach the Apple service center.
macOS Bugs:
Apple releases new software and devices each year. There’s a load on the in-house developers to release stable macOS software for the latest and older models. It’s not surprising when a new bug emerges in your copy. You can’t do much when the problem is from the software itself. You can take roundabout methods to get rid of the bugs or glitches. I spoke about the permanent solution, or you can call it prevention.
Corrupted Software Configuration:
Apple added dedicated chips inside the MacBooks to store users’ customized data. A corrupted file can mess up the functions of the internal component. It’s an old problem haunting for decades, so Apple added built-in functions to resolve it. I have shown you how to reset the customized data files and restore the software’s health.
Removable Devices:
My PC wouldn’t startup and ended up with a black screen. I took the time to inspect the system and found the culprit. The computer was running smoothly after removing the device. I have provided a list of devices that may prevent the Air model from booting up.
Internal Component Failure:
One or more internet components may have failed to lead to the black screen issue. The hard disk or storage device may have reached the end life cycle in the Air model. The Air laptop couldn’t detect macOS software triggering the black screen.
Display Failure:
MacBook Air is a durable machine, but it’s not an indestructible technology. The laptop display kicked the bucket at the end. Contact the authorized Apple engineers and get their opinion on the situation. Meanwhile, the Air model gets free treatment during the warranty period.
MacBook Air Black Screen Issue: How To Fix?
Remember, I have suggested solutions to counter the MacBook Air black screen issue. Reach the Apple service center if you are having difficulties following the methods but don’t install third-party tools to resolve the black screen issues. Many third-party macOS tools might be useless or trying to breach your security. We have seen many useless macOS tools selling online that don’t fix your laptop. Apply the solutions mentioned below, and reach the Apple service center when none of them fixes the issue.
Inspect MacBook Air for Physical Damages
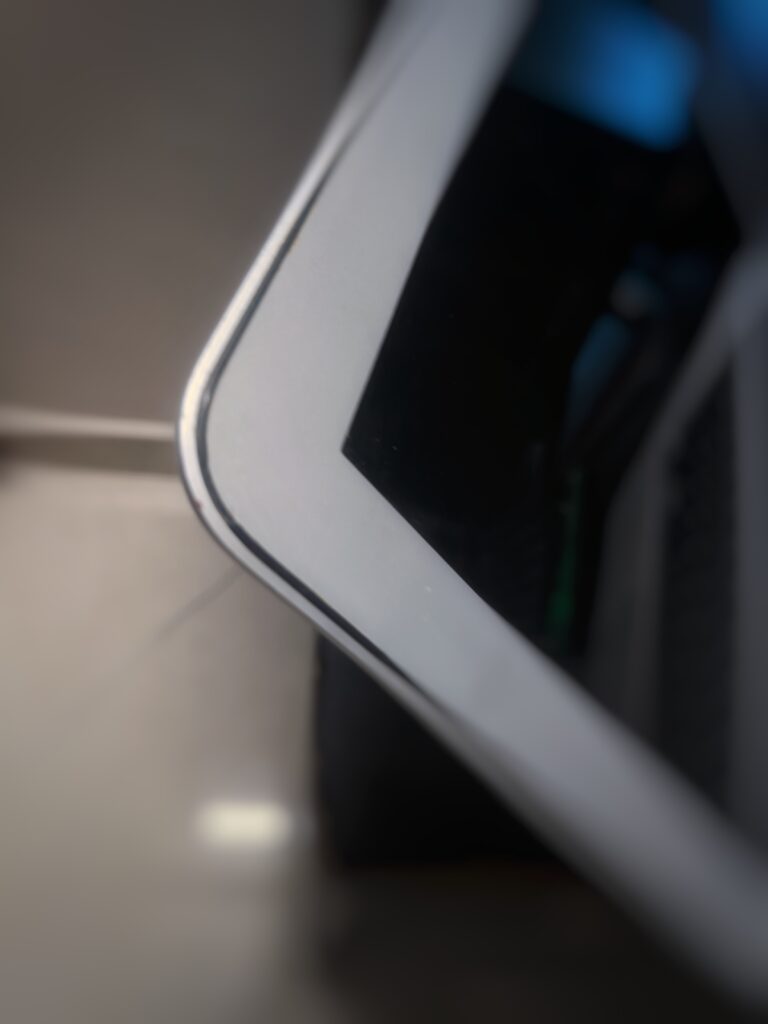
A display doesn’t go black without a good reason, so we should inspect the screen thoroughly. A crack or a bent can create problems in the MacBook display because it’s a delicate component in the system. Take a few minutes and inspect the Air model from all angles. I implore the readers to feel the Air model with fingers to locate dents. Take photos of the existing scratches and dents on the laptop chassis. You don’t want the Apple service center to pin the new damages on you.
Damaged MacBook Air I/O Board
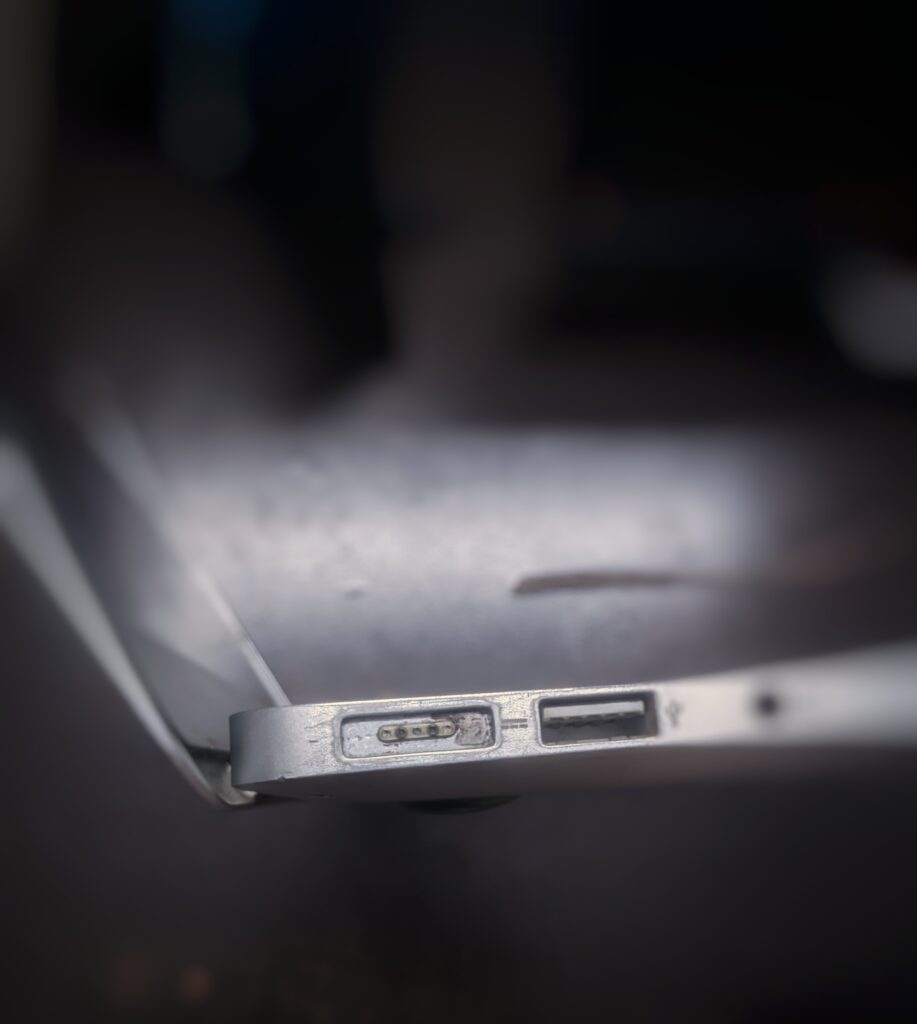
A damaged I/O board can cause charging problems and external monitor connection issues. There is a reason why I asked you to inspect the Air model for damages. Pick the charger and look for burned marks or corrosion. Pick your Apple laptop and check the I/O ports for dust, debris, I/O board damage, and burned marks. Take the MacBook to the Apple service center if the I/O board or charging ports are damaged.
Investigate MacBook Air using Apple Diagnostics
MacBooks launched after June 2013 have a built-in Apple Diagnostics tool. The AD is equivalent to Apple Hardware Test (AHT) technology. Non-tech savvy users can run the automated test on the laptop and find hardware problems. Let me show you how to diagnose the MacBook laptop.
1. Shut down MacBook Air.
I know your MacBook Air display is not working, but make sure it’s in power off state.
2. Remove the charging cable.
3. Press the Power button.
4. Press and hold the D key after pressing the Power button.
5. Release the D key when the language selection option appears on the screen.
6. Click the “Test” or “Perform extended testing” option.
Let the built-in Apple tool check the internal components’ health status. Sit tight and do not interrupt the health testing process. Meanwhile, the latest Air model takes less time to finish the hardware testing process.
7. A list of problems appears on the screen once the hardware testing finishes.
Or, the “No issues found” note appears on the screen.
Pick up your phone and take a photo of the result because it will come in handy later. Use the search engine or call Apple customer care for customized solutions.
Force Restart MacBook Air
We don’t know what’s haunting the Air model, and the screen went black. Let’s force restart the MBA and bring it back to life. Apple added ultimate functions to the physical button that overrides the software. A third-party program may have caused the black screen issue, but the physical button functions will override the situation.
1. Press and hold the Power button for ten seconds.
2. Let the turn-off.
Let the Air model relax for a minute.
3. Press the Power button.
Leave the MBA aside for a few seconds until the lock screen appears on the screen. The Air laptop should work smoothly, and notice when the screen goes black next time.
Connect MB Air to External Monitor
We don’t know what failed the display from the inside, but we can confirm the problem. Use an external monitor to confirm the suspicions regarding the display failure. Many MBA owners don’t have external monitors and the required cable. Visit any nearby computer store, and ask them to provide types of equipment for a few bucks.
1. Clean the external USB-C to HDMI or Mini DP (Thunderbolt) to the HDMI adapter.
2. Connect the adapter to the Air model.
3. Turn on the external monitor.
4. Turn on the laptop.
5. The Apple logo may appear on the external monitor.
You can visit the Apple service center for the display replacement. Meanwhile, you can purchase an external monitor and a high-quality adapter for everyday usage. You can continue to use the MBA without getting the display replaced. Apple repairs don’t come cheap.
Remove Removable Devices

Content creators, graphics designers, and editors choose the MacBook Air and higher variants. We connect multiple devices to the laptop, such as a wireless mouse, keyboards, storage drives, and external monitor. Some of the removable devices interrupt the macOS boot sequence. In another incident, a faulty storage drive prevented the computer from booting. Remove connected devices, then restart the MacBook Air.
1. Mouse
2. Keyboard
3. Storage drives
4. Dongles
5. Wi-Fi adapter
6. USB hubs
7. External monitor adapter
8. Memory card reader
Remove all removable devices from the Air model. Try to force restart the solution to kick the machine out of the coma.
Resetting NVRAM
NVRAM (nonvolatile random-access memory) is a dedicated partition to store the system settings. The macOS software saves the customized settings in the NVRAM. A corrupted settings file can ruin the software experience. Let me show you how to reset the NVRAM on a macOS laptop.
I suppose you have a MacBook Air powered by an Intel processor. The latest Apple Silicon processors don’t require the NVRAM reset. Remove the charger and make sure the Air model has shut down completely.
1. Press the Power button, then follow the next step immediately.
2. Press and hold the Option, Command, P & R keys.
3. Release the Option, Command, P & R keys after twenty seconds.
The Air model restarts a couple of times.
4. Wait until the macOS lock screen appears on the screen.
Login and customize the settings as per your needs.
Resetting SMC

SMC (System Management Controller) maintains the power and thermal system. Resetting the SMC resolves many power-related problems in the macOS machine. Let me show you how to reset the SMC settings in the Intel and Silicon-based Air models.
On Air models released before 2018:
1. Turn off the MacBook and remove the charger.
2. Press & hold the Shift, Control, and Option (Alt) keys.
3. Press the Power button while holding the Shift, Control, and Option (Alt) keys.
4. Release all keys after ten seconds.
5. Press the Power button.
Your MBA will land on the lock screen without issues.
On Air models released after 2018:
1. Turn off the MacBook and remove the charger.
2. Press & hold the Shift, Control, and Option (Alt) keys for seven seconds.
3. Press the Power button while holding the Shift, Control, and Option (Alt) keys.
4. Release all keys after another seven seconds.
5. Press the Power button after ten seconds.
Turn on the MBA a few seconds later.
Restart the Apple Silicon Air model to reset the SMC because the latest proprietary processor works differently.
Bottom Line
Meet the Apple-certified engineers to rectify MacBook Air black screen hardware issue. Many DIY guides encourage beginners to repair the problem themselves. Apple’s repair cost is on the higher side and creates a fear among the budget-tight owners. Nonetheless, I recommend the readers claim the warranty or use the Apple Care Plus for the display replacement.
