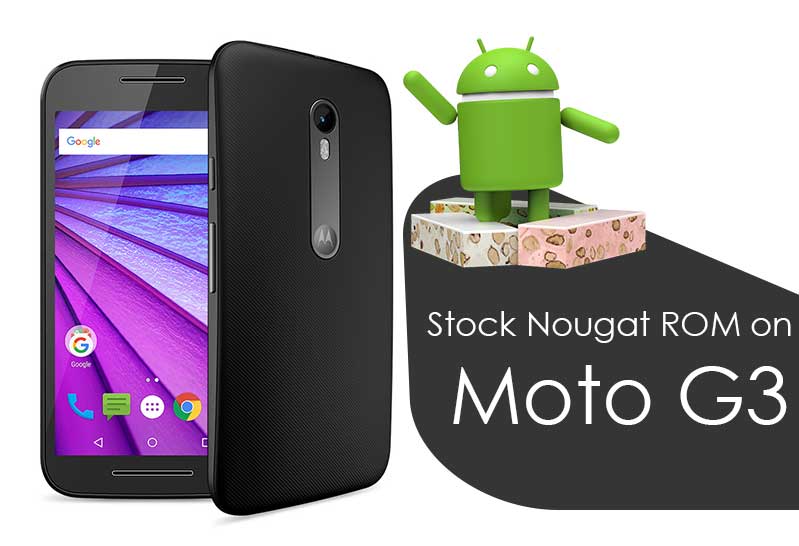
Sorry, this ain’t the official stock ROM, but it is a stable Stock ROM ported from Moto G4 and Moto G4 Play. Motorola made an announcement that its never going to update Moto G3 to Android Nougat and therefore, will stay with Android 6.0.1 Marshmallow update. But don’t worry, this ported ROM of Android 7.1.1 Nougat on Moto G3 3rd Gen will give you the real stock experience. This Official Stock ROM has been ported from Moto G4 which also brings all the features which were in Moto G4 and G4 Play.
Every user who were impatiently waiting for the official Stock ROM can now enjoy the real sweetness of Official Stock Android 7.1.1 Nougat on Moto G3 3rd Gen. Today an XDA developer and Senior member althafvly has ported the official Stock Android 7.1.1 Nougat on Moto G3. It brings all the Nougat and Moto features present in Moto G4 and G4 Play. The ROM is pretty stable and can be used as a daily driver.

This ROM comes with the latest June Security patch for Moto G3 and brings a couple of improvement. As of now, you can’t record any video and also Moto Actions doesn’t work. We hope the developer will soon fix this bug in the next upcoming updates.
As we know, Android Nougat is one of the sweetest update from google up till now. Android 7.0 Nougat comes with handful of features such as App Shortcuts, Multi Window support, restart setting to power menu, Launch the camera by pressing the power button twice, Image Keyboard support, 100 emoji added, GIF Support, Quick Reply via Notification, Notification Redesigned panel, Notifications prioritization, Enhanced Doze Mode, System UI Tuner, Customizable Quick Settings, Don Not Disturb, New Settings Panel Redesigned, Data Saver per App, seamless updates and New Emoji Support.
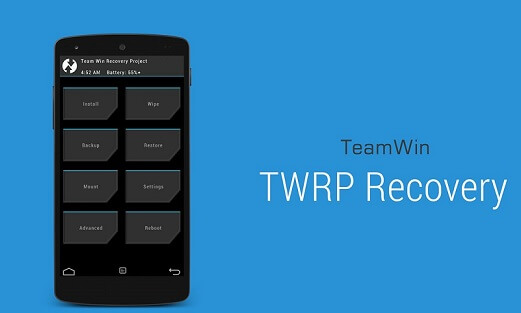
Now you can download and install Official Stock Android 7.1.1 Nougat on Moto G3 3rd Gen. You can follow the full tutorial to install the official ported stock ROM to Moto G3 here. Read the complete instructions carefully. Before proceeding to flash the firmware on Moto G3, you must have an Unlocked Bootloader and TWRP Recovery installed on your Moto G3.
What’s NEW:
- Removed bloats
- Fire kernel
- Zipaligned
- Non-rooted
- Improved Battery Life
- VOLTE Working
- Removed some google apps
- Built-in Gapps
- Fully optimised
Here Is The Full Guide To Install Stock Android 7.1.1 Nougat Ported ROM on Moto G3 3rd Gen
- First of all, you need to Unlock Bootloader on Moto G3
- Now install TWRP Recovery using this full guide.
- Download the below Mokee OS ROM on to your smartphone.
- Now boot into TWRP Recovery, Here is the method to boot into Recovery.
DOWNLOAD FILES
Steps To Flash Official Stock Android 7.1.1 Nougat on Moto G3 3rd Gen
- First, you will need to download and transfer the Ported ROM and Nougat Patch to your device’s storage.
- Next, boot your device into TWRP recovery. (Here is the method to boot into Recovery)
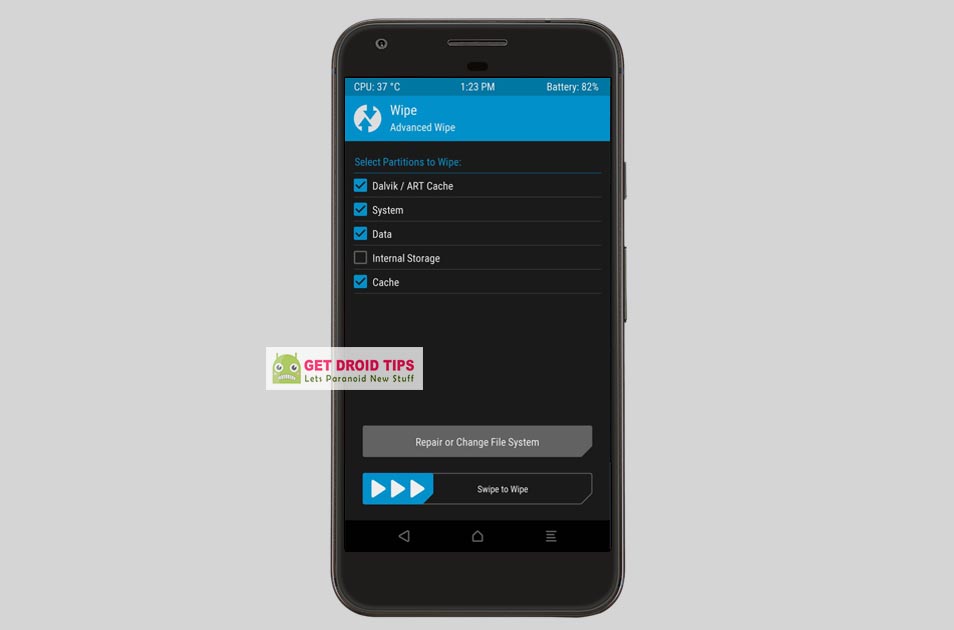
- Select the “Wipe” option from the TWRP main menu and enable a “Swipe to Factory Reset” on the bottom of the screen.
 Note: This will factory resets your device.
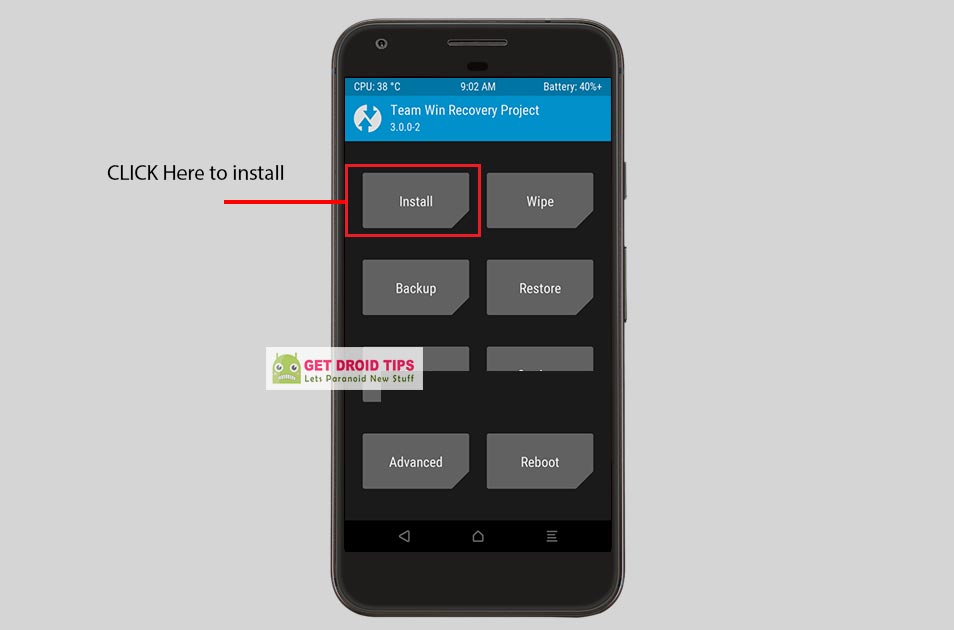
- Go back to the TWRP main menu, tap on the “Install” option and select the custom ROM’s .zip file that you transferred to your device earlier (Step 1).

- After selecting the .zip file, enable “Swipe to Confirm Flash” on the bottom of the screen to begin the custom ROM installation process. Be patient as this might take some time.
- Once your ROM is successfully flashed, you’ll notice the “Wipe cache/Dalvik” option, select it and then enable “Swipe to wipe” from the bottom of the screen.
- Now don’t reboot, Go back and Select the INSTALL option again. Now browse for Nougat patch file that you moved to internal storage
- Swipe to Confirm and Flash the zip file.
- That’s it!
- One the above action completes, hit the “Back” button on-screen and then select “Reboot System.”
I hope you have successfully flashed the Android 7.1.1 Stock Ported ROM from Moto G4 on Moto G3. Enjoy!

Please motorola g3 not root
Hi,
Installed on my moto g3. It runs smoothly, but the camera does not work. How to solve it? Are there any drivers or something like that?
Regards
Hi,
Installed on my moto g3. It runs smoothly, but neither the front nor rear camera works. After opening the camera app, it reports an error and the camera app shuts down. How to solve it? Are there any drivers or something like that?
Regards