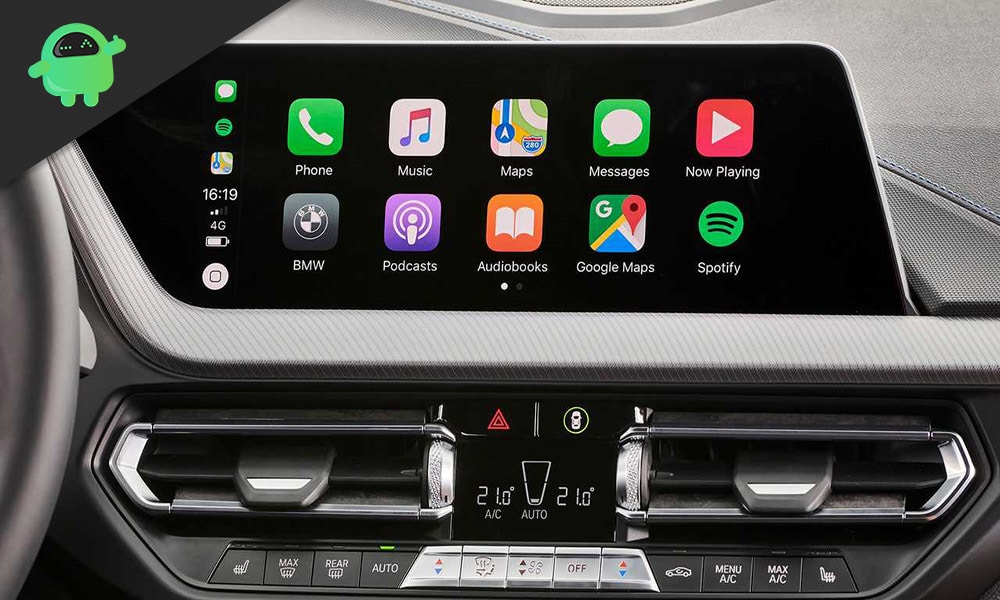
Apple offers a CarPlay feature that syncs with an iPhone and gives the user an extra bit of entertainment in a car. It can be used for navigation, music playback, messaging, calling, and much more. All you need to do is sync up your iPhone with the car’s CarPlay. However, without another apple device, this feature on a car won’t work at all.
There is a way to screenshot everything we want in our phones, but what about what’s on the screen of our car. Is there a way to screenshot something that we see on the CarPlay? Yes, there is, and it is relatively simple. Many people wonder how they can screenshot an app or some location in their CarPlay, but they are confused about going about it. So this article will help them out.
Also Read

How to take a screenshot on CarPlay?
Firstly, to set up CarPlay, you need first to sync it with your iPhone. After CarPlay is up and running, you can move ahead with the method to capture a screenshot.
- Turn on the CarPlay display on your car if you have not done it already.
- Now go to the application or screen which you want to capture.
- Take up your iPhone and take a screenshot on your iPhone.
- For iPhone X, XS, XR, 11, 11 Pro, 11 Pro Max, 12 mini, 12, 12 Pro, and 12 Pro Max users: Press Volume up And Power button to take the screenshot.
- For iPhone 8, 8 Plus, or anything below that: Press the Home button and the power button to take the screenshot.
- As soon as you take the screenshot on your iPhone while it is in sync with the CarPlay, a screenshot of the CarPlay will also get saved on your iPhone.
- Open the Photos app, and you will find the screenshot of CarPlay in the screenshot folder itself.
So that is how easily, with just a few steps, you can get a screenshot of your CarPlay. It is basically how we get screenshots on our iPhones. The difference is that the CarPlay needs to be synced up and connected with the iPhone for the screenshot of the CarPlay to be saved up on the phone. If you have any questions or queries about this guide, then comment down below, and we will get back to you. Also, be sure to check out our other articles on iPhone tips and tricks, Android tips and tricks, PC tips and tricks, and much more for more useful information.
