The much-loved Start Menu feature made an introduction in the Windows 10 version. Windows users were frustrated when Microsoft removed the Start Menu from its Windows 8 version. The Start Menu is a useful tool as it contains a shortcut for everything that is on Windows.
That’s why Windows users were delighted to see the Start Menu back in Windows 10. But some Windows 10 users have been complaining that the Start button is not working on their computers. Sometimes they can’t even find the Start Menu on their computers. If you are one of the Windows 10 users who is facing the same issue, then don’t need to worry. we are going to discuss different solutions to fix this problem.
Also Read
Page Contents
- Solutions to fix Start Menu in Windows 10 computers:
- Solution 1: Restart your computer
- Solution 2: Update your Windows
- Solution 3: Fix the corrupted files
- Solution 4: Sign out of your user account
- Solution 5: Creating a New User Account
- Solution 6: Uninstall Dropbox
- Solution 7: Reinstall Cortana on your computer
- Solution 8: Windows Explorer
- Solution 9: Run the Application Identity Service
- Solution 10: Registry Editor
- Solution 11: Safe Mode
Solutions to fix Start Menu in Windows 10 computers:
Here are some of the solution to fix the start menu issue in Windows 10 PC or Computer
Solution 1: Restart your computer
Some users complain that the Start Menu is missing from their computers. In this case, if you haven’t restarted your computer yet, you should. It may sound silly, but restarting your computer fixes the bugs. That’s why first you should restart your computer.
Solution 2: Update your Windows
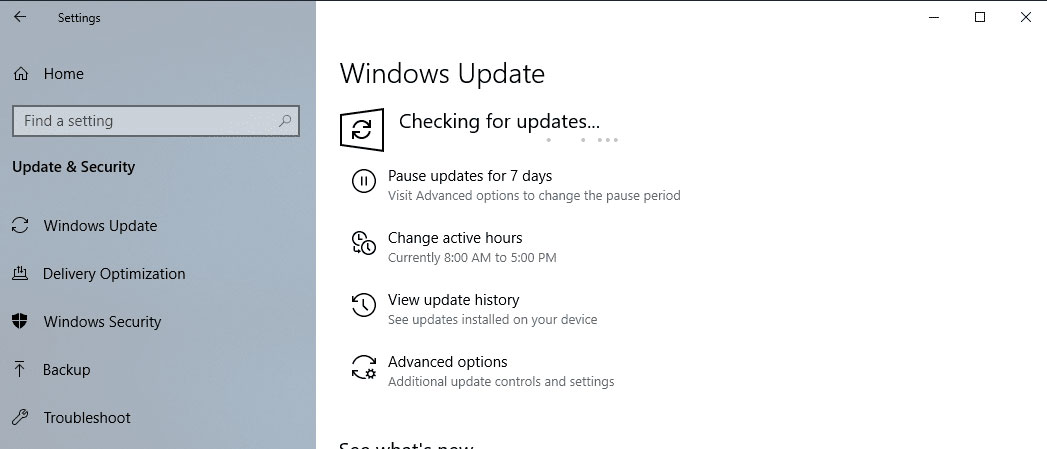
If you are pending the updates for your Windows computer, then you should update your Windows now. Updating windows means you fix the issues that were present on the previous version. To manually update your Windows, follow these steps.
- Press Windows key + I
- Open the Settings tab.
- Choose the Update & Security option.
- Here, you can find the Check for updates option.
- Click on it and wait for the updates to download on its own.
- After you install the updates, check for the Start Menu.
Solution 3: Fix the corrupted files
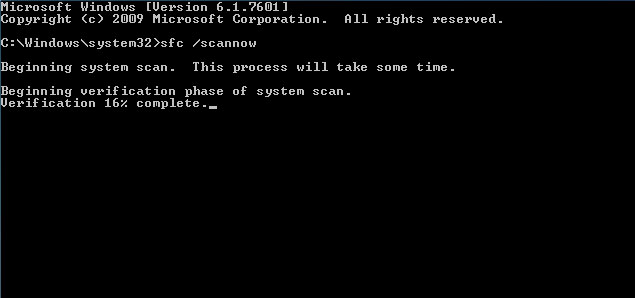
To restore your computer to normal, you have to get rid of the corrupted files. Windows has built-in utilities for this purpose. You need to use the Command Prompt in this solution. Follow the steps given below for a quick guide on how to run the Command Prompt.
- Press Windows key +R.
- Type “cmd” and press OK.
- Choose the Command Prompt (admin) option.
- Now, you have to type the following command lines in the Command Prompt window.
sfc /scannow
- Press Enter.
- Again, type the following command lines and press Enter.
DISM /ONLINE /CLEANUP-IMAGE /RESTOREHEALTH
- Wait for the process to complete, then look for the Start Menu.
Solution 4: Sign out of your user account
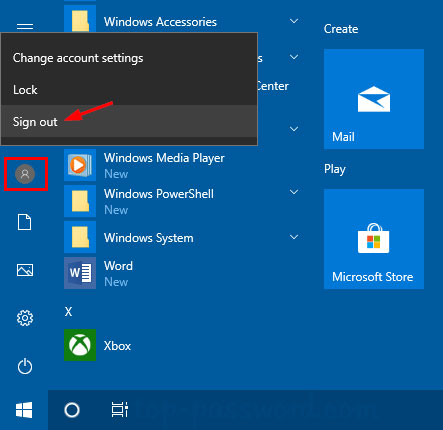
If you are still not able to fix the Start Menu, then there might be some problems with your user account. Follow these steps to sign out of your user account.
- Since your Start button is not working, you have to press Ctrl + Shift + Esc.
- Click on the Sign out option.
- After some time, sign in to your user account and see if the problem is fixed or not.
Solution 5: Creating a New User Account
In case your account is corrupted, you can create a new user account. Sign in with the new user account and see if your Start Menu is working correctly.
- Press Windows key +I.
- Go to the Settings application.
- Choose the Accounts section.
- In the left pane, choose the Family & other people option.
- In the right pane, you can select the Add someone else to this PC option.
- Click on the I don’t have this person’s sign-in information option.
- Then, select the Add a user without a Microsoft account option.
- Input a user name and press Next.
- Sign in with the new user account and see if your Start Menu is working correctly.
Solution 6: Uninstall Dropbox
Dropbox can interfere with the Start Menu. So, if you have Dropbox, you can choose to uninstall it. Here’s a quick guide for you on how to uninstall Dropbox.
- Press Windows key +R.
- Type control and press OK.
- Choose view by Category
- Select Uninstall a program option.
- Search for Dropbox.
- Then, right-click on it to choose Uninstall.
- Check if the Start Menu is working.
Solution 7: Reinstall Cortana on your computer
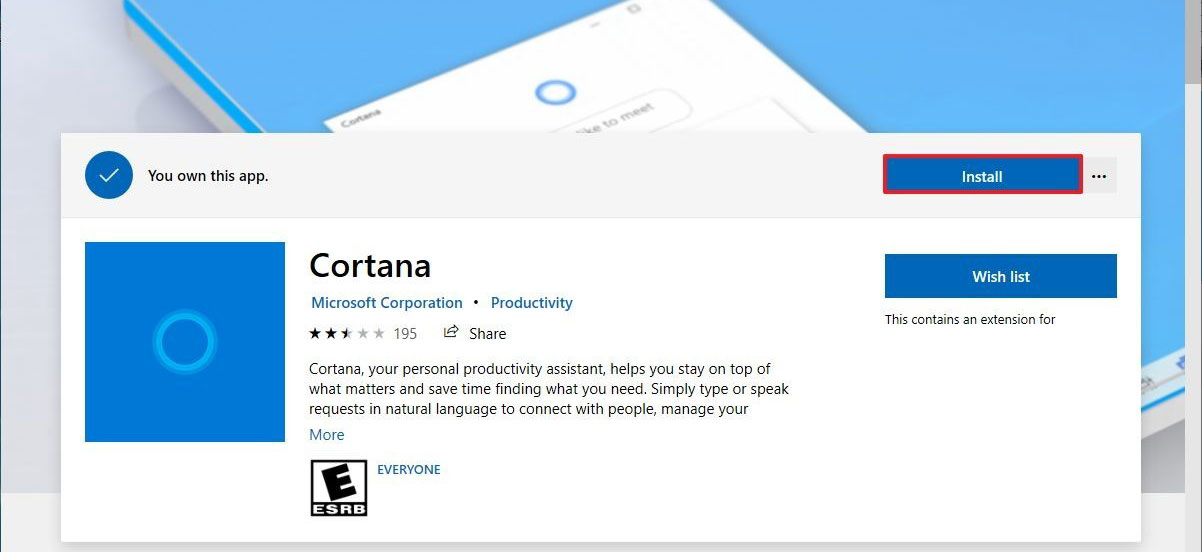
Sometimes if Cortana is not properly installed, the Start Menu starts showing issues. You can follow these steps to reinstall Cortana and fix the Start Menu.
- First step is to right-click on the Taskbar and choose Task Manager.
- Find the File option in the Task Manager tab.
- Then, click on it to select the Run new task option.
- You have to type “Powershell“.
- Tick the checkbox beside the Create this task with administrative privileges option.
- Press OK.
- Type the following command lines- Get-AppXPackage -Name Microsoft.Windows.Cortana | Foreach {Add-AppxPackage -DisableDevelopmentMode -Register “$($_.InstallLocation)\AppXManifest.xml”}
- Press Enter.
- After the process of reinstalling Cortana is complete, and check if this solution fixed the Start Menu.
Solution 8: Windows Explorer
There’s one way to force restart Start Menu, i.e. restarting Windows Explorer. As Start Menu is a part of the Windows Explorer, you can solve the issues by restarting the Windows Explorer.
- Press Ctrl + Shift + Esc.
- Task Manager will open.
- Find Windows Explorer in the list of ongoing tasks.
- Right-click on the Windows Explorer and choose Restart.
If you are still facing the issue, follow the next solution.
Solution 9: Run the Application Identity Service
Before running the Application Identity Service, you should remember that it can be harmful to your computer. So use it when necessary.
- Press Windows key +R.
- Type “MSC” and press OK.
- Locate the Application Identity option.
- Right-click on the Application Identity and choose Start.
- After the process is complete, then restart your computer.
Solution 10: Registry Editor
You can also fix the Start Menu by modifying your Registry. To change values in the registry, you need to run the Registry Editor. Follow these steps.
- Press Windows key +R.
- Type “regedit” and press OK.
- Locate the following key in the left pane.
HKEY_CURRENT_USERSoftwareMicrosoftWindowsCurrentVersionExplorerAdvanced
- In the right pane, you have to right-click on an empty space to choose New from the menu.
- Then, choose DWORD (32-bit) value.
- You have to name the new DWORD as EnableXamlStartMenu.
- Exit Registry Editor and restart the Windows Explorer. See if you can find the problem again.
Solution 11: Safe Mode
If none of the above solutions worked for you, then try out this last solution. You have to enter the Safe Mode to fix the Start Menu. Just follow these steps.
- Press Windows key +I.
- Open the Settings app.
- Go to Update & Security.
- In the left pane, select Recovery.
- Then, you have to click on the Restart now button under the Advanced startup section.
- Click the Troubleshoot option.
- Then, go to Advanced options and choose Startup Settings.
- Select the Restart option.
- After your computer restarts, select a version from Safe Mode.
- See if the Start Menu is working.
- Then, reboot to the normal mode.
Start Menu is a beneficial part of your computer. It provides a shortcut for many features just with a tap on the Start button. If you are unable to find the Start Menu or the Start Menu is showing issues on your Windows 10 computer, then our guide has come into your rescue.
We have gathered several solutions that are easy to perform. You can perform the solutions yourself without any help from a technician. We hope you become successful and fix the Start Menu on your Windows 10 PC. If you have any queries or feedback, please write down the comment in the below comment box.
