Teaching over online platforms is probably the most challenging task for all mentors and teachers. But with the Apple Classroom, it is possible to follow the most accurate steps for better teaching. Since most students play fool during the class times, the Apple Classroom lets you keep an eye over each one of their activity. The application provides you with unique features, and the environment is completely dedicated to learning. So today, we will see what is actually the Apple Classroom and how to use it like a pro, to take the maximum advantage for your teaching.
Apple Classroom is basically a study management system through which you can control all student’s devices centrally. It allows you to share files and content with your students, start group activities, and more. In simple words, it lets teachers teach their students exactly the way they would have done in a real classroom. Surprisingly, you can find this app on the app store for free, and it works fine with an iPad or iOS. However, it supports iOS 10.3.2 and all later versions, so make sure you got this right.

Page Contents
How To Use Apple Classroom Like a Pro?
Although the interface is really clean and user-friendly, it might still feel a little complex to the beginners. Hence, in this guide, we will look at the most convenient ways to use the Apple Classroom and take leverage of this amazing app.
Starting with the Apple Classroom
Getting started with Apple Classroom is very easy. Firstly, you need to install the app from the App Store and create a class by assigning it a name. Next, you can simply invite all the students of particular classes. Once they accept the invitation, they become a part of the Classroom. You can further see the students who are online and start sharing content with all of them. Also, it does not restrict you to any limit, so you can create multiple classes and invite students accordingly.
How To Invite Students To Apple Classroom?
Since you are now familiar with creating classes, we will now see how to add students to the classroom. But before that, make sure the Bluetooth is turned on in all the devices you wish to connect with. Now follow the steps below to invite students into your Classroom:

- First and foremost, open the class in which you want to add students.
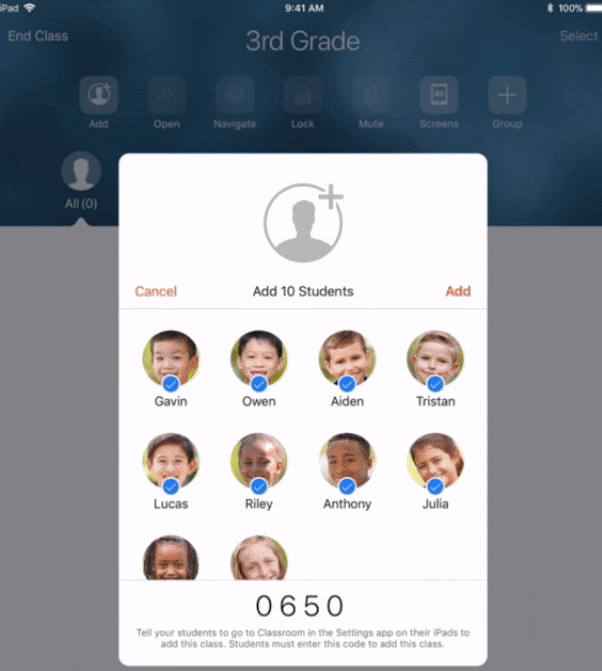
- Now click on the add-student option on the top-left side.
- Students can accept the invitation from their device by selecting the specific class name.
- Next, they would require the 4-digit code appearing on the teacher’s device to join the class.
- Once the students enter the classroom code, they get added to the classroom automatically. Hence, you can now see all of their names right on your screen.
Note: The Apple Classroom app is only for the teachers. Students don’t have to download it. They can attend the classes directly from the Apple Classroom option from their device settings.
Managing Your Classroom
As a teacher, it becomes your responsibility to manage the classroom in proper order. Even though it is an online platform, you would still need to follow certain disciplines. The Apple Classroom provides you with some of the major features that will help you by providing supreme control for every session. So, let us check out what are those features and how you can use them:

- Adding Students: You can keep adding new students to your class whenever you want.
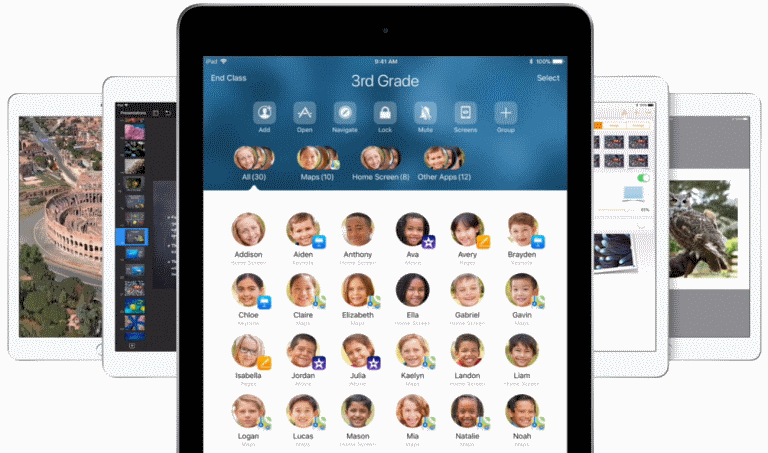
- Creating Groups: With Apple Classroom, you can further create activity groups. The best part here is, you can open any app and even lock it. This will not allow the students to skip the app and explore something different. Thus, it greatly helps in balancing their attention without letting them get distracted.
- Sharing Files: You can share any apps or even websites with your students in just a few clicks. Interestingly, with iOS 11, sharing is now easier than ever. You can simply drag and drop files, and they will be shared among the selected groups.
- Keep in touch: The application lets you keep in touch with your students always. They can share their assignments and other files with you at any time.
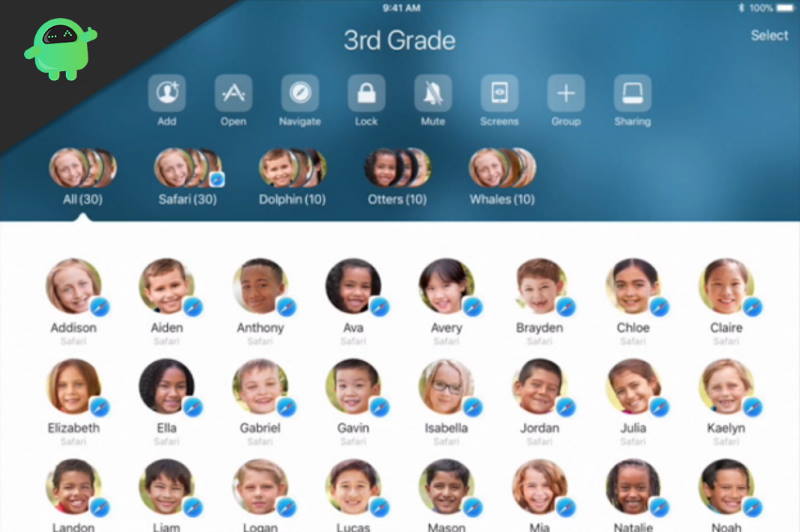
- Monitoring your students: In case you want to see the screens of your student, the Screen option lets you have a real-time view of your student’s iPad screen. This is helpful to find out if any student is exploring anything else other than the study -related stuff. Plus, you can even visit their screens and help them out with their assignments at the same time.
- Review Session: At the end of every session, Apple Classroom provides you with a class summary. This contains an overview of the student’s activity throughout the class.
Conclusion
So, this was a quick tour describing you all the unique features of Apple Classroom. By now, you must have gathered enough information that will help you throughout each of your sessions. Hence, we can say it’s pretty easy to use Apple Classroom like a Pro. It surely has some great features and lays a perfect environment for an online classroom.
