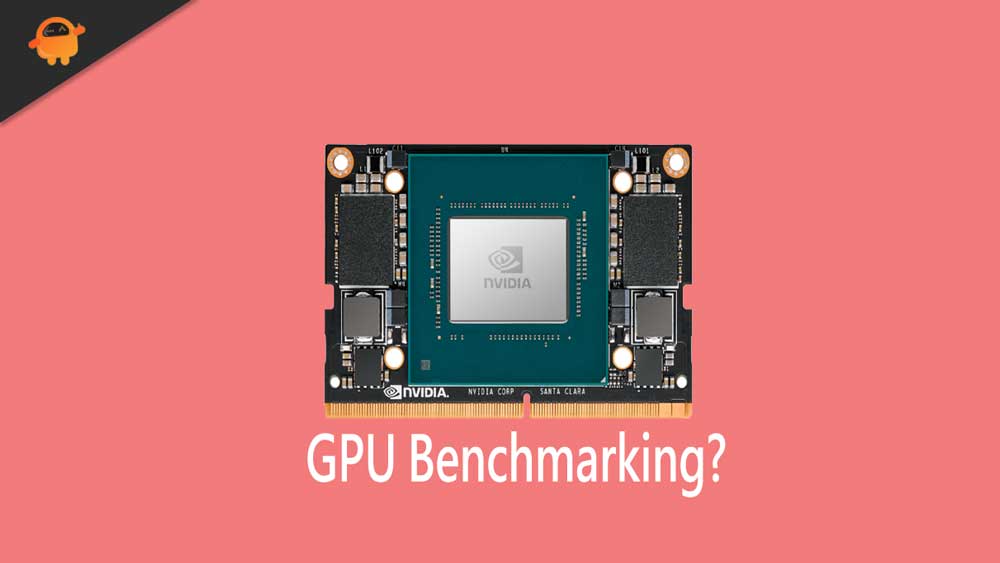
We talk a lot about graphics cards because, most of the time, it is the most exciting part of a gaming PC. At the same time the biggest contributor to your rig’s gaming performance. But did you ever thought to benchmark your graphics card? So, what does it mean, and whether you should be actually paying attention to this or not?
Don’t worry! You will get all the essential information about benchmarking your GPU and how to do it. So, just be calm and make sure to read the article till the end. However, by the end of this article, you will know all the related information about this. So, without killing more time here, let’s get started with our guide.
Also Read
AMD Adrenalin Not Compatible Fix
Best Bottleneck Calculators for PCs in 2023
What is VSync? Should You Turn it On or Off?
Best Nvidia Control Panel Settings for FPS and Performance Improvement
Download AMD Cleanup Utility for Windows 10 / 11 (2023)
Will GPU Prices Drop in 2023 or 2024?
How to Uninstall AMD Radeon Software and Drivers from Windows 10, 11

Page Contents
How to Benchmark Your Graphics Card
Benchmarking GPU is basically a process using which you can easily tweak some changes to your AMD or NVIDIA graphics card in order to ensure it’s running at the best possible performance. It is actually a bit of fun to do this as it will give you some bonus performance that you normally wouldn’t get from your GPU.
Yeah! It may sound really dramatic and inappropriate, but trust me! This doesn’t harm your system. You can blindly trust the process that we mentioned in this guide. But, before we hover over to the process of benchmarking, let’s first discuss what benchmarking is?
What is GPU Benchmarking?
GPU benchmarking is basically a process in which applying some intense graphical challenges to check how much stress or how your GPU performs even if so much strain is applied to it. These stresses often are in the form of 3D environments. Also, you can make some changes as per your need to lower and higher resolution and quality.
However, as we know, by default manufacturer capping the frame rate to 60 FPS. So, you can also tweak this from 60 to 144 or even 244 FPS to ensure that their GPU keeps up with their high-performing gaming monitors. Meanwhile, suppose in case your GPU passes the test without dropping the frame rate below 60 FPS. Then, this is a positive indication that your GPU can handle even higher graphics settings without any drastic change in its performance. Also, this will ensure a smooth and seamless gaming experience for you.
If you are looking to buy a GPU, we recommend you go with the Nvidia RTX 3080 or 3090, as both are insanely powerful cards that can handle most things at Ultra settings. So, now you know about benchmarking your GPU, now let’s dive into the process of doing this.
How To Benchmark GPU
There’s a lot of options available for benchmarking your GPU, some of them as 3DMark Benchmark, Heaven Benchmark, etc. But, I recommend you to use Heaven Benchmark as I found it really awesome. So now hover over to the steps that you need to follow:
Steps:
- Firstly, you have to move towards the Heaven Benchmark official website to download and install the application.
- Once it gets installed successfully on your PC, you just have to launch it. But, it may be possible that you will not get the .exe file on your desktop. So, instead of searching it in the program file, you can directly search for Heaven Benchmark on your Windows search bar.
- Open it; then, you’ll get a few setting options that you can change according to your need. But, if you are a beginner. We suggest you not make any changes to the setting and leave it in default settings.

- Now, simply run the benchmark, then it will take you on a virtual tour of a medieval village. Now, it will automatically try high and low resolution and FPS as you set before this test. Also, the quality of the tour depends upon how powerful your GPU is. But, remember that while the test is going on, you need to keep your eyes on the change in FPS throughout the trial, along with the temperature details.
- However, while the test is running, you have the option to let Heaven Benchmark do things automatically, or you can choose to control the camera settings manually. Moreover, depending upon the camera setting, your actual in-game activities will appear.
- Also, keep in mind that you usually do not need to do anything to end or stop the test as it will automatically stop when the test is finished by presenting you the result, or we say the overall score that your GPU gets after the test.
Also Read
Conclusion
Once the test is over and you’ll be presented with the score window, you can save your performance GPU’s performance score. To do so, hit the Save button found somewhere in the lower-left corner of the screen. You can use this saved score later in order to compare the performance of your GPU with time.
So, now you know how to benchmark your graphics card on your Windows PC. we hope you understand the guide mentioned above. However, if you have any doubt about the benchmarking GPU, let us know in the comment section. Apart from that, do you know how to check if your Windows 11 PC supports HDR mode? Please read our guide on this by clicking on the given link.
