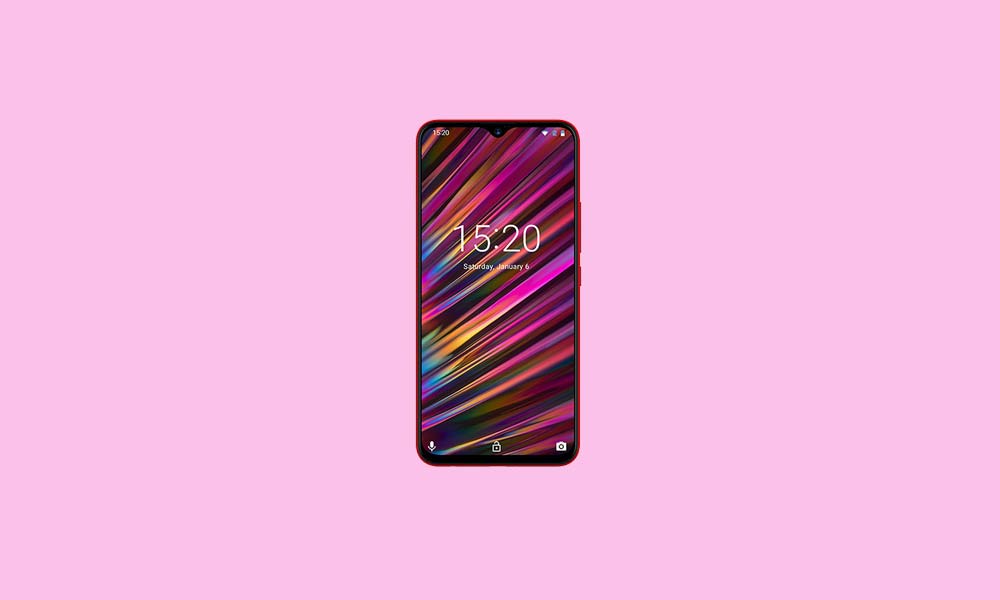
Alright, so you are using a device from Umidigi at the moment, the Umidigi F1. Well, the Umidigi F1 is indeed a great device for those of you who are looking for something on a budget. Anyways, there is no denying the fact that the Android is one of the most popular and one of the best Operating Systems for Android Devices. But there are times when things do not go too well with Android. Well, it looks like that you did a Factory Data Reset on your Umidigi F1.
You are now facing FRP Lock issue after doing the Factory Data Reset. Don’t you worry as this is quite common and can be bypassed? Surprisingly, a lot of people find it quite difficult to bypass this FRP Lock. In reality, it is not difficult at all. All you need to do is just follow all steps carefully to bypass FRP lock on Umidigi F1. Now, let us first take a look at What is FRP. Should we?

Page Contents
What is FRP Lock?
FRP stands for the Factory Reset Protection, which is a security measure taken by the Google for all devices running on the new Android Versions. It was first introduced with the Android 5.1 Lollipop. This feature is activated as soon as you set up a Google Account on your Android device. Once activated, this will prevent the user from using the phone until the user enters the old Google Account Credentials.
And since you have a second hand Umidigi F1, you don’t know the old Google Account Credentials. Or maybe, you have just forgotten your old Google Account Credentials. Whatever the case might be, the thing is that you want to bypass FRP lock on Umidigi F1 and you want to do it quick. Right? Well, let us take a look at the prerequisites to bypass FRP lock on Umidigi F1. Should we?
Prerequisites:
- Please note that this guide will only for the Umidigi F1.
- You must have downloaded and installed SP Flash Tool on your PC.
- Scatter File: download Stock ROM for Umidigi F1
- Don’t forget to Download VCOM Drivers and install them your PC.
- You would have to download and install the required Umidigi USB drivers on your PC.
- Make sure that you have at least a 60% charge left on your Umidigi F1.
- Once you have the above prerequisites, remove FRP lock on Umidigi F1 using SP Flash tool: you can proceed with the instructions.
GetDroidTips will not be responsible for any internal/external damages to the device that may happen while/after following this guide.
Instructions to ByPass FRP Lock on Umidigi F1
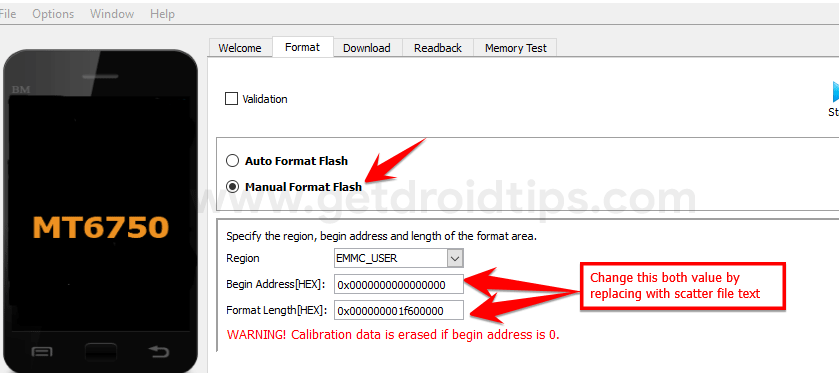
Follow these instructions carefully to remove FRP lock on Umidigi F1 using SP Flash tool:

Video Tutorial:
You can also take a look at our video guide to remove FRP lock on Umidigi F1.
So that’s it guys, this was our take on How to Remove Google Account or ByPass FRP lock on Umidigi F1. We hope that you found this post useful. Just in case, if you have stuck somewhere between the steps or had any questions related to the topic. Then, feel free to leave them in the comments section down below.
Umidigi F1 Specifications:
Talking about the specifications, UMIDIGI F1 features a 6.3-inch IPS display with a screen resolution of 1080 x 2340 Pixels. It is powered by MediaTek Helio P60 MT6771, 64-Bit Processor coupled with 4GB of RAM. The phone packs 64/128GB internal memory with expandable storage support of 256GB via microSD card. The camera on the UMIDIGI F1 comes with a dual 16MP + 8MP rear camera with dual-LED dual-tone flash and 16MP front camera for selfies. It is backed by a Non-Removable 5150 mAh Lithium-Polymer Battery. UMIDIGI F1 also has a fingerprint sensor on the back.
