Razer makes quality products including gaming mice and keyboards, but it is important to update the drivers for these devices. One such device is Razer Naga which is very popular among gamers. To improve the functionality, Razer keeps updating the drivers. Here is how you can download and install Razer Naga Drivers on Windows PC.
Third-party drivers have always been headaches, mainly the hazy ones. But, if you’re using Razer gadgets, then you might occasionally face a problem with them. However, if your Razer Naga mouse doesn’t work correctly and you are looking for a solution, you may try to uninstall the Razer Naga drivers first. Then, download and install it on your PC again.
If you aren’t familiar with the drivers’ downloading and installing process, then carefully follow this guide till the end because today, we will tell you how you will able to download Razer Naga drivers | how to install them on Windows PC. Talking about Razer Naga, it is specially designed for MMO and MOBA games such as Dota 2, CS Go, etc.
Page Contents
Download Razer Naga Drivers | How To Install On Windows
Luckily, we have various methods to download and install the Razer Naga drivers on Windows 10 PC. But, today, we will describe the best, easy, and safest way to download the Razer Naga drivers.
Method 1: Download The Razer Naga Drivers Manually
Manual downloading and installing the drivers for your Razer Naga device is a long process because it needs both time and computer skills. First, you need to know the device model number and the operating system upon which your computer is running.
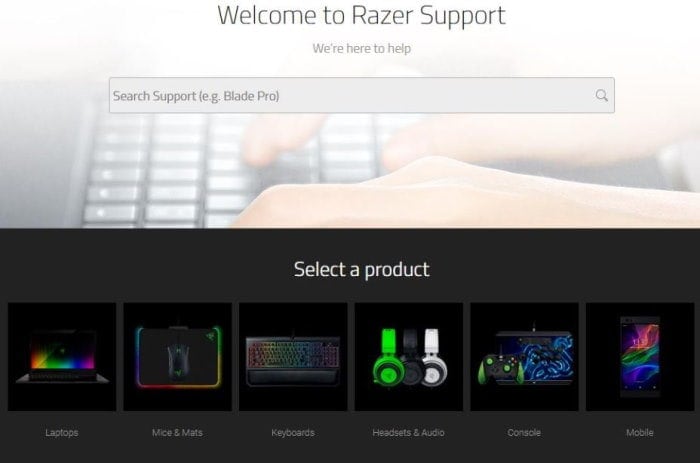
- First of all, you need to go to the Razer Support Center’s official website.
- After that, inside the support centre, type Razer Naga Device in the search box and hit the enter button.
- You may also find your device by navigating through the product list.
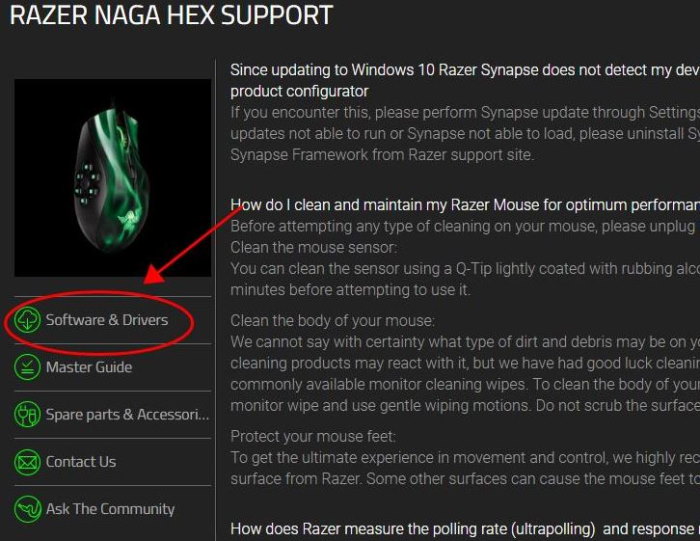
- When you’re on the product page, tap on the Software & Drivers located on the window’s left pane.
- Then, download the Driver or software that is supported by your operating system.
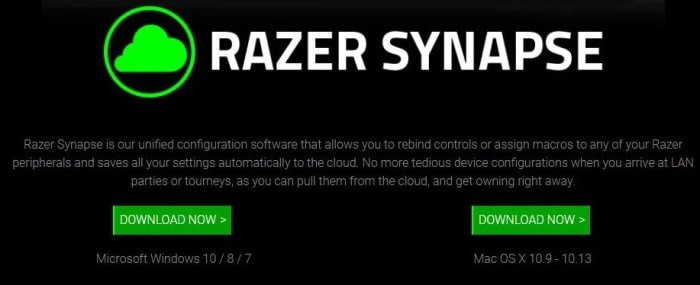
- Wait until the download is completed. Once the file gets downloaded, open it on your Windows 10 PC.
- Now, follow the on-screen instructions to install the Razer Naga driver on your Windows PC.
That’s how you’ll download and install the Razer Naga driver on your PC manually. If this method doesn’t work for you, you need not worry about installing the Razer Naga drivers. Follow the next procedure describe below.
Method 2: Update the Razer Naga Driver in Device Manager
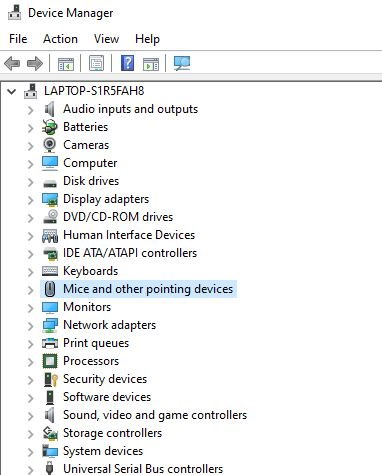
- First of all, you need to go to the Device Manager on your Windows 10 PC.
- After that, click on the Mice and other pointing devices to expand it.
- Then, right-click on the Razer Naga mouse driver to Update the Driver.
- You need to wait until the Device Manager Search automatically for updated driver software on your Windows PC.
Meanwhile, now Device Manager is started searching online for the latest Razer Naga mouse driver on Windows 10. If there is any update available, it will automatically install the updated driver on your PC.
You can also turn on Windows update where all the available driver updates will install automatically on your system. It is the most efficient way to download or update Razer Naga Drivers. It also automatically downloads the drivers according to the connected peripherals.
Method 3: Use Third-Party Driver apps
For users who cannot use the above two methods, this is a fairly simple way to update Razer Naga Drivers on your PC. One such program is Driver Easy which assists in finding and updating your PC drivers. There are two options either you use the free version or the Pro version of Driver Easy. In the free version, you can able to use every feature except for some premium ones. So, it’s upon you which one you want to use.
- Initially, to download Driver Easy, you need to go to its official site.
- Now, wait until the download is completed. Once it gets downloaded, please open the file to install it on your Windows PC.
- After that, open the Driver Easy and tap on the Scan Now button.
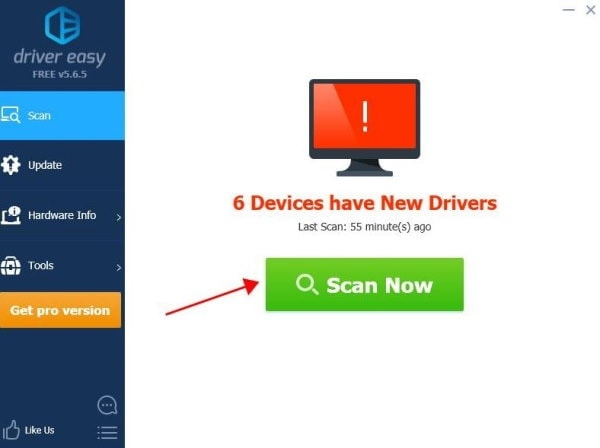
- Then, you need to wait for a few minutes while the Driver easy scanning your PC.
- If Driver Easy detects any problem with drivers while scanning it, it will show you on the screen and ask you to fix it by updating the drivers.
- Now, if you want to download the correct version of the drivers automatically, click on the Update button located right next to the flagged Razer Naga Mouse.
- At last, once the Driver gets downloaded, click on the installation button and then restart your PC.
Wait until your PC gets rebooted. You may also click on the Update All button to automatically download and install the drivers’ latest version to remove the problematic errors.
Conclusion
We recommend using Driver Easy and just relaxed without worrying about the risk of downloading and installing the wrong drivers. Otherwise, you can also use the custom download methods which is safe and easy as well. Now, you all know about downloading and installing procedures of Drivers for your Razer Naga devices. If you still face any problems while downloading or installing Razer Naga’s drivers, let us know by commenting down below.
