Notification bar or status bar is one of the most convenient ways to go through the app notifications in order to keep a check on various apps. Older versions of Android i.e. prior to Android 9 Pie, notification bar could contain several notification icons that could literally fill it. But after the launch of Android 9 Pie, to give Android OS a sleek and clean look, Google restricted that number to 4 in order to accommodate icons for notched displays. But, the point is that Google has notched display on Pixel 3 XL and not other phones so, why to restrict notification icon number.
Also Read
In this post, we will guide you on how to fit more notification icons in the status bar of Google Pixel. You can also make use of this method for the latest Pixel smartphone from Google the Google Pixel 4 and 4 XL. Notably, Pixel devices were among the few smartphones launched in 2019 without a display cutout or a notch. And if you are looking to increase the number of notification icons to be displayed on your Notification bar or status bar then you can follow this guide and install a simple Magisk Module in order to increase the icon number. So, without any further ado, let us get straight into the article itself:
![]()
Page Contents
How to Fit More Notification Icons in Status Bar of Google Pixel
Note that, in order to go on with the procedure to increase the number count of icons on the status bar or notification bar, you need to have root access on your Google Pixel smartphone. You can click on the link for our complete article on how to root any Pixel device running Android 10 Q [Pixel 2, Pixel 3/3a XL]. Moreover, you need to have Magisk installed on your device.
Downloads
All credit goes to XDA Developer Tulsadiver for creating this Magisk Module. Note that there are two files given in the below links i.e. ‘Stock Active Edge Sense‘ and the other ‘Stock‘ file. You can download the former file if you use a squeeze feature on your Pixel phone and if you do not use that feature then, you can download the Stock file app. You can download the Magisk Module from the link below:
Steps to Install the Magisk Module
- Firstly download the Magisk module from the above link.
- Then open Magisk Manager.
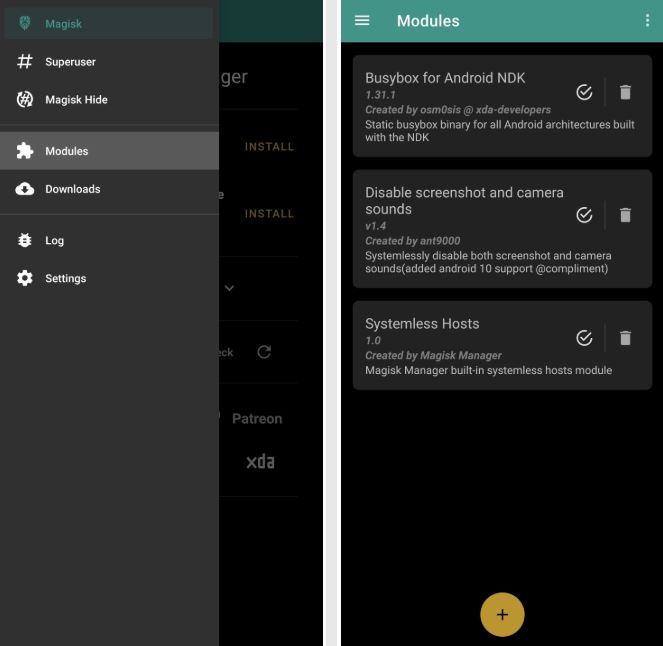
- Proceed to Menu>>Modules>>Plus (+) sign located at the bottom.

- Locate the downloaded module on your device.
- Tap on the module file to install.
- Once the installation is finished then, reboot your device.
- That’s it!
You can now see that, your notification bar can now fit in more icons than the previously restricted 4 icons. Notably, if you wish to remove this module from your smartphone then, since it is a Magisk module, you can simply open the Magisk Manager application and then head to modules and locate Tulsadiver Mods Various from the list and hit the trash icon to delete this module from your smartphone.
So, there you have it from my side in this post. I hope you guys liked this post and were able to successfully increase the number of icons to fit in the notification bar of your Pixel device. Let us know in the comments below if you liked this post or if you come across any issues while following the above-mentioned methods or the link given above. Until the next post…Cheers!
