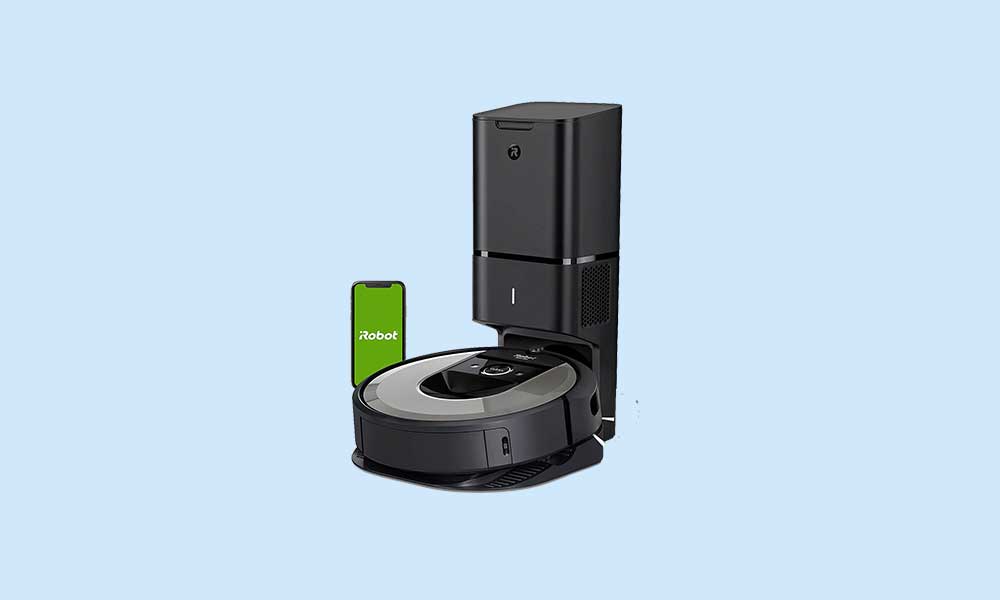
Roomba is one of the popular series of automatic robotic vacuum cleaners from iRobot that has been in the market for years. Roomba vacuum cleaners feature a couple of sensors that let them navigate the floor area of the home and clean it without any interruption. Although they’re quite noisy and can’t maneuver around all obstacles properly, they’re easy to use and helpful too. But if iRobot Roomba not charging or does not turn on then check this guide.
Plenty of users are getting affected by this issue and they can’t understand why it’s happening all of a sudden. According to a couple of users, even though they’ve tried cleaning the contacts of the battery inside or even contacting customer support, there is no valid solution available yet. Luckily, here we’ve shared a couple of possible workarounds that should work for you in most scenarios.
Also Read

How to Fix iRobot Roomba not charging or Does Not Turn on
So, without wasting any more time, let’s jump into the guide below.
1. Remove Yellow Battery Pul Tab
Make sure to remove the yellow battery pull tab from the bottom of the robot cleaner to start using it properly.
2. Reinsert Battery
You should also try removing the battery and reinserting it properly from the robot cleaner if you’re going to use it for the first time and have never activated it before. Sometimes it may also be possible that somehow the battery has shifted during the shipment process.
So, it’s better to remove the battery from the cleaner and placing it back in the robot to ensure it made proper contact. You can find out the battery removing and reinserting guide in the user manual of the product.
3. Install the Battery Properly
Keep in mind that you’ve installed the battery properly inside the robot cleaner. If not, cross-check for that too.
4. Properly Plug in the Power Base
It’s also recommended to plug in the Home Base and verify that the power indicator starts blinking properly or not. If not, try connecting the power to another power outlet or socket.
5. Check the Battery Indicator
A new iRobot Lithium-Ion Battery must be woken up on the Home Base before using it. Make sure to place your robot cleaner on the Home Base after placing the Home Base on a hard, flat surface. Then it may take some time for your robot to wake up in a couple of seconds.
Once you verify the Home Base that the power indicator illuminates solid green, the light will go out in a couple of seconds approximately while the robot cleaner continues to charge properly. The battery indicator on your robot cleaner should start to pulse to give you a signal that it’s charging fine.
After a minute or so, the battery indicator will go out as your robot continues to charge properly. However, if the troubleshooting indicator on your robot starts blinking and the Roomba shows an error message when charging then you should contact customer support for the same. But if the Roomba does not charge then you should continue following other troubleshooting steps below.
6. Restart the Robot Cleaner
You should try restarting your robot cleaner to cross-check whether the battery charging issue has been fixed or not. It’s also one of the most common ways to fix such kinds of issues in no time.
7. Check for Physical Damage
If in case, you’re going to encounter the same problem then you should examine the Home Baseline cord and then look for any physical damage (if any).
8. Clean Up Debris from Caster Wheel
- You should also remove your robot from the Home Base.
- Then flip over your robot and remove the caster wheel.
- Make sure there is no built-up debris in the caster wheel. If any, remove them because this can cause the robot to not be able to reach the charging contacts to charge.
9. Clean the Charging Contacts
Try cleaning the charging contacts on both the Roomba and the Home Base with a lightly dampened melamine foam like a Magic Eraser. Once done, try charging it again to check for the issue.
10. Contact Customer Support
If the problem persists then please contact l’Assistenza Clienti iRobot for further assistance. If this is under warranty then ask the customer support for replacement or repair accordingly.
That’s it, guys. We assume this guide was helpful to you. For further queries, you can comment below.
Source: iRobot Support
