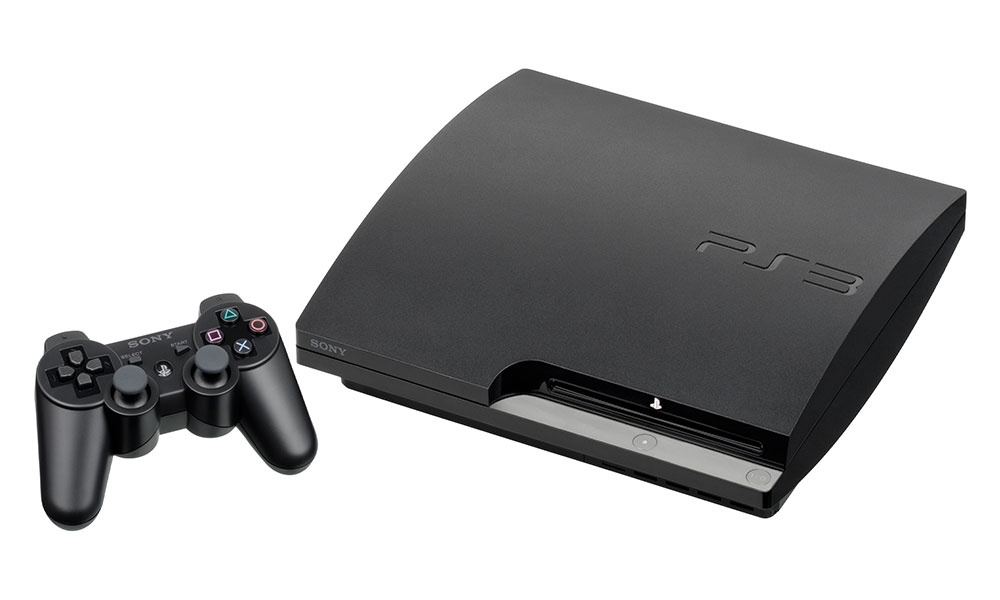
The PlayStation 3 or PS3 is a video game console developed by Sony Computer Entertainment and it’s the successor of the PS2 that was launched in 2006 initially. However, so many users are still using this console due to the backward compatibility game support. However, some of the users are finding it difficult to open the PS3 console or the latest update download stuck. Therefore, in this case, the PS3 shows an error code 8002F334 on the screen. So, if you’re also one of them, check this guide.
Plenty of PS3 users have reported on Reddit that even booting the console on Safe Mode won’t work properly and the update loop is also there. Now, if the game installation or data won’t useful to you, then you can format the hard disk in order to fix this issue. But no one wants to lose the important data, especially the bigger game files and install files. So, we have a couple of fixes for you without formatting the data.
Also Read

How to Fix PS3 Error Code 8002F334
First Method:
- First of all, turn off the PS3 and remove the old HDD from the PS3 console and insert a new HDD temporarily.
- Then turn on the PS3 console and it’ll ask you to press Select and Start to update whichever version will be available.
- Once done, the new HDD will be formatted by the PS3 system and prompt you to update it.
- Just proceed to update to the latest version and initiate the setup process.
- Next, turn off the PS3 > Remove the new HDD > Insert the older HDD back again.
- Finally, you will need to repeat the same steps from 2-4 and you’re done.
However, some times the method won’t work for you. So, you may also try the second trick below.
Second Method:
- Turn off your PS3 console and simply take out the hard disk from it.
- Now, connect that hard disk to the Windows PC using a USB to SATA cable.
- Once the hard disk is detected by the computer > Open Disk Management > If it asks you to make a Master Boot Record, then do it.
- Next, perform format in NTFS (Don’t tick the quick format).
- Once done, turn off your PC > Take out the HDD.
- Here you will also need a USB Drive (Pendrive) and make sure to download the latest PS3 firmware version from the official Sony website. [It’s Important]
- Insert the HDD back into the PS3 and insert the USB drive as well. There will be a USB port on PS3.
- Now, start your PS3 console > A screen will pop-up that the hard disk will need to be formatted.
In order to do that, press and hold the Start button + Select button for a couple of seconds. - Once the formatting, the process is done, the system will restart and the update will start automatically.
- Simply initiate the setup process on your PS3 and you’re done.
Note that this process won’t delete any data and you will be log back into your PSN account easily.
That’s it, guys. We hope that this guide will be helpful to you. Feel free to ask in the comment below.

Wszystko ok ale moja konsola nie wykrywa pliku z USB!!!Co z tym zrobić??ja nie mogę nic…..pomocy!