If you are looking for ways to connect your SMB shares from iPhone & iPad with files app then, you are at the right place. As in this post, we will guide you on how to connect SMB shares from iPhone & iPad with the Files app. Importantly, the SMB shares app is for users who work with files servers. Apple Files app on iOS 13 or iPadOS 13 lets the users connect SMB shares. In fact, it is one of the most efficient and beneficial ways to work and connect with network file servers.
Notably, you need to be running iOS 13 or iPadOS 13.1 or later in order to make this process work. Apple allows the user with so many features with the iOS 13 and if you like to work with network file servers, then this method works exactly for you. So, without any further ado, let us get straight into the article itself:
Also Read

How to Connect SMB Shares from iPhone & iPad with Files App
- Firstly, open the Files app. Notably, it is pre-installed on all iPhones and iPads.
- Now you need to tap the “Browse” tab at the bottom of the iPhone screen. On iPads, look under the Browse sidebar.
- You need to tap on the ‘…’ icon located at the top right of your screen.
- Tap on “Connect to Server” from the options.
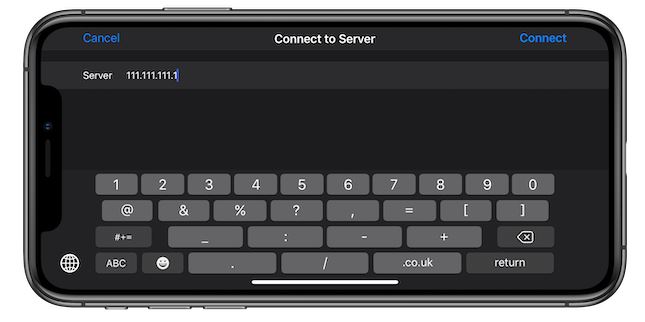
- Enter the network address of the SMB share that you want to connect to.

- Tap “Connect” when ready.
- You will see a new share will appear under the “Shared” area in the “Browse” menu.
- Tap on it to access the files located on the share.
- That’s it!
So, there you have it from my side in this post. Hope you guys liked this post and were able to connect SMB shares from iPhone & iPad with Files app. Let us know in the comments below if you liked this post or come across any issue while following the above-mentioned commands. Until the next post…Cheers!
