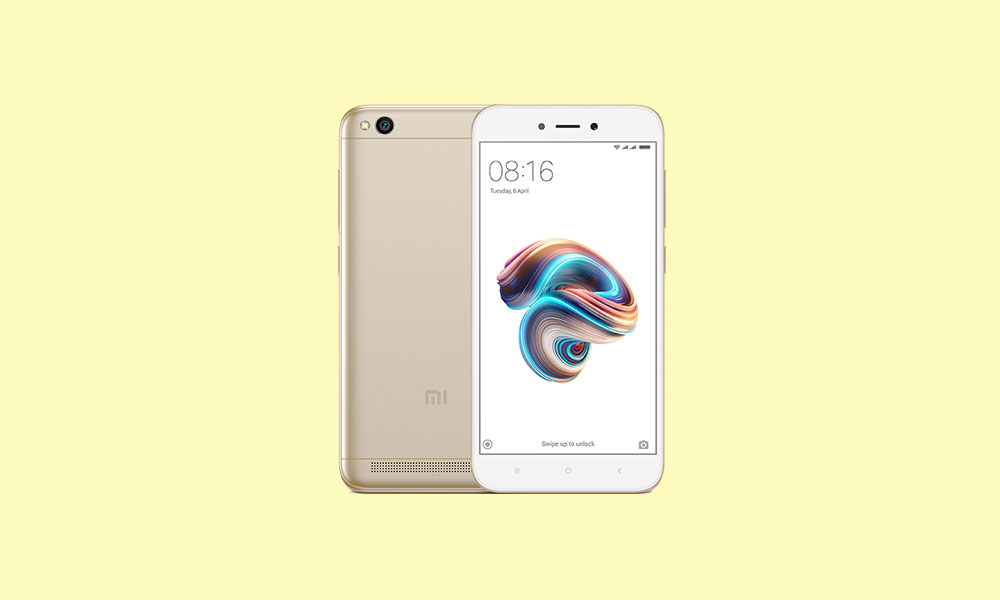
These days smartphones become one of the most useful daily life things that people can’t live or work without it. Similarly, the smartphone industry and technology are growing aggressively which may not be thinkable for most people. One of the Chinese OEMs Xiaomi has proved themself one of the promising smartphone brands globally. Meanwhile, if we’re talking about mobile phones, then the IMEI number plays a major role as well. Now, if you’re using the Redmi 5A handset and facing issues with IMEI, you can check out the full guide on How to Repair and Fix IMEI number on Xiaomi Redmi 5A.
It’s worth mentioning that without the valid IMEI number, you can’t use your mobile device with the carrier. The International Mobile Equipment Identity (IMEI) number is a set of a unique serial number that comes out-of-the-box for all the mobile phones or smartphones. It usually contains 15 digits serial number that identifies the device using cellular networks. You can also check the IMEI on your device by entering *#06# into the dial pad.
Also Read
But some times the users may find the IMEI number invalid or null on their devices due to some unfortunate reasons. Either the device is bricked or corrupted due to flashing any third-party firmware or any other mod file. Mostly, the Android customization lovers end up with these types of issues by flashing any improper file or wrong method. Therefore, it’s necessary to repair or fix IMEI at first.

Page Contents
Steps to Repair and Fix IMEI number on Xiaomi Redmi 5A
Here we have shared the two possible and easy methods to fix the IMEI number. Either you can use Dual IMEI Writer or QCN method. Now, let’s follow all the download links and requirements below.
Download Links:
For 1st Method:
For 2nd Method:
- Qualcomm USB Driver
- ADB and Fastboot Tool for Windows & Mac
- IMEI Baseband Repair QCOM.rar
- IMEI Converter.zip
- UltraEdit Text Editor
Pre-Requirements:
- This guide and QCN file are exclusive for the Xiaomi Redmi 5A only. Don’t try on other models.
- A PC/Laptop and a USB cable are required.
- Your device should be rooted (guide). [For 2nd method]
- Maintain up to 60% battery level at least.
- Back up everything before proceeding.
- Turn on USB Debugging. Check the video guide.
- Make sure to download all the required files and tools from above.
IMEI Repairing Guide
Let’s head over to the steps below.
Disclaimer:
Method 01: Using Dual IMEI Writer
- Let’s assume that you’ve enabled USB Debugging on your device.
- Connect the phone to a PC using the USB cable.
- Open a command prompt from the installed ADB folder and enable Qualcomm USB diag port by using the command below:
adb devices
su
setprop sys.usb.config rndis,diag,adb
- Launch QPST Tool on the PC > click on Restore.
- Choose and select your phone model from the Browse option.
- Unzip and select the Redmi 5A QCN file that you’ve downloaded earlier.
- Now, click on the Start button.
- Then simply run the Dual IMEI Writer.
- Write the original IMEI number for both the SIM 1 & SIM 2 slots.
- Finally, click on the Start button to initiate the process.
- That’s it. You will see a success message.
- Reboot your device. Enjoy!
Method 02: Using QCN
- As we’ve already mentioned, this method requires a rooted device.
- Enable USB Debugging mode.
- Now, open the Redmi 5A QCN file using the UltraEdit text editor tool and search for the IMEI number.
- Make sure to match the IMEI number with the original one. (You’ll find the original IMEI at the backside of your device or the backside of the mobile box)
- Now, open the IMEI Converter tool and put the actual IMEI for both the SIM slots.
- Click on Convert IMEI to get a new IMEI number.
- Next, go back to that opened QCN file and replace the IMEI numbers with the converted ones.
- Save the Redmi 5A QCN file properly.
- Then open the CMD again and enter the following command:
adb devices
su
setprop sys.usb.config rndis,diag,adb
- Make sure that USB Debugging is enabled and connect your phone to the PC.
- Open the Device Manager on your computer > click on the QPST Configuration > then go to ‘Ports’.
- If the Ports isn’t visible, search for the Qualcomm diag port and add it. (Mostly it will be COM9)
- Click on Start Clients > Software download > check the tick ‘Allow phone/file ESN mismatch’.
- Now, launch the QPST Tool > click on Restore tab > select the newly saved Redmi 5A QCN file > click on Restore.
- That’s it.
We hope that you’ve found this guide helpful and successfully fixed the IMEI on your Redmi 5A. For any queries, feel free to ask in the comments below.

Change emei number of redmi 5a