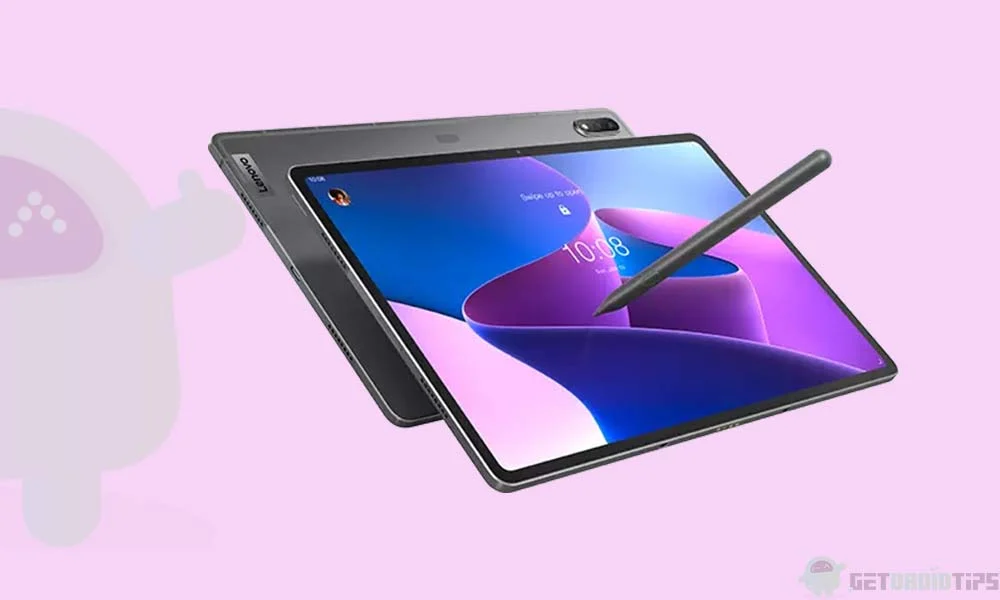
Google announced Android 13 at the Google I/O 2022 event held this week. Guess what, Lenovo Tab P12 Pro with its keyboard case was used on the stage to demo large screen devices. In fact, it’s the first tablet to get access to the Android 13 Developer Preview program. If you remember, it was also the first tablet to test early builds of Android 12L. Thanks to good software support, the Lenovo Tab P12 Pro can now get a very early taste of Android 13 through the Developer Preview builds.
The Android 13 Beta 2 build is currently available for the Wi-Fi variant of Lenovo Tab P12 Pro, which has the model number TB-Q706F. To confirm that you have the Wi-Fi variant, navigate to System > Settings > About tablet and check the model number. Also, the device should have been purchased outside China. Lenovo warns that installing the Android 13 Beta on a non-WiFi variant can brick your device.
Also Read

Android 13 Developer Preview versions are for testing purposes by developers, therefore Lenovo warns that “Android 13 developer preview builds are early Android OS releases and are intended for application developers only – they are not recommended for general use”. In case you are not aware of the flashing and the problem it can create on your device, don’t jump to test Android 13 so early.
Lenovo has released the Android 13 Beta 2 build for the Tab P12 Pro. It is available through the Lenovo’s Developer Preview Program. The security patch leevel has been updated to June 2022. The beta builds are meant to be tested by developers, as they might contains lots of bugs and some functionalities may not even work at all. Lenovo has not updated the list of known issues after releasing the Android 13 Beta 2 for the Lenovo Tab P12 Pro. It means that those issues might still present in the second beta of Android 13.
These are the known issues:
- Fingerprint unlock is not supported.
- Face Unlock is not supported.
- TOF sensor related function is removed.
- Stylus key function is not supported but basic function works.
- Touchpad functions with two fingers are not supported.
- Touchpad swipe up/down/left/right with 3 or 4 fingers are not supported.
- Miracast function is not supported.
- Screen output via cable (extended screen) can be supported when <force desktop mode> is turned on in developer menu.
- Cast Via HDMI (extended screen) can be supported when <force desktop mode> is turned on in developer menu.
- VPN is not tested and may not work properly.
- WIDI is not supported.
- Video play may face audio issue.
- Settings may display abnormal sometimes, re-selecting or cleaning recent apps can make it work properly.
Let’s now move on to how to install the Android 13 Beta 2 on your Lenovo Tab P12 Pro.
Download Android 13 Beta 2 for Lenovo Tab P12 Pro
Lenovo Tab P12 Pro Android 13 Beta 2 – Download Link
How to Install Android 13 Beta 2 on Lenovo Tab P12 Pro
Here are the steps recommended by Lenovo to install the Android 13 Beta 2 on your Tab P12 Pro:
Step 1: Download SW Flashing Package on your computer.
Step 2: Extract it and Choose the folder Windows SOP of DPP image download, if you using a Windows laptop.
Step 3: Open the driver folder and install all the drivers
Step 4: Go back and copy the adb folder
Step 5: Paste the adb folder in the C drive
Step 6: Now, extract the Android 12 Beta 2 ZIP file
Step 7: Copy all the files and paste them into the adb folder in the C drive
Step 8: Go to Developer settings on your Lenovo tablet
Step 9: Enable USB debugging.
Step 10: Enable OEM unlocking from the Developer settings.
Step 11: Open the adb folder located inside the C drive
Step 12: Press the Shift button and right-click at the same time.
Step 13: Select Open PowerShell Window here.
Step 14: Run the following command to check if the tablet is successfully connected to the laptop.
adb devices
If you see some random combination of numbers of digits, it means that the ADB connection is successfully set up. See the image below for reference.

Now we’ll unlock the device using the adb commands. If your Lenovo Tab P12 Pro is already unlocked, skip steps 15, 16, and 17.
Step 15: Enter the following command to boot to fastboot.
adb reboot bootloader
Step 16: Run the following command
fastboot flashing unlock
Step 17: Use volume buttons to select UNLOCK THE BOOTLOADER and press the power button. The bootloader will get unlocked.
Step 18: Open the Windows PowerShell from the adb folder, as we did earlier.
Step 19: Run the following commands in the same order:
adb reboot fastboot
fastboot flash boot boot.img
fastboot flash dtbo dtbo.img
fastboot erase vendor
fastboot flash vendor vendor.img
fastboot --disable-verity --disable-verification flash vbmeta vbmeta.img
fastboot erase system
fastboot flash system TB-Q706F_DPP_USR_S100064_2205052030_V5.0_DEV_system.img
Step 20: After the system image gets installed, run the following command to reboot the device.
fastboot -w reboot
Also Read
We hope that you were able to successfully install Android 13 Beta 2 on your Lenovo Tab P12 Pro. In case you are facing any issues with the installation, do let us know in the comments below. We’ll try to respond you as soon as possible.
