We love using digital camera apps and all the features & filters that come along with them. Snap camera is such a free application that gives you the ability to use Snapchat filters on your PC. If your Snap Camera not working and shows “No available camera-input”, don’t worry, as here is how you can fix it.
Snap camera is a free desktop software available for Windows and Mac that allows using filters or lenses available in Snapchat. This camera app allows users to use the Snapchat filter and AR lenses with their favorite meeting software as well. Although lately, many people are reporting some issues with this app.
But lately, some users are getting “No available camera-input” error on their snap camera app. This might be due to some permission error, or library incompatibility issues with your device. So in this article, let’s see how you can fix this issue.

Page Contents
Fix: Snap Camera No Available Camera Input
To fix these issues, we need to figure out the cause of the problem. Hence there are multiple troubleshooting methods to fix this issue.
Method 1: Disable snap code overlay
This method was helpful for many users. So lets how to do so,
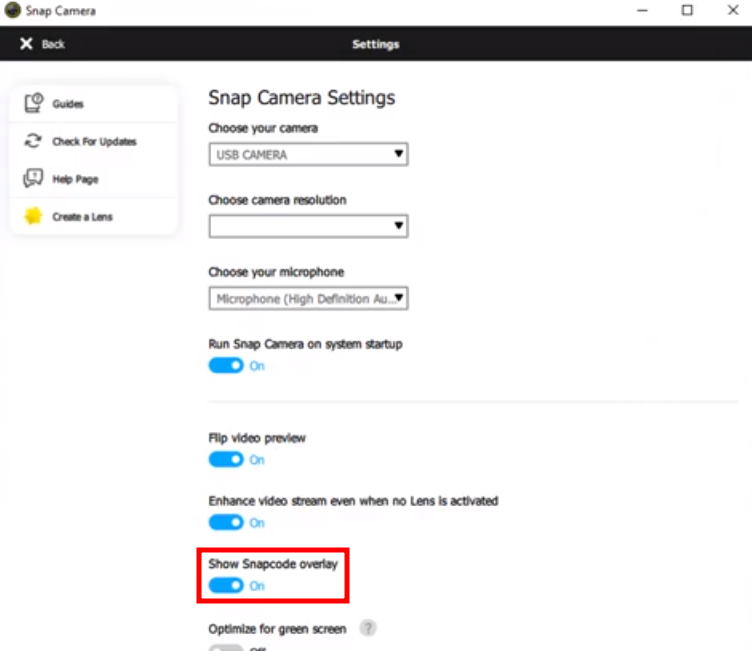
- Click on the gear icon in the Snap Camera app.
- Scroll down and disable “Show snap code overlay.”
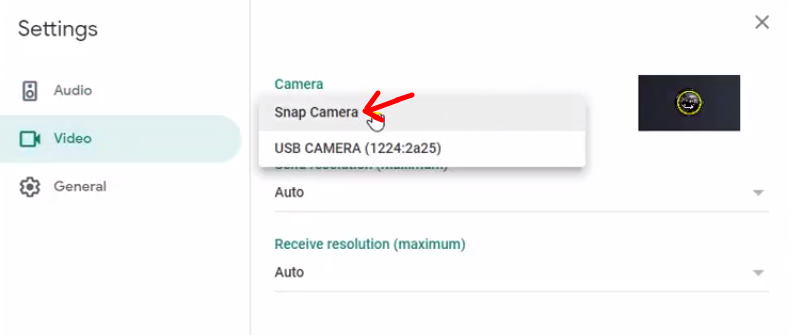
- Now open your meeting app (Zoom or Google Meet)
- Select a snap camera as the input for your camera.
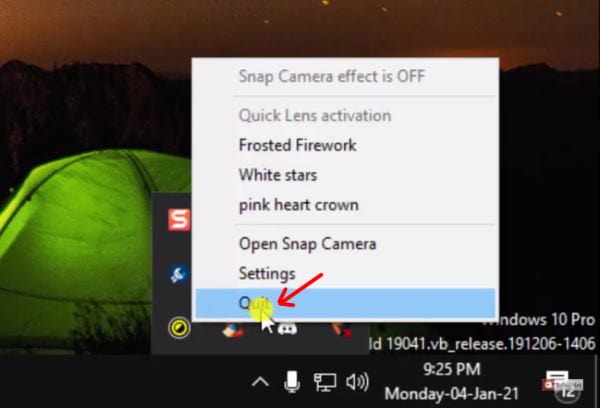
- Close the snap camera app by right-clicking on the taskbar icon.
- Finally, open the snap camera app again.
Now the camera should work fine without any issue or errors like the No available camera-input error.
Method 2: Check your USB port
If you are using any USB webcam, then this solution should work for you.
- Click on the gear icon in the snap camera app.
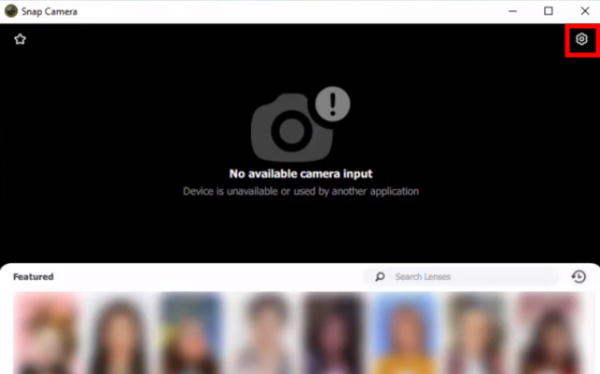
- Under choose your camera, see if your camera is listed.
- If not, then unplug your camera.
- Scroll down to App and cache use, and click on view.
- Click on clear to clear the app cache.
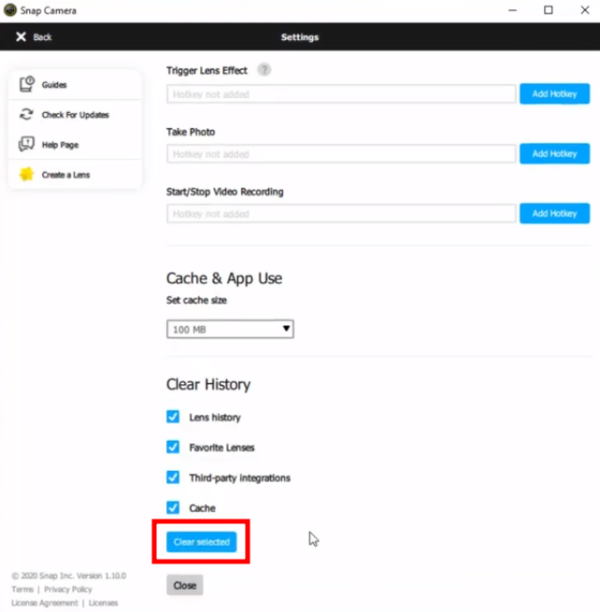
- Close the snap camera app from the taskbar icon.
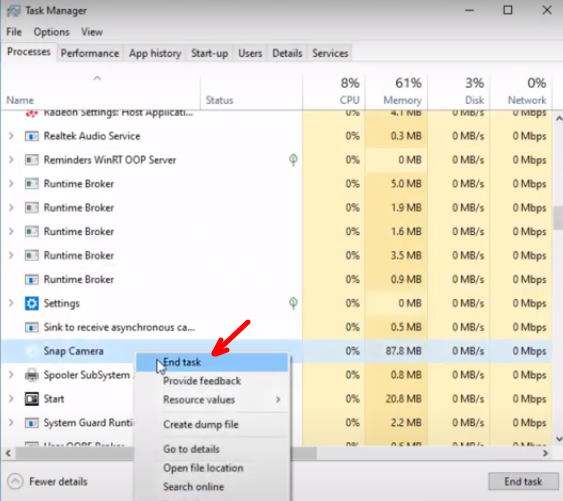
- Open task manager and look for snap camera process, right-click on it and click on End task.
Finally, reboot your system and then connect your web camera to another working USB port. Now you should be able to see your camera working and listed in the snap camera app.
Method 3: Check your camera
If you still cannot see your camera in the snap camera app, then you should check whether your camera hardware is accessible in windows. To do so,
- Click on the start menu and search for “Camera.”
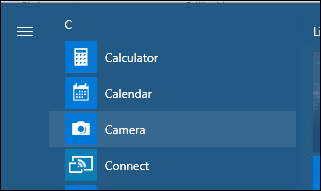
- Open the default camera app and see whether you can see your camera showing there.
- If it’s showing there, then you should check whether camera access is enabled.
Windows 10 has some privacy settings for the camera and microphone access. So you should check then as well. For that, go to settings and open Privacy.
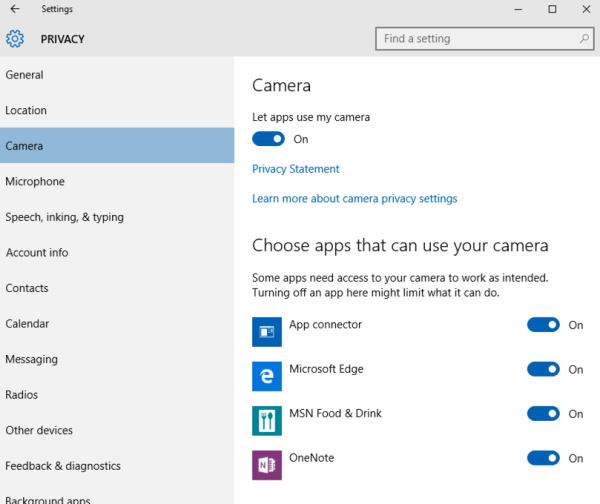
Check if access is enabled under the camera and microphone.
Also Read
Method 4: Check Camera Drivers
One of the major sources for this issue is that the camera won’t be visible anywhere. Hence it won’t show up in the default camera app in windows. In such cases, we have to make sure that correct drivers are installed for your system.
- Go to the official download page for your PC or Laptop.
- Click on drivers and select webcam if listed.
- Download all required drivers and install them.
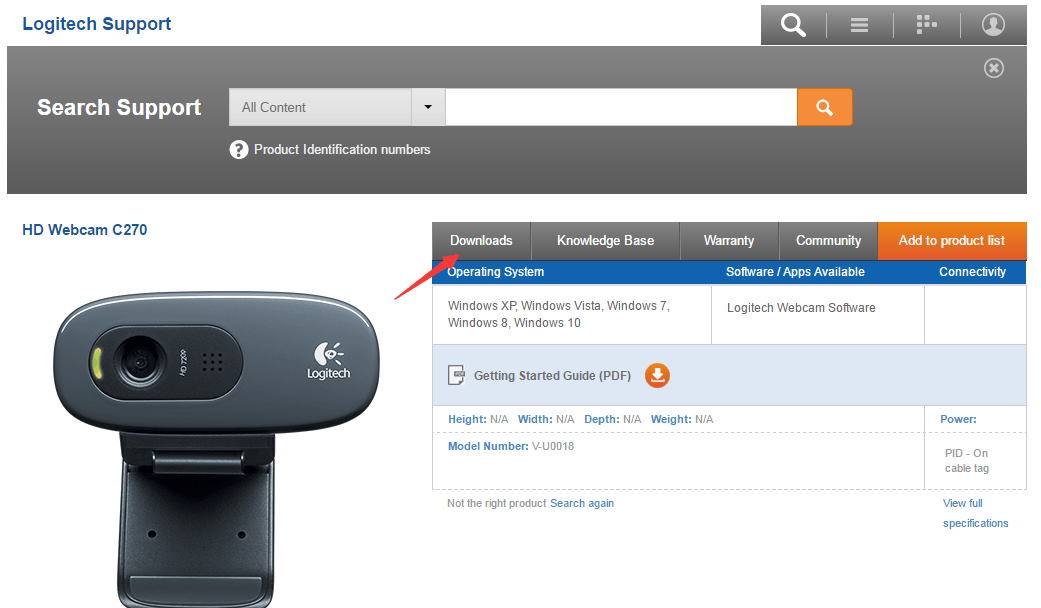
- Reboot your PC.
That’s it now; the camera should be visible on both the default camera app as well as the snap camera app. You may have to re-do methods 1 and 2 after installing drivers if required.
Conclusion
So as you can see, fixing the No available camera-input error in windows is easy. However, most people say that this issue was fixed by doing the first or the second method mentioned. But in some rare cases, you may have to try out the other mentioned methods. But if you do not see your camera app listed, it means your webcam might have hardware-related issues. So you should get it replaced if possible.
