Motorola One Vision (kane) launched in June 2019. The phone came out of the box with Android 9.0 Pie and later received Android 10.0. In this tutorial, we will help you to flash the stock firmware on Motorola One Vision XT1970-3.
If you are someone who wants to restore the device back to factory firmware, then this guide is for you. By using this guide, you can fix certain software-related issues such as hard brick, soft brick, WiFi, or Bluetooth issue, fix lag or stutter or even you can downgrade the device anytime.
The Need to Flash Stock Firmware on Motorola One Vision
One common query that would come to your mind is why to manually flash the firmware when the device would be getting the OTA updates. Well, this is quite a valid concern from your end. So here’s the thing. The OEM usually releases the updates in batches. In other words, this is a staged rollout where not everyone gets the update at one go. But if you have got hold of the update package, then you could easily cut this wait time and manually flash the stock firmware right away.
Then if you are among the tech enthusiasts, you might consider going for device modifications. These would include the likes of unlocking bootloader, flashing custom recoveries, or rooting it via Magisk. While on one side all these would end up adding new features to your device. However, on the other hand, a slight mistake would end up your device in a boot loop or soft-brick state. But even then you could bring back your device from dead by flashing the stock firmware onto your Motorola One Vision device. And in this guide, we will help you with just that.
Steps to Install Motorola XT1970-3 Stock Firmware (Flash File)
Now, if you’re ready to flash the stock firmware manually on your Motorola One Vision XT1970-3 device then you need to download the flash tool, firmware file, and necessary drivers. So, without wasting any more time, let’s get into it.
Pre-Requirements:
- This ROM is supported for the Motorola One Vision XT1970-3 (kane) variant only.
- Make sure that your device should be charged at least 50% or higher.
- You will require a PC or Laptop with a USB Data Cable.
- We always recommend our readers take a full data backup of the device for safety purposes.
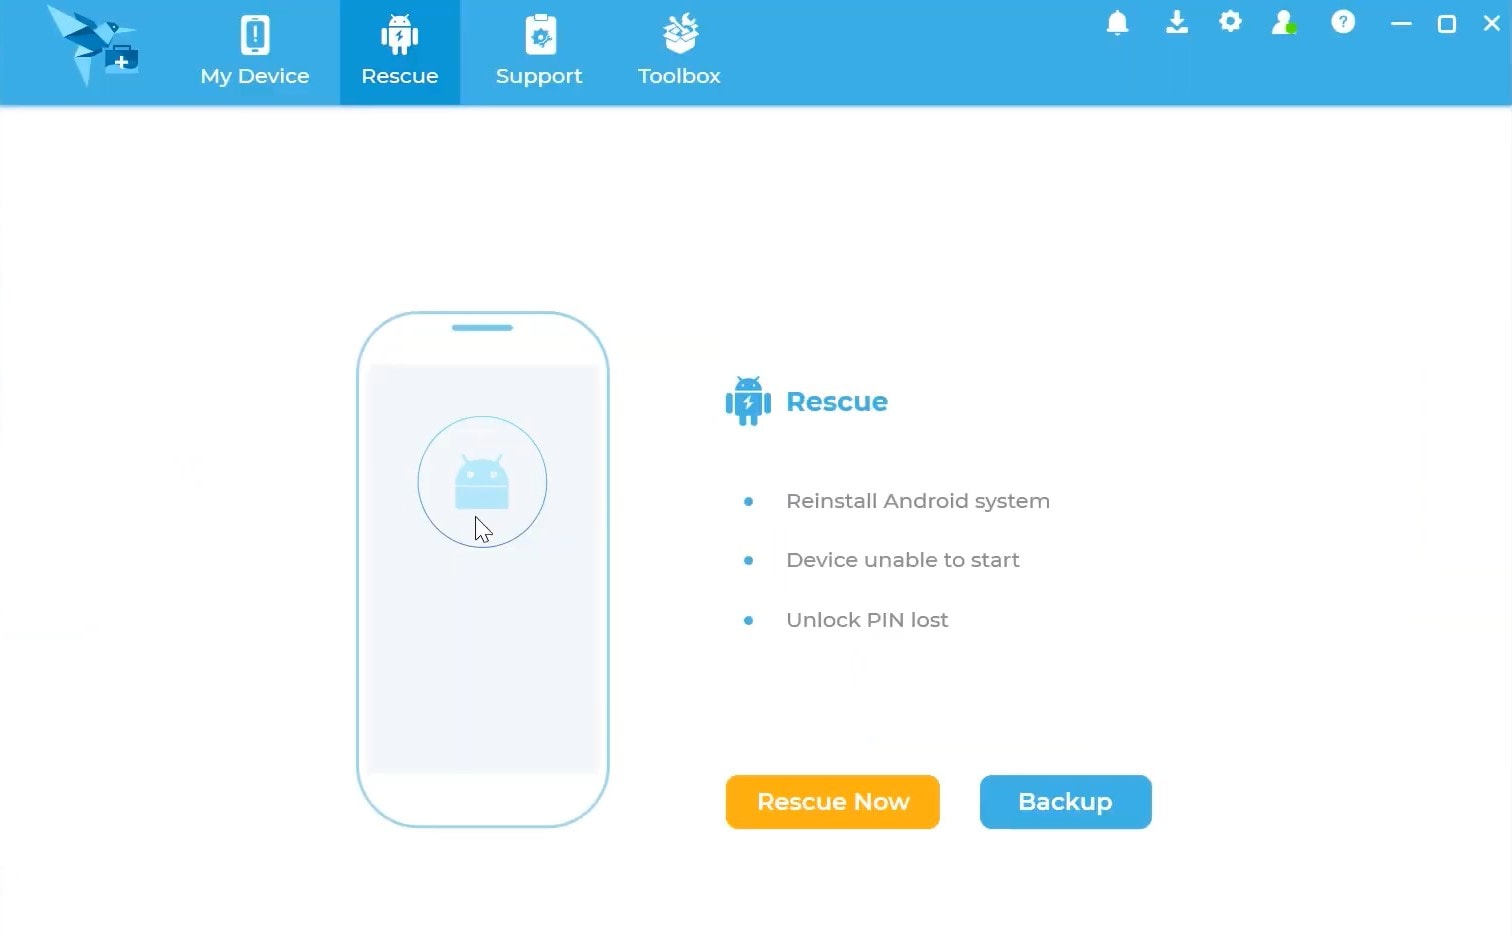
- Install Motorola USB Drivers and Rescue and Smart Assistant Tool on your PC
- To flash, you must download the ADB and Fastboot tool
Disclaimer:
Motorola XT1970-3 Firmware Flash Files:
| RSAS31.Q1-48-36-23 | Download |
| RSAS31.Q1-48-36-21 | Download |
| RSAS31.Q1-48-36-18 | Download |
| RSAS31.Q1-48-36-17 | Download |
| RSAS31.Q1-48-36-16 | Download |
| RSAS31.Q1-48-36-15 | Download |
| RSAS31.Q1-48-36-14 | Download |
| RSAS31.Q1-48-36-13 | Download |
Firmware Installation Guide:
Check out the firmware flashing guide below for the Motorola One Vision XT1970-3. First, make sure to install or extract the adb and fastboot tool on your PC. Now enter the bootloader on your device.
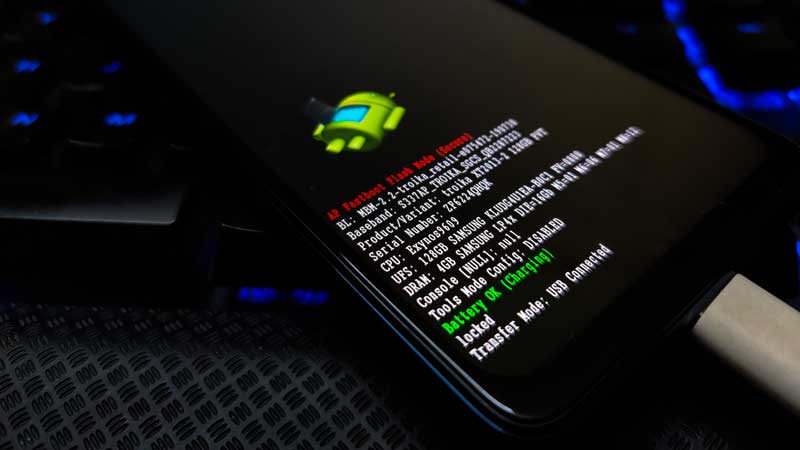
Step 1. Bootloader Mode
Enter bootloader mode on your phone. To boot first, turn your phone off. Once your device turned off completely, press and hold volume down, and turn it on. You should see the bootloader screen.
Step 2. Connect Your Device to PC:
After booting your Motorola One Vision into bootloader mode, now connect it to the PC using the USB Cable.
Step 3. Download Stock ROM/Firmware:
To get the full ROM, you can use the LMSA or Rescue and Smart Assistant Tool. Download the zip file and copy it to somewhere on your PC. LMSA tool will unzip the file and will remove the zip file you downloaded.
You can also download the full stock ROM from the above download flash file section on this guide.
Step 4. Flashing Guide:
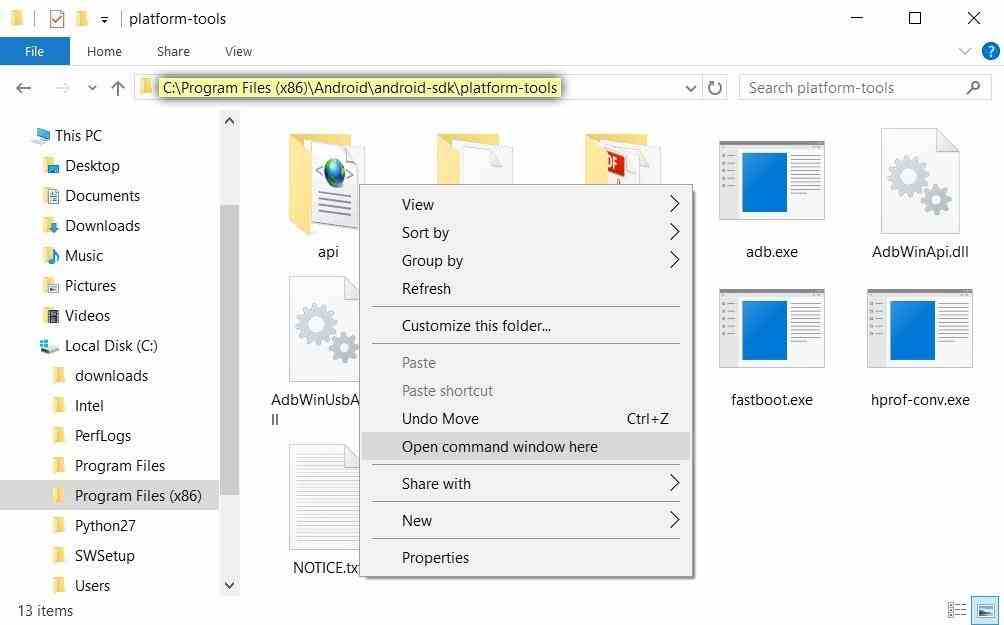
- The next step is to open the command window and go to the adb folder
- Enter the following command to flash the firmware.
fastboot flash pit diskmap.pit

fastboot flash fwbl1 fwbl1.img

fastboot flash ldfw_a ldfw.img

fastboot flash ldfw_b ldfw.img

fastboot flash keystorage_a keystorage.img

fastboot flash keystorage_b keystorage.img

fastboot flash bootloader_a bootloader.img

fastboot flash bootloader_b bootloader.img

fastboot flash modem_a modem.bin

fastboot flash vbmeta_a vbmeta.img

fastboot flash oem_a oem.img

fastboot flash oem_b oem_other.img

fastboot flash logo_a logo.bin

fastboot flash dtbo_a dtbo.img

fastboot flash boot_a boot.img

fastboot flash system_a system.img_sparsechunk.0

fastboot flash system_a system.img_sparsechunk.1

fastboot flash system_a system.img_sparsechunk.10

fastboot flash system_a system.img_sparsechunk.2

fastboot flash system_a system.img_sparsechunk.3

fastboot flash system_a system.img_sparsechunk.4

fastboot flash system_a system.img_sparsechunk.5

fastboot flash system_a system.img_sparsechunk.6

fastboot flash system_a system.img_sparsechunk.7

fastboot flash system_a system.img_sparsechunk.8

fastboot flash system_a system.img_sparsechunk.9

fastboot flash   system_other.img_sparsechunk.0

fastboot flash  system_other.img_sparsechunk.1

fastboot flash  system_other.img_sparsechunk.2

fastboot flash vendor_a vendor.img

fastboot erase userdata (Do it, if you want to clear all your data)
- Now you can reboot into bootloader with the firmware you installed.
That’s it, guys. We hope this guide was helpful to you. Feel free to ask in the comment below for additional queries.