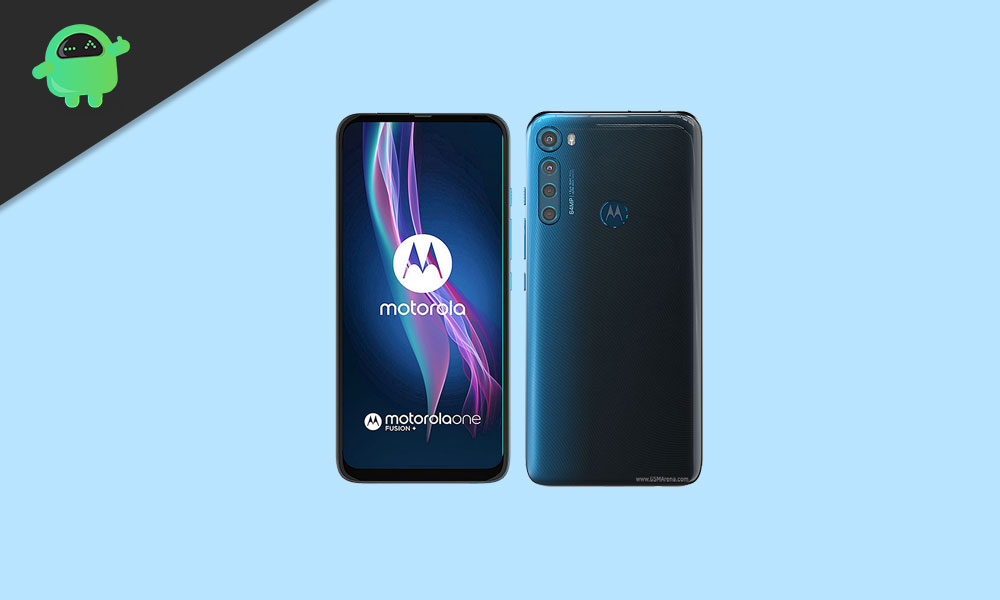
On this page, we have shared the download link and guide to install the Motorola XT2067-2 (Motorola One Fusion+) firmware flash file using the fastboot method. Here you will find all stock firmware zip files for all the supported regions with Motorola One Fusion+ XT2067-2.
If you are someone who wants to restore the device back to factory firmware, then this guide is for you. By using this guide, you can fix certain software-related issues such as hard brick, soft brick, WiFi, or Bluetooth issue, fix lag or stutter or even you can downgrade the device anytime.

Page Contents
Motorola One Fusion+ Specifications
The mid-range category is where Motorola has its grip and the company does not want to loosen this grip. Although in the past year or so, several other OEMs have brought in tons of smartphones that are giving tough competition to the already available Motorola phones. Motorola One Fusion+ is another name in this category which packs the Snapdragon 730 chipset (730G in India) coupled with 6 GB of RAM. The phone comes with a massive 5000 mAh battery enough to last you two days, as touted by the company. It sports a 6.5-inch display that has 1080 x 2340 pixels, 19.5:9 ratio (~396 PPI density).

The device has the Adreno 618 GPU and offers up to 128 GB of onboard storage. It supports UFS 2.1 for faster data transfer. In the camera department, it has a quad-camera setup with a 64 MP primary lens, 8 MP ultrawide, 5 MP macro lens, and 2 MP depth sensor. The company has carried on with the tradition of having the pop-up selfie camera and the Motorola One Fusion+ has the 16 MP selfie shooter. It houses the fingerprint scanner in the back and supports fast-charging up to 15W.
Steps to Install Motorola XT2067-2 Stock Firmware (Flash File)
Now, if you’re ready to flash the stock firmware manually on your Motorola One Fusion+ XT2067-2 device then you need to download the ODIN flash tool, firmware file, and necessary drivers. So, without wasting any more time, let’s get into it.
Pre-Requirements:
- This ROM is supported for the Motorola One Fusion+ XT2067-2 (Liber) variant only.
- Make sure that your device should be charged at least 50% or higher.
- You will require a PC or Laptop with a USB Data Cable.
- We always recommend our readers take a full data backup of the device for safety purposes.
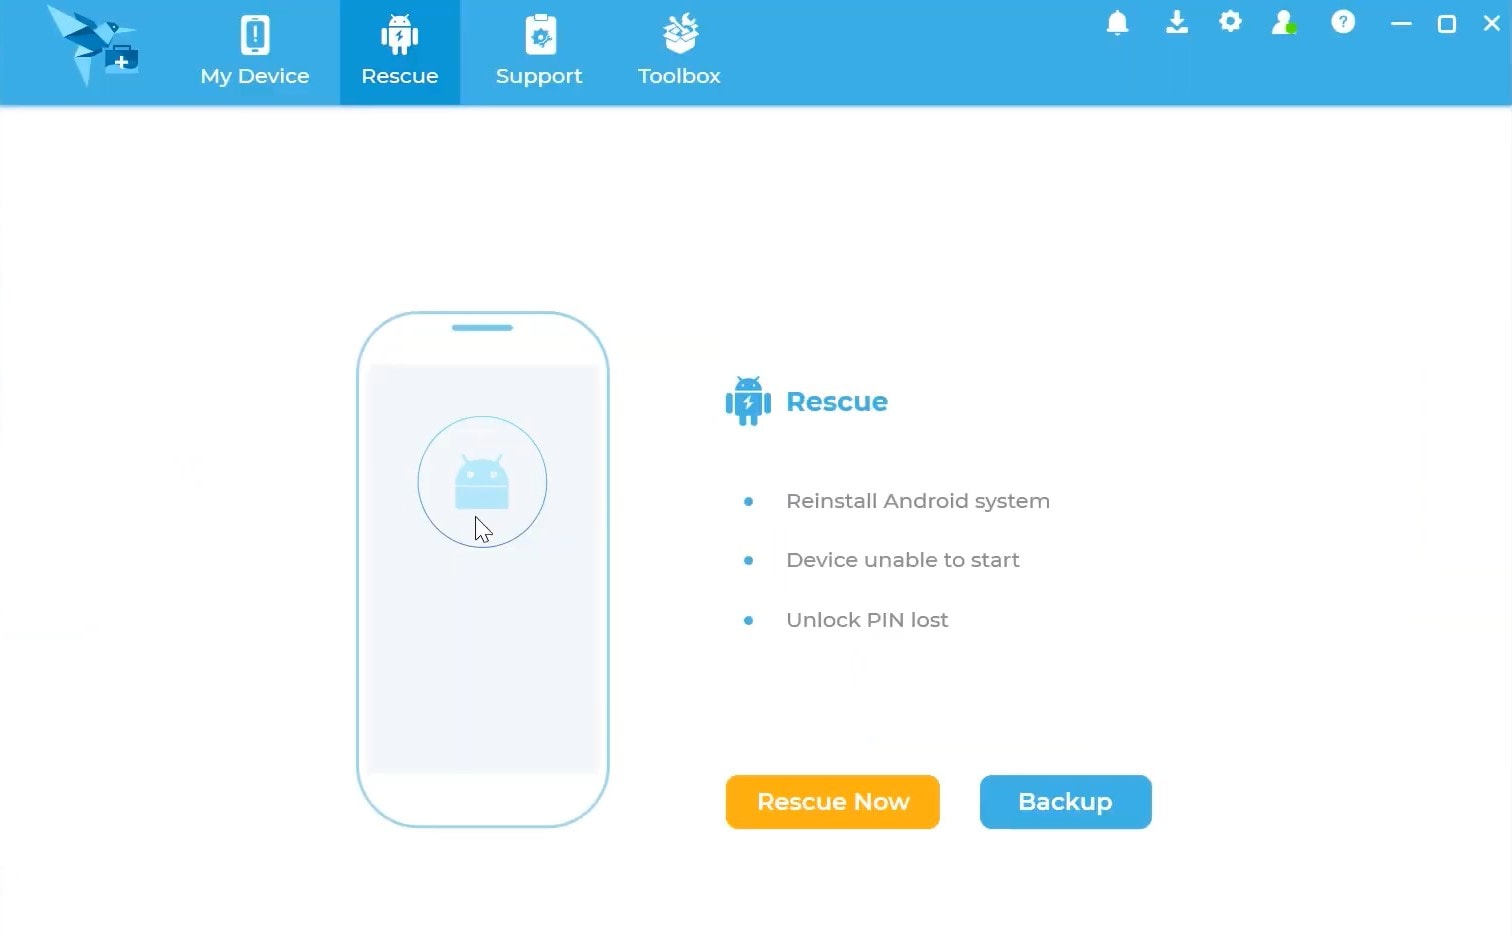
- Install Motorola USB Drivers and Rescue and Smart Assistant Tool on your PC
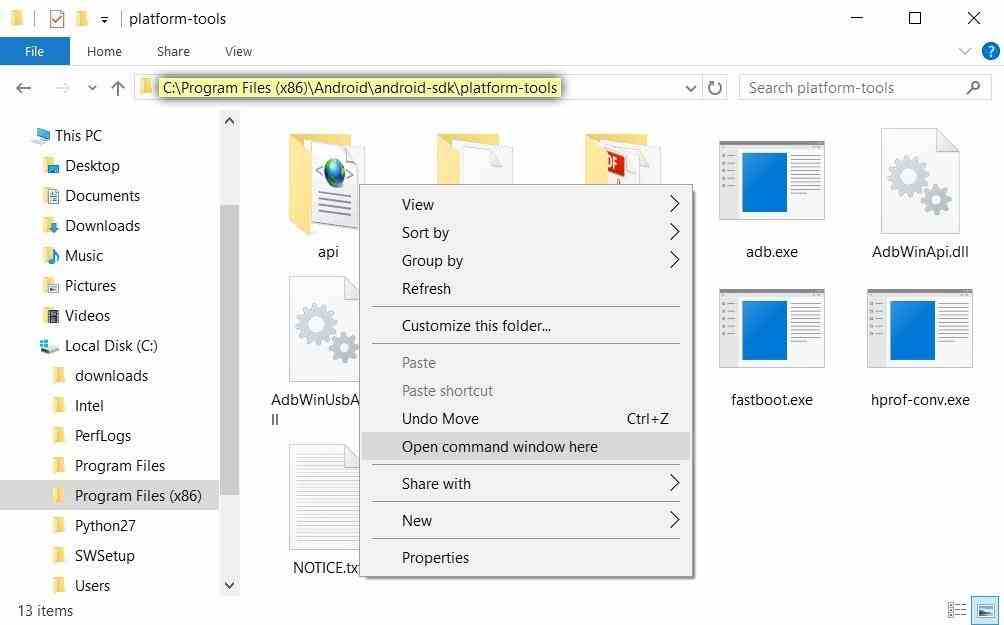
- To flash, you must download the ADB and Fastboot tool
Disclaimer:
Motorola One Fusion+ XT2067-2 Firmware Flash Files:
| Flash File Name: RPI31.Q2-42-21 Model: XT2067-2 Region: BR Android Version: 11 |
Download |
| Flash File Name: QPIS30.73-33-11 Model: XT2067-2 Region: BR Android Version: 10.0 |
Download |
| Flash File Name: QPIS30.73-33-6 Model: XT2067-2 Region: BR Android Version: 10.0 |
Download |
| Flash File Name: QPIS30.73-33-2 Model: XT2067-2 Region: US Android Version: 10.0 |
Download |
| Flash File Name: QPI30.73-33 Model: XT2067-2 Region: US Android Version: 10.0 |
Download |
| Flash File Name: QPIS30.73-23-1-3 Model: XT2067-2 Region: US Android Version: 10.0 |
Download |
| Flash File Name: QPI30.73-23-1 Model: XT2067-2 Region: US Android Version: 10.0 |
Download |
Firmware Installation Guide:
Check out the firmware flashing guide below for the Motorola One Fusion+ XT2067-2. First, make sure to install or extract the adb and fastboot tool on your PC. Now enter the bootloader on your device.

Step 1. Bootloader Mode
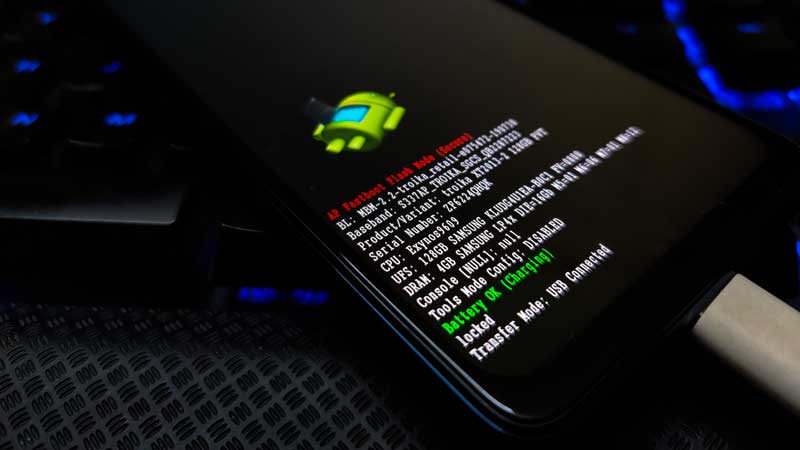
Enter bootloader mode on your phone. To boot first, turn your phone off. Once your device turned off completely, press and hold volume down, and turn it on. You should see the bootloader screen.
Step 2. Connect Your Device to PC:
After booting your Motorola One Fusion+ into bootloader mode, now connect it to the PC using the USB Cable.
Step 3. Download Stock ROM/Firmware:
To get the full ROM, you can use the LMSA or Rescue and Smart Assistant Tool. Download the zip file and copy it to somewhere on your PC. LMSA tool will unzip the file and will remove the zip file you downloaded.

You can also download the full stock ROM from the above download flash file section on this guide.
Step 4. Flashing Guide:
-
- The next step is to open the command window and go to the adb folder

- Enter the following command to flash the firmware.
fastboot flash partition gpt.bin
fastboot flash bootloader bootloader.img
fastboot flash bluetooth BTFM.bin
fastboot flash dsp dspso.bin
fastboot flash radio radio.img
fastboot flash logo logo.bin
- Now toggle the fastbootd
fastboot reboot fastboot
- Again flash the following command
fastboot flash boot boot.img
fastboot flash recovery recovery.img
fastboot flash dtbo dtbo.img
fastboot flash vbmeta vbmeta.img
fastboot flash super super.img.sparsechunk.0
fastboot flash super super.img.sparsechunk.1
fastboot flash super super.img.sparsechunk.2
fastboot flash super super.img.sparsechunk.3
fastboot flash super super.img.sparsechunk.4
fastboot flash super super.img.sparsechunk.5
fastboot flash super super.img.sparsechunk.6
fastboot flash super super.img.sparsechunk.7
- Toggle back to bootloader. Do the following:
fastboot reboot bootloader
fastboot erase carrier
fastboot erase metadata
fastboot erase ddr
(Optional except you want to wipe) fastboot erase userdata
fastboot reboot
- Now your device will reboot into bootloader with the firmware you installed.
- The next step is to open the command window and go to the adb folder
That’s it, guys. We hope this guide was helpful to you. Feel free to ask in the comment below for additional queries.

y si tengo el equipo sin prender, con el bootloader bloqueado y con la leyenda de flashing_locked en modo fastboot. no puedo prender mi telefono y tampoco puedo flashear ninguna rom.