Want to install the stock firmware on your Motorola Moto G9 Play? then you are in the right place. In this guide, we will help you in installing the official stock firmware on Motorola G9 Play (codenamed guamp) variant XT2083-6. Stock firmware comes in handy when you mess up your device to root it or install a mod or custom ROM. To be on the safe side, we always ask our users to download the official firmware on their PC and save it.
By installing a firmware flash file on Moto G9 Play XT2083-6, you can unbrick, restore, fix any software-related issue, downgrade or upgrade, resolve any bugs or lag on your device. To install the Moto G9 Play XT2083-6 firmware, you need the ADB and Fastboot tool on your computer.

Page Contents
Moto G9 Play XT2083-6 Firmware Flash Files:
| Flash File Name: RPXS31.Q2-58-17-4-8 Model: XT2083-6 Android Version: 11 |
Download |
| Flash File Name: RPXS31.Q2-58-17-4-4 Model: XT2083-6 Android Version: 11 |
Download |
| Flash File Name: QPXS30.30-Q3-38-61-2 Model: XT2083-6 Android Version: 10 |
Download |
| Flash File Name: QPX30.30-Q3-38-61 Model: XT2083-6 Android Version: 10 |
Download |
Steps to Install Motorola XT2083-6 Firmware Flash File
If you have downloaded the firmware, then follow this guide to flash the stock firmware manually on your Moto G9 Play XT2083-6. Make sure to follow the steps carefully.
Pre-Requirements:
- This ROM is supported for the Moto G9 Play XT2083-6 (guamp) variant only.
- Make sure that your device should be charged at least 50% or higher.
- You will require a PC or Laptop with a USB Data Cable.
- We always recommend our readers take a full data backup of the device for safety purposes.
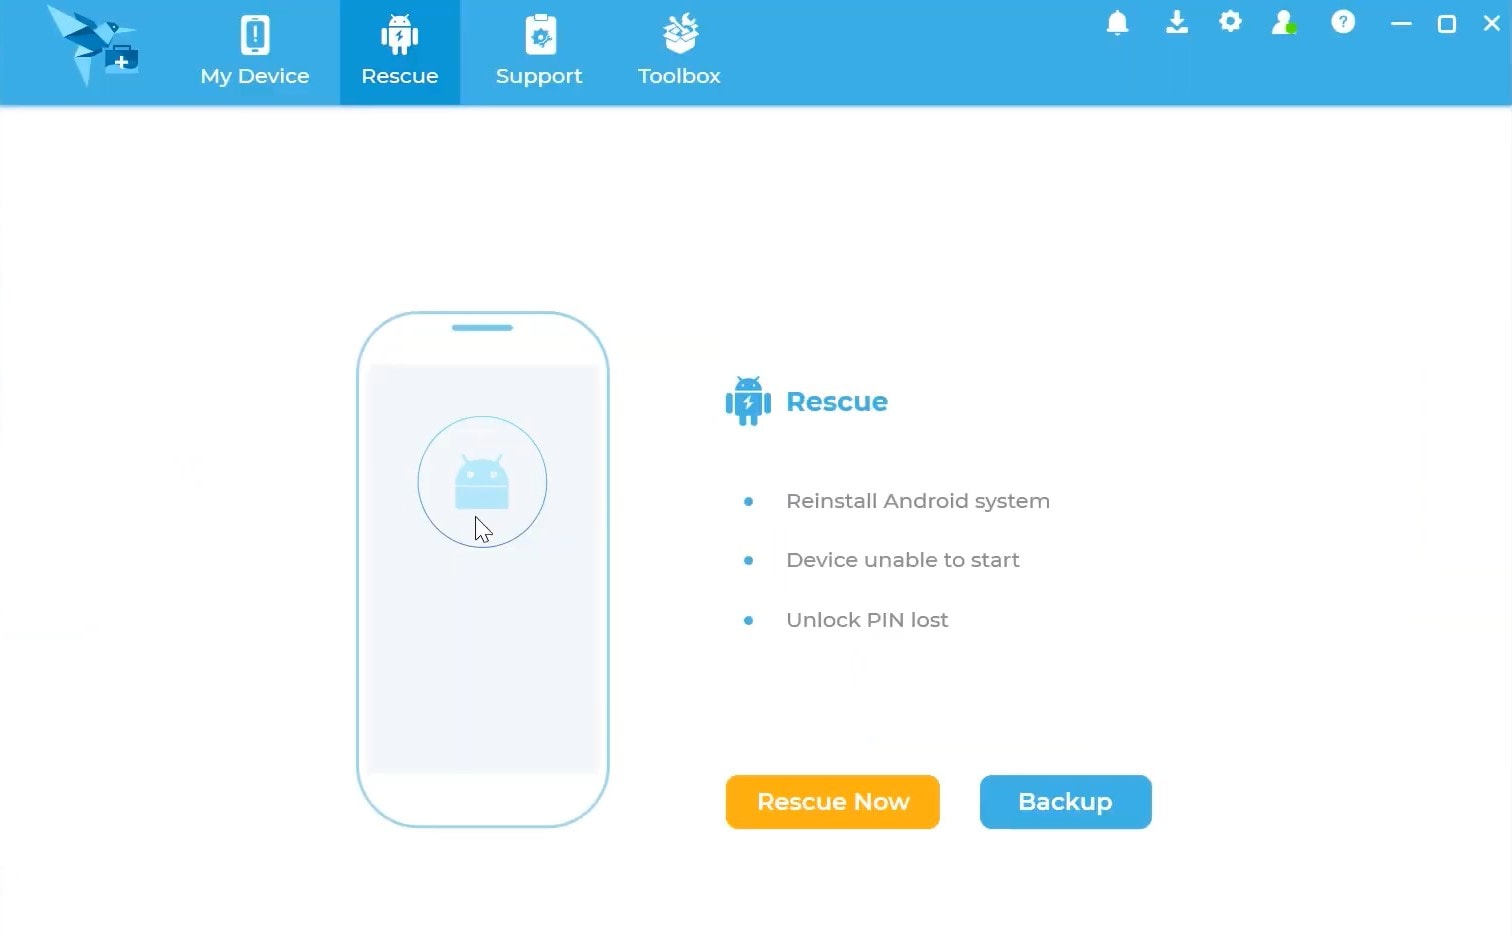
- Install Motorola USB Drivers and Rescue and Smart Assistant Tool on your PC
- To flash, you must download the ADB and Fastboot tool
Disclaimer:
Firmware Installation Guide:
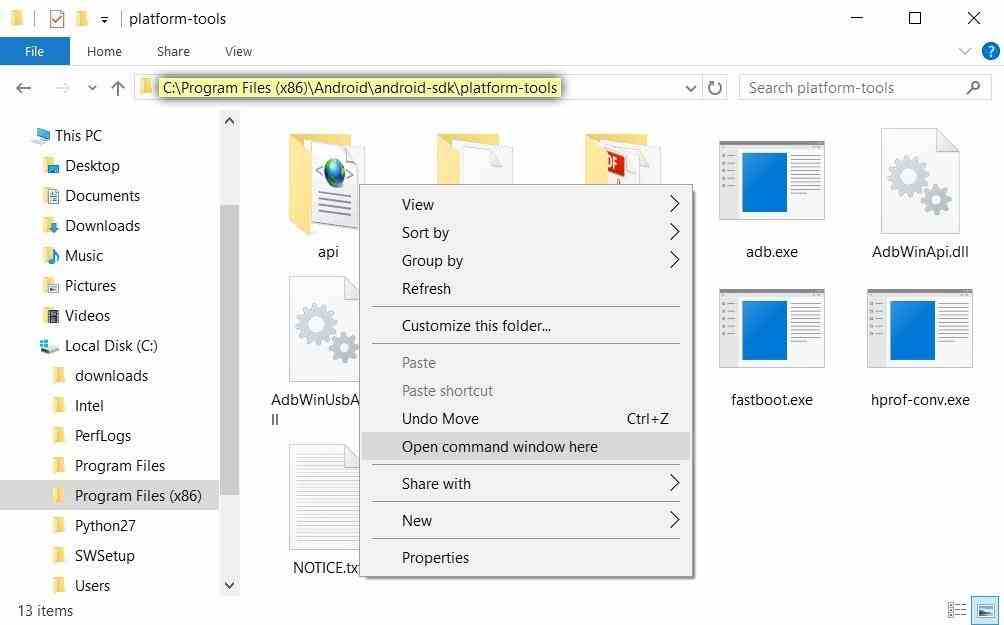
Check out the firmware flashing guide below for the Moto G9 Play XT2083-6. First, make sure to install or extract the adb and fastboot tool on your PC. Now enter the bootloader on your device.

Step 1. Bootloader Mode
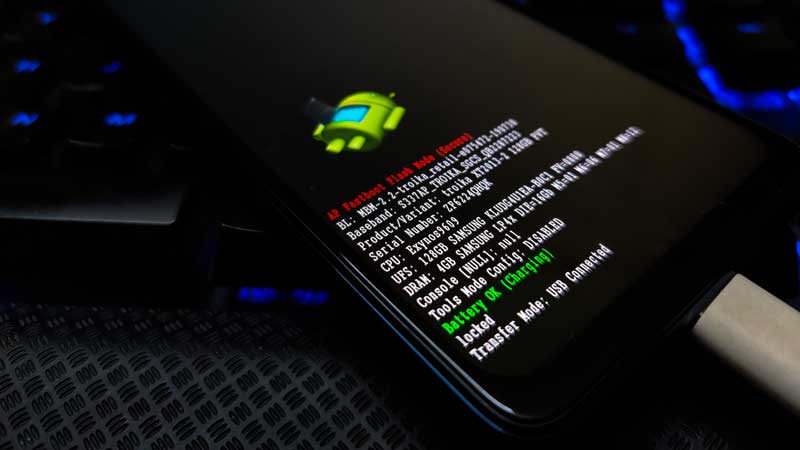
Enter bootloader mode on your phone. To boot first, turn your phone off. Once your device turned off completely, press and hold volume down, and turn it on. You should see the bootloader screen.
Step 2. Connect Your Device to PC:
After booting your Moto G9 Play into bootloader mode, now connect it to the PC using the USB Cable.
Step 3. Download Stock ROM/Firmware:
To get the full ROM, you can use the LMSA or Rescue and Smart Assistant Tool. Download the zip file and copy it to somewhere on your PC. LMSA tool will unzip the file and will remove the zip file you downloaded.

You can also download the full stock ROM from the above download flash file section on this guide.
Step 4. Flashing Guide:
- The next step is to open the command window and go to the adb folder

- Enter the following command to flash the firmware.
fastboot flash partition gpt.bin
fastboot flash bootloader bootloader.img
fastboot flash vbmeta vbmeta.img
fastboot flash radio radio.img
fastboot flash bluetooth BTFM.bin
fastboot flash dsp dspso.bin
fastboot flash logo logo.bin
fastboot flash boot boot.img
fastboot flash recovery recovery.img
fastboot flash super super.img_sparsechunk.0
fastboot flash super super.img_sparsechunk.1
fastboot flash super super.img_sparsechunk.2
fastboot flash super super.img_sparsechunk.3
fastboot flash super super.img_sparsechunk.4
fastboot flash super super.img_sparsechunk.5
fastboot flash super super.img_sparsechunk.6
fastboot flash super super.img_sparsechunk.7
fastboot flash super super.img_sparsechunk.8
fastboot flash super super.img_sparsechunk.9
fastboot flash super super.img_sparsechunk.10
fastboot flash super super.img_sparsechunk.11
fastboot flash super super.img_sparsechunk.12
fastboot flash super super.img_sparsechunk.13
fastboot flash super super.img_sparsechunk.14
fastboot flash super super.img_sparsechunk.15
fastboot erase userdata
fastboot erase ddr
fastboot oem fb_mode_clear
fastboot reboot
- Now your device will reboot into bootloader with the firmware you installed.
That’s it, guys. We hope this guide was helpful to you. Feel free to ask in the comment below for additional queries.
