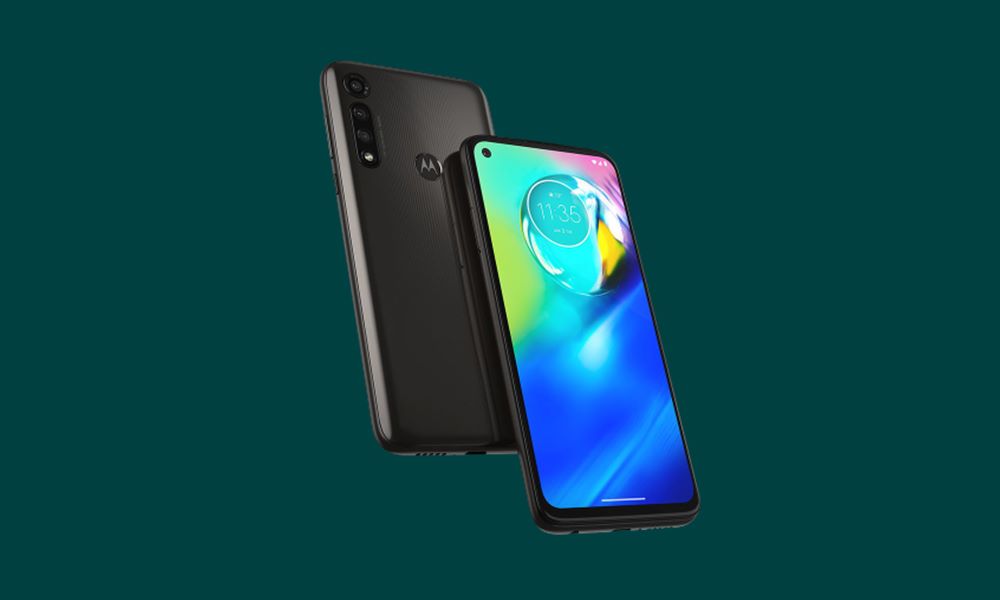
In this tutorial, we will show you the steps to unlock the bootloader on Moto G Power, Moto G Stylus/G Pro, and Moto G Fast. While the budget segment is already brimming with tons of offerings from various OEMs, Motorola has added a couple of its own as well. And there are no reasons why it wouldn’t end up on the success side. Keeping aside the brand loyalty factor, Moto has always known to provide tough durable devices and on top of that, it has a clean near about stock Android experience. To further complement this experience, the company has added a few of its own gestures as well. But this is just the starting.
There are a plentitude of other tweaks that you could carry out on your devices. From installing mods to frameworks, from flashing TWRP to rooting your device, and even flashing a custom kernel, well the list goes on. The only requirement that needs to be met from your end is an unlocked bootloader. And in this guide, we will help you achieve just that. So here are the required instructions to unlock the bootloader on Moto G Power, Moto G Stylus/G Pro, and Moto G Fast. But first, let’s check out what is a Bootloader and what advantages and risks an unlocked device brings in with itself. Follow along.
Page Contents
What is Bootloader?
In the simplest of terms, Bootloader is a software program that tells the operating system what all programs it needs to launch while the device is booting up. Along the same lines, it helps your device to boot into recovery and fastboot. By default, your device comes with a locked bootloader. The reason for the same is pretty simple. They (smartphone companies) only want the users to try out the Android experiences that they have shipped with the device.
However, not everyone would end up liking the offering from the OEM. Hence to set their feet into the custom development and try out the unlocking of the bootloader. After this, they could literally try out tons of modifications on their device. Before going any further, let’s check out the perks and disadvantages of an unlocked bootloader. This will give you a concrete idea regarding both the pros and cons of the process to unlock the bootloader on Moto G Power, Moto G Stylus/G Pro and Moto G Fast.
Advantages and Risks of Unlocking the Bootloader
Once you have unlocked the bootloader on your device, you could try out a plethora of mods, replace your device stock recovery with a custom one like TWRP, or even root your device via Magisk and gain access to the system partition. Talking about TWRP, you could make use of it to flash ZIP and IMG files, flash custom ROMs, wipe various device partitions, take a Nandroid backup, and whatnot. As far as root is concerned, well you could then install Magisk Modules, Xposed Frameworks, Substratum Themes, and tons of other system-related tweaks. But this is just one side of the coin.
An unlocked bootloader might also make the device warranty null and void and will wipe off all the data from your device. Likewise, apps like Pokemon Go and Google Pay might not function. Along the same lines, the Widevine L1 Certification will be degraded to L3 and you wouldn’t be able to stream NetFlix contents in HD. Not to mention the fact that the entire process is risky and might brick or bootloop your device as well. With this, you are now aware of the perks and risks of an unlocked device. If you are ready to proceed ahead, then here are the required instructions to unlock the bootloader on Moto G Power, Moto G Stylus/G Pro, and Moto G Fast.
How to Unlock the Bootloader on Moto G Power, Moto G Stylus/G Pro, and Moto G Fast.
Video Guide:
Refer to our in-depth video guide for visual assistance.
There are a few requirements that your device needs to qualify. Make sure you go through them before starting with the unlock process.
Warning
Prerequisites
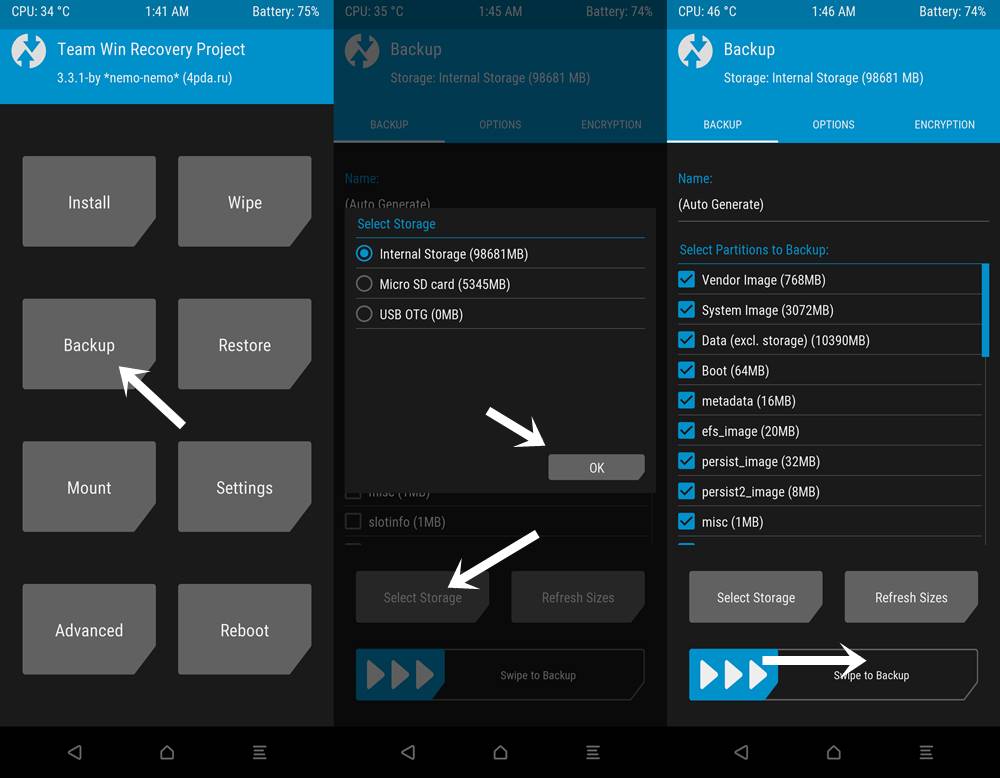
- First and foremost, create a complete device backup. This is because unlocking will wipe off all the data from your device.
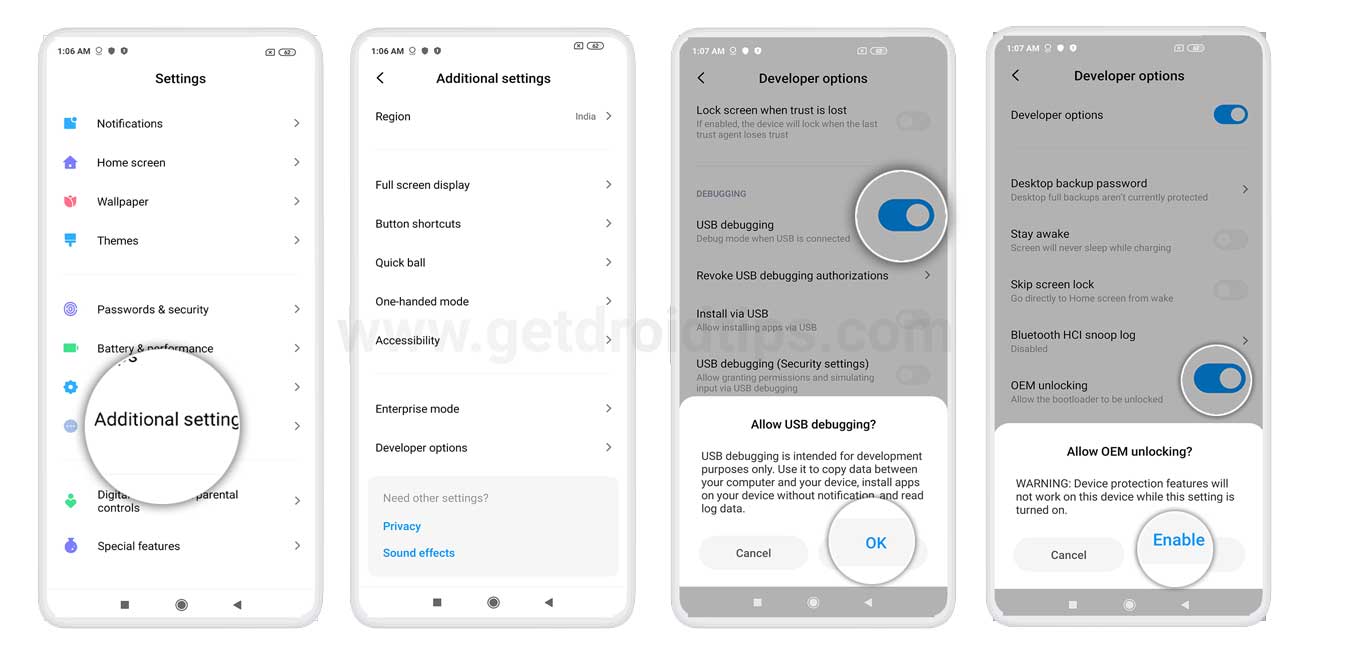
- Next up, you will also have to enable USB Debugging and OEM Unlocking. The former will make your device recognized by PC in ADB Mode while the latter helps in the unlocking process. To enable them, head over to Settings > About Phone > Tap on Build Number 7 times > Go back to Settings > System > Advanced > Developer Options > Enable USB Debugging as well as OEM Unlocking.
- Likewise, download and install the Android SDK Platform Tools on your PC.
That’s all the required tasks that you need to do. You may now begin with the steps to unlock the bootloader on Moto G Power, Moto G Stylus/G Pro, and Moto G Fast.
Instructions Steps
The below instructions are broken down into different sections for the ease of understanding:
STEP 1: Get the Unlock Data
- Connect your device to PC via USB cable. Make sure Debugging is enabled.
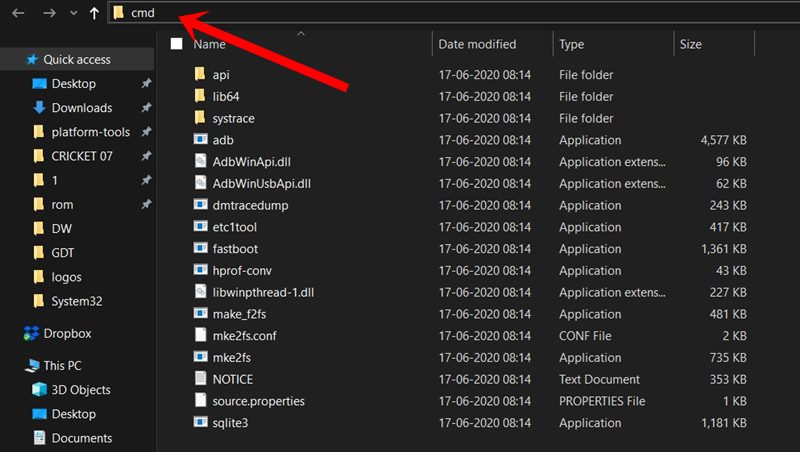
- Now head over to the platform-tools folder, type in CMD in the address bar, and hit Enter. This will launch the Command Prompt.
- Type in the below command to check for the successful ADB connection
adb devices
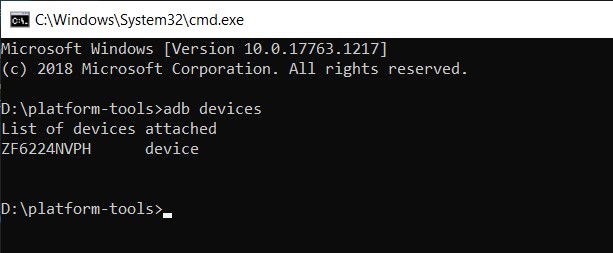
- If this is the first time you have used this ADB command, then you will get an Allow USB Debugging popup on your device, tap on Allow.

- Now type in the below command to boot your device to the Fastboot mode:
adb reboot bootloader
- Finally, enter the following command to get the unique Unlock Data:
fastboot oem get_unlock_data
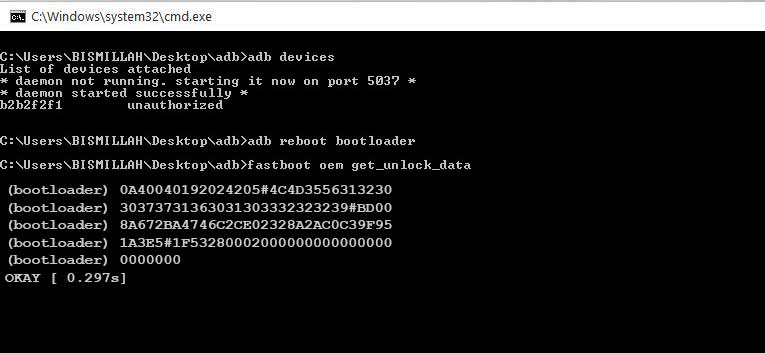
- You will now get five lines of alphanumeric commands with a (bootloader) prefix. What you have to do is copy the entire string of commands, but remove the (bootloader) prefix and all the spaces that you get after each line. In other words, make sure it turns into a single line of command, as shown below. The Notepad app should come in handy while carrying out this task.

- Copy this line of code and keep it at a safer place. We will use this code to unlock the bootloader on Moto G Power, Moto G Stylus/G Pro, and Moto G Fast.
STEP 2: Get the Unlock Key from Motorola
You will now have to send this string of command to Motorola which in turn will send you an Unlock key. Here are the required steps for that:
- Head over to Motorola Bootloader Unlock Site and sign with your credentials.
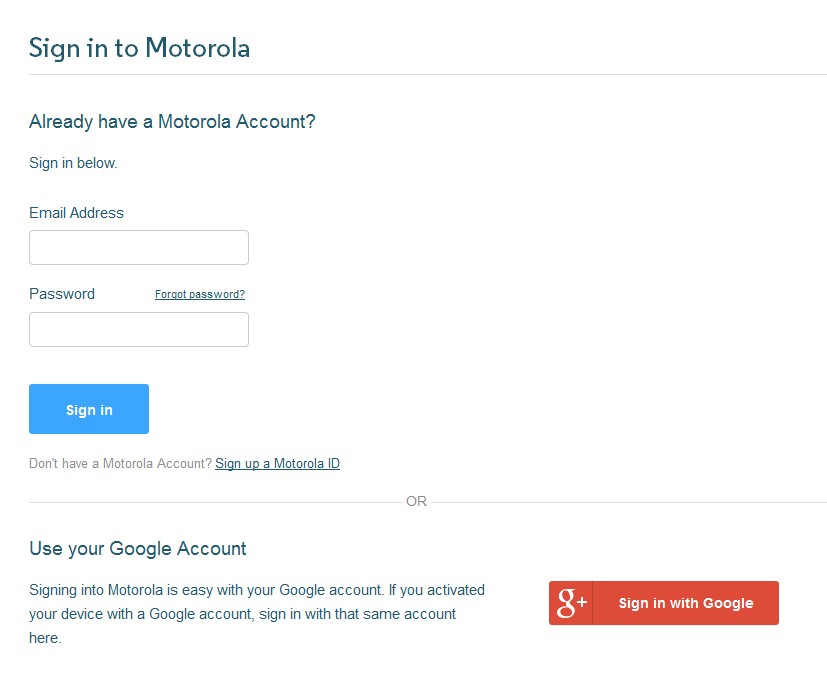
- You will then be taken to the Unlock My Device page. Scroll to the sixth point and enter the string of command that you had copied earlier. Then click on the ‘Can my Device be Unlocked?’ button.

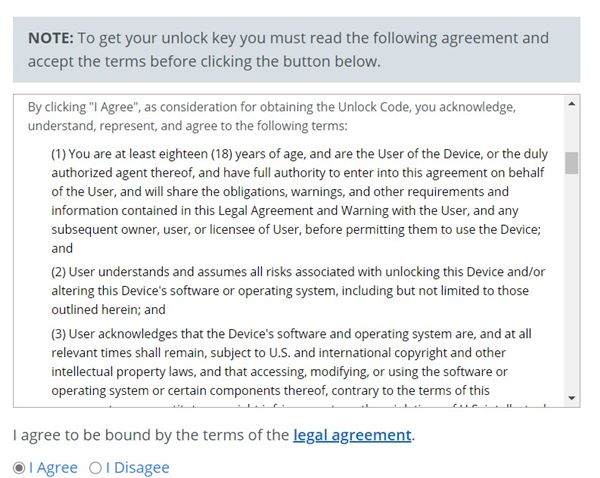
- You will now see a blue “REQUEST UNLOCK KEY”. Agree to the terms and conditions and click on that button. You will then receive a unique Unlock Key on your email.
STEP 3: Unlock the Bootloader on your Moto Device
- Copy that Unlock Key that you have received from Motorola. Then head back to the Command Window that you have opened in the platform-tools folder.
- At this point, your device should be connected to PC via USB cable and be in Fastboot Mode itself. If that is not the case, you can do so by using the following command
adb reboot bootloader
- Now execute the below command in that CMD window (make sure to replace the Unlock_Key keyword with the key that Motorola has just mailed you):
fastboot oem unlock UNLOCK_KEY
- The process will take a few seconds and once that is done, your device should reboot. If it doesn’t, you may also make use of the below fastboot command:
fastboot reboot
That’s it. These were the steps to unlock the bootloader on Moto G Power, Moto G Stylus/G Pro, and Moto G Fast. Now that your device reboots, it might take up some time, it is nothing to worry about. Furthermore, you will also have to set your device from scratch as it will have been formatted. So login with the Google Account, complete the setup, and enjoy your unlocked device. On that note, if you have any issues concerning the aforementioned steps, do let us know in the comments section. Rounding off, here are some iPhone Tips and Tricks, PC tips and tricks, and Android Tips and Trick that you should check out as well.
