The “Activation Context Generation Failed Error” is a usual error that generally occurs while a user tries to run a host of programs that encounter compatibility issues related to the C++ package. However, the error does not interrupt the working of the affected program but remains only logged in the Event Viewer. At times, due to the said error the application/program experience frequent or periodic crashes.
Also Read

Page Contents
How to Fix “Activation Context Generation Failed Error”?
Lately, a lot of Windows 10 users were complaining about the “Activation Context Generation Failed Error”, and thus, we researched and came up with some sure-shot solutions. If you are also one of the suffered users, have a look at our guide below and check whether it helps you or not.
FIX 1: Reinstall the affected application:
As the “Activation Context Generation Failed Error” is related to a host of programs and can interrupt the stability of the affected program, the best resort here is to reinstall that particular application/ program.
Once the user reinstalls the affected application, the new installation will offer a more advanced setup that will further get compatible with the Microsoft Visual C++ package.
Now you can uninstall the affected application manually as well. Though, to make sure that every single file and folder related to the affected application is removed, we recommend you to use a dedicated Uninstalling Software.
There are several such uninstalling software (s) available online. Make sure you use a trusted one.
FIX 2: Clean boot the system & reinstall the program:
The next fix you can try is Clean Boot and reinstall the Program. Most of the suffered users have reportedly said that this solution has proved helpful for them and thus we recommend you to try the same. For doing so, follow the steps given below:
- Firstly, make sure that you are logged in to your computer with administrator access.
- Now navigate to the Start menu, type MSConfig and launch the System Configuration window. Make sure you launch it with administrator access.

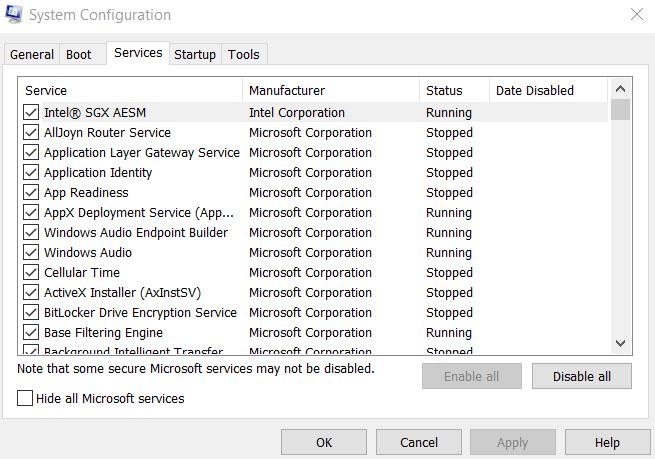
- Inside the System Configuration window, navigate to the Service tab from the vertical menu, and there down below, click on the tick box before the option Hide all Microsoft service.
- Further, click on the Disable all tab.

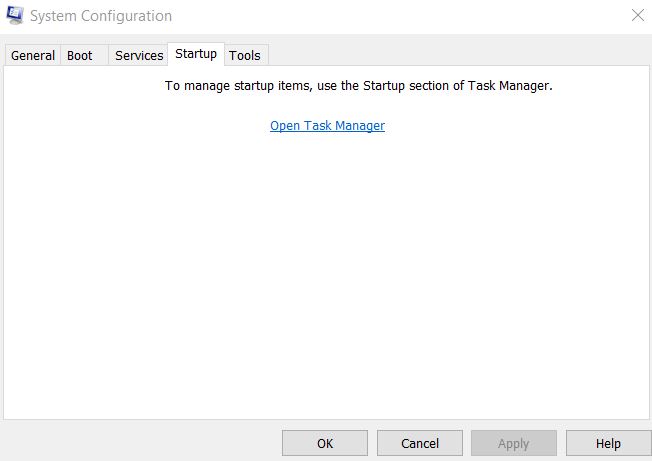
- Now again, from the vertical menu, navigate to the Startup tab and then click on the link stating Open Task Manager.

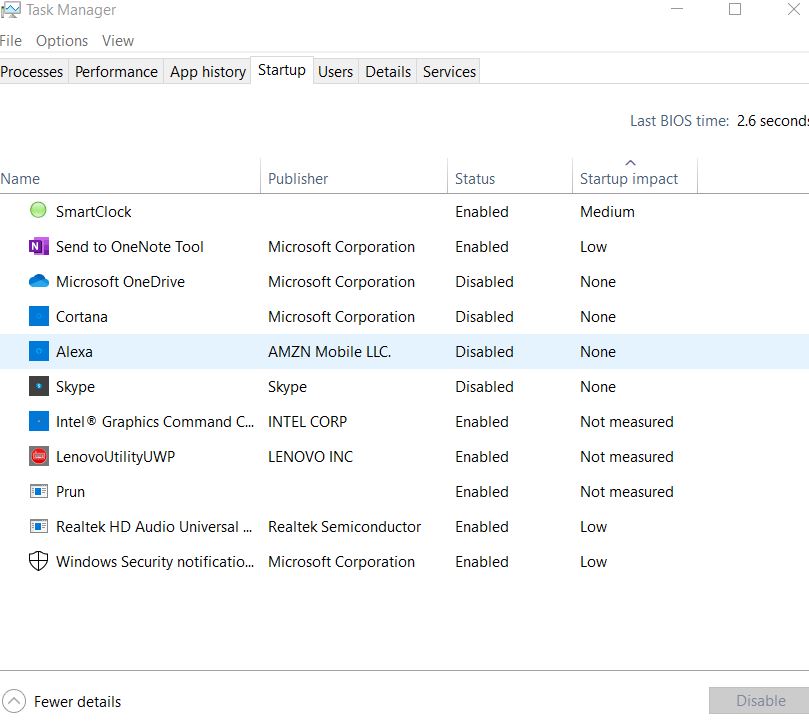
- Inside the Task Manager window, navigate to the Startup tab from the vertical menu, right-click on each entry on the list below and select Disable.
- Once done, exit the Task Manager window and then navigate back to the System Configuration window.
- Here click on OK and then Restart your computer.
- Lastly, reinstall the affected program.
Note: If the affected program crashes with the “Failed to create process default activation context error”, then here at this stage, we recommend you to perform a Clean Boot.
FIX 3: Reinstall Microsoft Visual C++:
As discussed earlier above, one of the prime reasons that can trigger the “Activation Context Generation Failed Error” is an incompatibility between a Program and Microsoft Visual C++ components. In short, it means that the version of the Microsoft Visual C++ component you are using is really advanced to support a dedicated program. Eventually, it leads to the said error.
Now what you can do here is, reinstall the earlier version of the Microsoft Visual C++ redistribution package. Make sure the version you install was introduced at least a year or more before the development of the affected program. To decide which version of the C++ redistribution package to install, users can check the Year and Month of the affected program and then decide accordingly.
At the end of this article, we hope that one or the other solution above will eventually help you in resolving the “Activation Context Generation Failed Error”. While you are uninstalling or reinstalling the affected program, make sure you do the same for the array of affected programs.
We hope that the guide as mentioned above will prove helpful and relevant to our readers and will help them in repairing the discussed error. After reading this article, if you have any queries or feedback, please write down the comment in the below comment box.
