Windows OS has this system that notifies the user when their PC is short on disk space. The user gets a pop-up about disk space running out, is low or exhausted. The notification helps the user to know about the issue so that he can sort out the storage. This means the user will manage the storage by deleting files that are not required.
At times, frequent pop-up notifications for low disk space can be quite annoying. So, users do wonder if there is a way to disable this low disk space notification on their Windows PC. Well, in this guide, I will explain to you how to do this. You have to make some changes in the registry components to disable this notification for less storage.
Also Read

Disable Low Disk Space Notification on Windows
Disclaimer
Before starting let me tell you that modifying the Windows registry may cause any kind of glitches or errors in the other apps or services of your Windows PC. So, carry it out at your own discretion. GetDroidTips will not be responsible for any technical errors that may happen with your PC/laptop while or after carrying out the mentioned modification in the registry.
Modifying the Registry
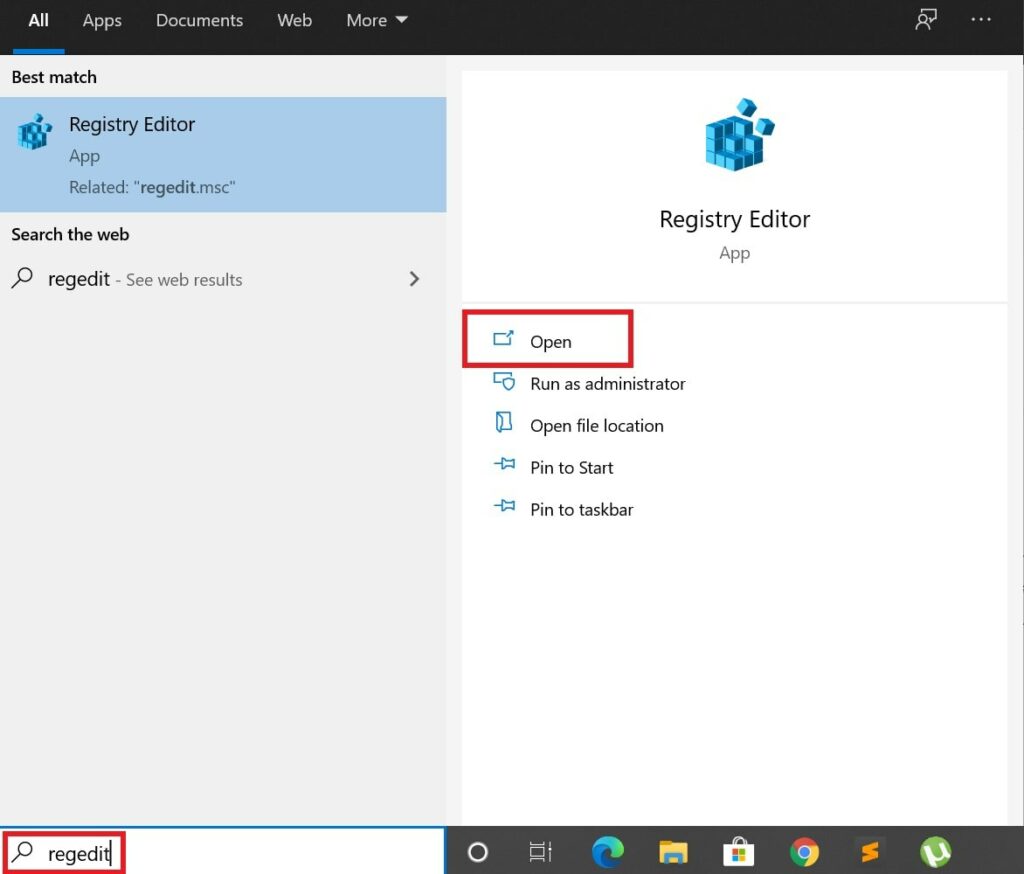
- On the Type Here to Search box, type Regedit
- Click Open on the Registry Editor that shows up in the result

- Then concentrate on the left-hand panel
- You should see the HKEY_CURRENT_USER folder
- Click on the down arrow to expand
- Then scroll down till you see a folder SOFTWARE. Click the arrow beside it to expand it
- Again scroll down till you see the folder MICROSOFT. Click to open it.
- Under that scroll till you see the WINDOWS folder. Open it and scroll again.
- Go to the CurrentVersion folder and expand it.
- In the menu bar click on Edit > New > click on Key

- A New key #1 will be created as a default name. This you have to change
- Change the name to Explorer and press Enter
- Now, click on Explorer to select it
- Click on Edit > New > DWORD (32-bit) value
- DWORD component has a name New value #1. You have to change this to NoLowDiskSpaceChecks
- Press Enter
- Once again right-click on DWORD > click Modify
- A pop-up dialog box Edit DWORD (32-bit) Value will show up
- The value will be set to 0 by default. Change it to 1.
- Click OK
- Close the Registry Editor
So, now you won’t get the low disk space notification popping up on your screen. However, I suggest you keep checking your This PC/My Computer section to know about the status of storage on all the available default and external drives. This way you can manage the storage before it entirely runs out of space. I hope that this guide was useful to you.
Other Guides,
- How to Remove Software Leftovers on Windows
- Windows Has Recovered from An Unexpected Error: How to Fix
- Windows 10 WHEA Uncorrectable Error: How to Fix
- How to Fix Audio Services Not Responding on Windows 10
