Hyper-V is a Microsoft technology that allows PC users to create virtual computer environments in order to run or manage multiple OS (operating systems) on a single server physically. Hyper-V is an all-in-one server that offers user roles to virtualization. However, Hyper-V has some common issues or errors that users may experience and cannot create a Hyper-V virtual switch on Windows 10 64-bit problem is one of them. If you’re also facing the same issue, then check out the easy troubleshooting steps below to fix it.
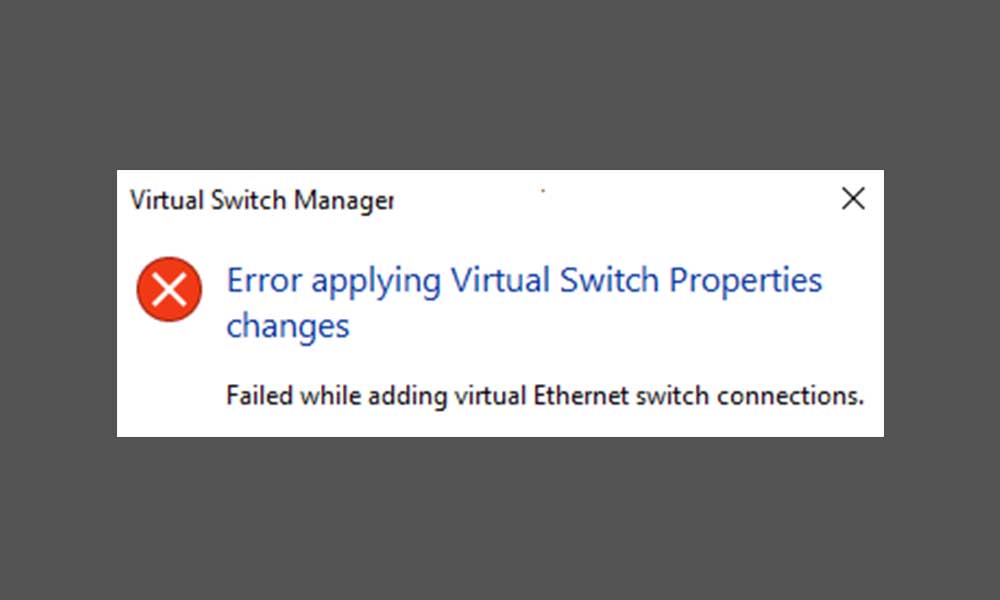
According to the affected users, after deleting a Hyper-V virtual switch (vSwitch) on the Windows PC that has been upgraded to Windows 10, users can’t re-create the vSwitch for the same physical adapter. At the time of appearing this problem, users should receive the following error message something like “Virtual Switch Manager. Error applying Virtual Switch Properties changes. Failed while adding virtual Ethernet switch connections.”
It basically indicates that the vSwitch exists even though it’s no longer listed in the Hyper-V Virtual Switch Manager. Now, you may ask but why this problem occurs. It appears due to the new network setup functionality which is included in Windows 10 64-bit version. It doesn’t delete all objects from the previous vSwitch installation completely. However, this particular error may not appear on other Windows 10 versions most probably.
Also Read
Download Dolby Audio Driver for Windows 11/10/8.1
Fix: Twitch Xbox No Sound or Video
How To Fix External Hard Drive I/O Device Error in Windows 11/10
Fix: Win+Shift+S Not Working on Windows 11/10
How to Fix Hyper-V Not Working on Windows 11
Fix: Minecraft “You Need To Authenticate to Microsoft Services” Error
How to Link Your Microsoft Account via microsoft.com/link

How to Fix If You cannot Create Hyper-V virtual switch on Windows 10 64-bit?
Important:
- The network connectivity will loose after the wizard finishes.
- Restart your computer manually once wizard finishes.
- Manually connect all known Wi-Fi networks on your PC after reboot.
- You will need to re-create the vSwitch via the Hyper-V Virtual Switch Manager once the computer restarts.
In order to fix this particular issue automatically, you will need to download the MicrosoftEasyFix20195.mini.diagcab file from the link below.
- Once downloaded on your PC, click on Run or Open > Follow the on-screen instructions in the installation wizard.
Additionally, you can also download and save the easy fix solution file to a flash drive or a CD in order to run it on your computer easily.
That’s it, guys. We hope you’ve found this guide pretty helpful. For more queries, you can comment below.
