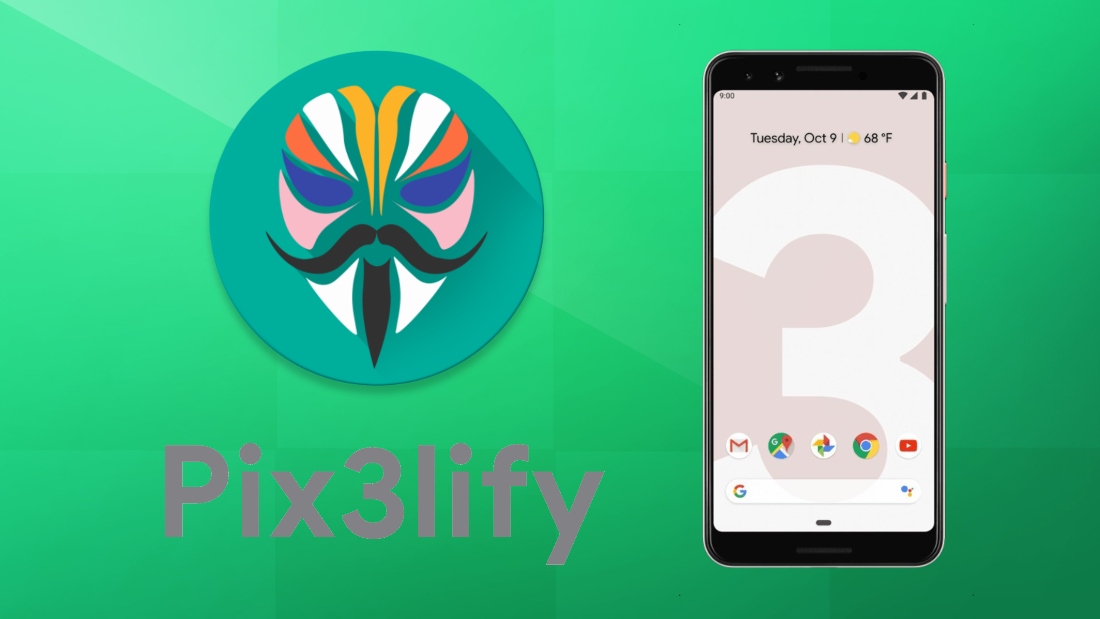
Google’s Pixel devices are the most elegant running Android OS skins that you can use on any device. I being a Samsung user for a decade, really do not like the way Touchwiz UI was and though they tried to revamp the skin with the One UI, the Pixel’s UI is still a bit far to catch up for Samsung or in this case, for any OEM. Moreover, not only the skin or the UI, Pixel devices are a great package overall with the best camera on any smartphone, period. These devices are the first to receive the latest Android updates be it firmware or security updates. However, you can get the same Pixel like experience on your Android device if you have root access. Because in this guide, we will show you how to get Pixel UI and Apps with Pix3lify Magisk module.
With the help of the Pix3lify Magisk module, you will be able to get all the Pixel like UI and skin along with all the apps, media and the no-bloatware experience on any rooted Android device. Moreover, you also get some extra features like Camera 2API, Digital Wellbeing, Google dialer and much more that you will learn in this post. So, without any further ado, let us get straight into the article itself;
Also Read

Page Contents
Get Google Pixel UI and Apps with Pix3lify Magisk Module
Before we go ahead with the installation of the Pix3lify Magisk Module on Android device, let us understand what it is and what are the features that you will get after installation of this module on your Android device;
What is Pix3lify Module?
The Pix3lify module is developed by Xda developers senior developer, joeyhuab. This module is based on Magisk and brings in a lot of cool and nice features from the Google Pixel devices to any rooted Android device. Not only the skin but you also get features like;
- Pixel’s navigation gestures
- Google Dialer
- Digital Wellbeing
- Pixel’s Blue accent theme
- Call Screening feature
- Camera2API support
- EIS support
- Night Light
- Emojis from Android Q
- Set Gboard theme to White BG with Pixel Blue accent
- Adds Daydream VR support
- Enables Google Live Earth + Live Data
Moreover, you also get all the media features from Pixel devices like the wallpapers, live wallpapers, ringtones, notifications, alarm sounds, etc. Also, you get the system-wide Pixel’s Sans Font on your device. Not only this, but you also get the option to choose among various Android launchers like Lawnchair, Ruthless Launcher, Stock Launcher, and more.
Pre-requisites
- Your Android device needs to have root access
- Make sure that your device is running on Android 8.0 Oreo or above
- You need to have the Magisk v18.0 or above to install the Pix3lify module
- Follow the instructions carefully as mentioned in the installation procedure to avoid any issues or problems
Downloads
Steps To Install the Pix3lify Magisk Module on any Android Device
- Firstly, make sure that you have root access on your device.
- You need to download the latest Magisk manager on your device.
- Now, download the Pix3lify magisk module either from the link given in the Downloads section or directly from the magisk module.
- To download from the Magisk Manager, open Magisk then go to Downloads section and in the search bar type “Pix3lify“. Tap on the download button to download the magisk module.
- Next, tap on the install button to install the Pix3lify module on your device.
- Now, once the installation is complete, it will ask you various permissions to install different Pixel apps and features. You can reply Yes by using the Volume Up button and reply No using the Volume Down button.
- Then, finally, tap on the Reboot button.
- That’s It! You have now successfully installed the Pix3lify Magisk module on your rooted Android device.
Once the device reboots, you will see the Pixel UI and all the features and apps from the Pixel device, installed on your Android smartphone. You can now enjoy the Pixel experience on your Android device.
So, there you have it from my side in this post. Hope you guys liked this post and were successful in installing the Pix3lify magisk module on your Android device by following the steps mentioned above. Note that you need to have root access on your device in order to install the Pix3lify module on your Android device. Let us know in the comments if you found any difficulties in installing the Pix3lify module on your device or come across any link failures. Until the next post…Cheers!
