Installing a printer on your personal computer running on the Windows 10 OS is not much of a task, if only you know how exactly to go about it. There are different ways to install or add a printer to your personal computer. One is to install a wireless, network, or Bluetooth printer and another is to install a printer via USB. The latter, which is also referred to as installing or adding a “local printer”, is the focus of this article.
Without further ado, let’s see how to install or add a local printer on your Windows 10 installation.
Also Read

Connecting the Printer Physically to your Windows 10 Computer
Most of the time, what you’re required to do is to connect the printer to your personal computer via USB. With your printer off, connect its USB cable to your PC through any of the available USB ports. Then, turn on your printer. That’s all you need to do on your printer.
Finishing off the process on your PC
Let’s now talk about what you need to do on your PC to complete the process:
- Launch the Start menu by pressing the Windows key on your keyboard and click on the Settings icon to the bottom left of the screen.
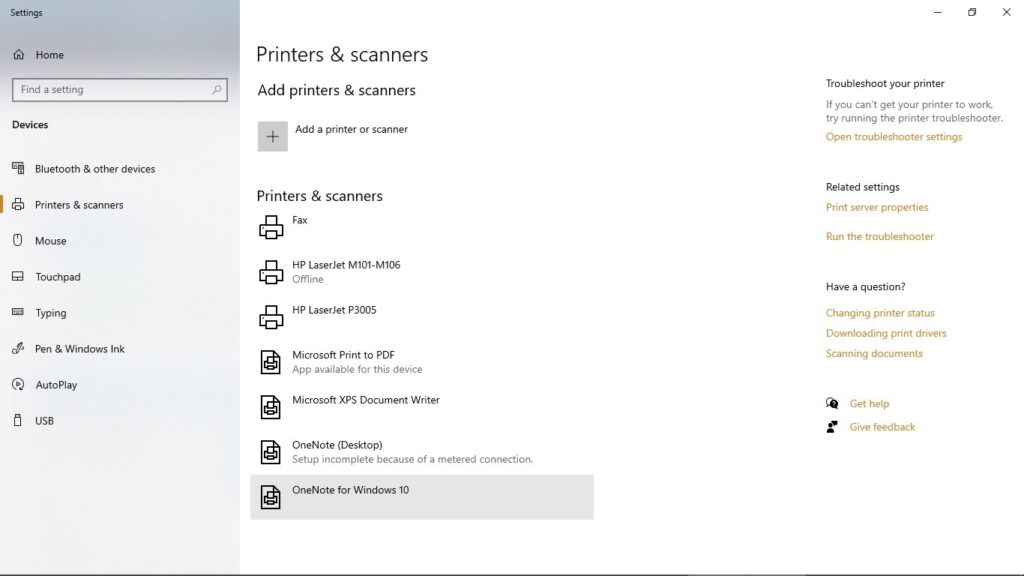
- In the settings window, locate “Devices” and navigate to “Printers & Scanners”.

- Select the option to “Add a printer or scanner” and wait a while as nearby printers available, including the one connected to your PC via USB, will pop up.
- Choose the device that you have connected to your PC via USB from the list and click “Add device”. That automatically connects your PC to the printer and you can go on to print documents from your PC through that printer.
That’s as simple as installing or adding a local printer in Windows 10 is. Note that to make things easier and faster anytime you want to print, you can set a printer of your choice as your default printer. All you need to do is click on the printer in the “Printers and Scanners” list, select “manage” and then “set as default”.
