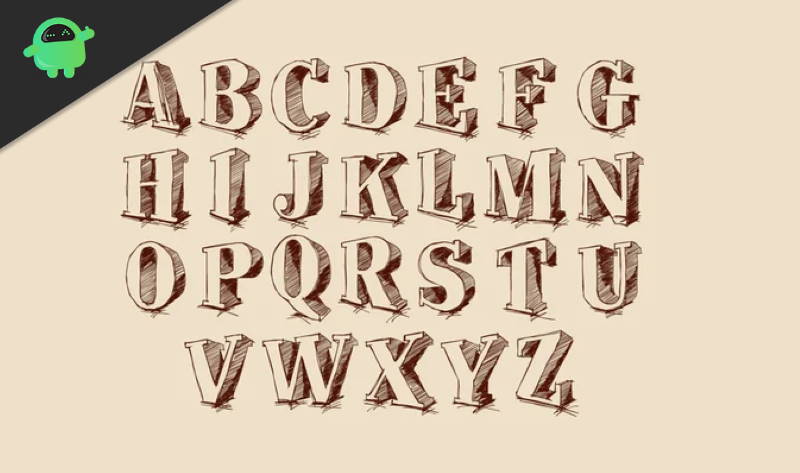
Fonts are beautiful! If you’re a graphics designer or a content writer, then you would know how important fonts are. Fonts can give new meaning tot he text and also helps in clear and understanding typographic. However, if you install a new font, everything then you will have a lot of font clutter in the end. So it is important to manage fonts in windows 10 PC. In this tutorial, we will also tell who to install certain fonts for your liking and how to manage them. Once you learn this, it will be easy for you to get new font packages, install and manage them in windows 10 PC.
Everything you read online or offline is based on fonts. For eg, the article you’re reading right now is written in Georgia Font with weight 12 points. And similarly, there are many fonts that work for your PC, smartphones, web browsers, websites, and so on. Also, your PC also have many fonts installed from the start. You can also install more or remove one you already have. This is why it is important to know how to install and manage fonts in windows 10. Managing fonts is easy, but if you don’t, you will have a lot of fonts installed on your system that you will not be able to take a proper record.
Page Contents
What Are Fonts In Windows 10?
Fonts are different text styles. In windows, there are a variety of fonts like serif and sans serif, etc. All of these fonts have different contrast, style, alignments, design, and size, which affects the text appearance. Even more, fonts are essential for you to read certain texts on the window. If you don’t have certain fonts installed on your windows, then the text won’t show up.
Fonts are generally PNG files with all the alphabets and characters of a particular language to be installed and used on windows. Better the font will be, easier it will be to read, fonts make a vast difference in the appearance of the UI. Windows 10 already comes with all the necessary fonts available. However, if you want to add fonts and manage it on your device, windows allow you to do it. You can also download free fonts which are amazing. Read further to know how to install and manage fonts in Windows 10.
How to install/remove/manage fonts in Windows 10?
Microsoft Windows has its own fonts manager settings on pre-built on the system, so you don’t have to use any third-party applications. To know how to install, remove, thus to manage your fonts on Windows 10, follow the steps mentioned below.
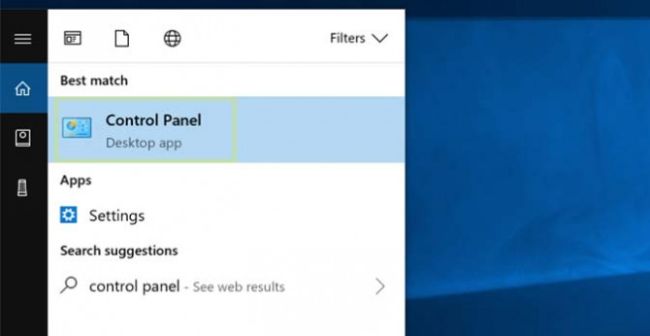
Step 1) Open up the control panel by typing control on the Windows search bar and click on the Control Panel option. However, you can also press the Windows key + R to open up the Run box, type control, and press Enter. The Control panel will open up.
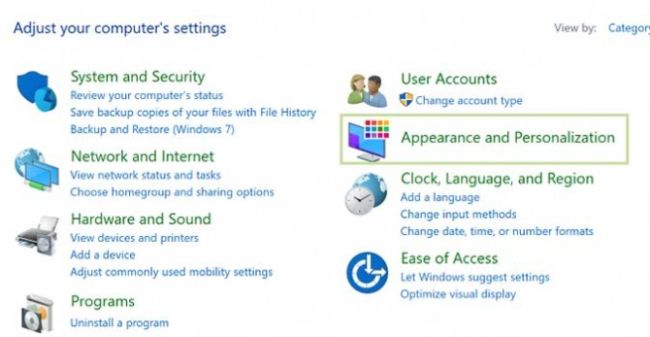
Step 2) In the control panel, click on the Appearance and Personalization option.
Now, select the Fonts option.
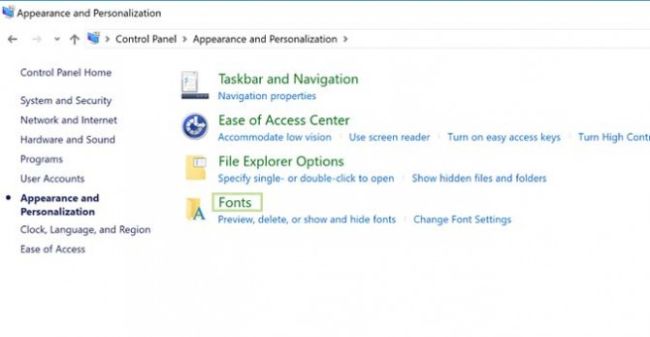
Step 3) To install a font, first download the fonts you wanna install, and then you can drag or copy/paste the fonts file in the Font window.
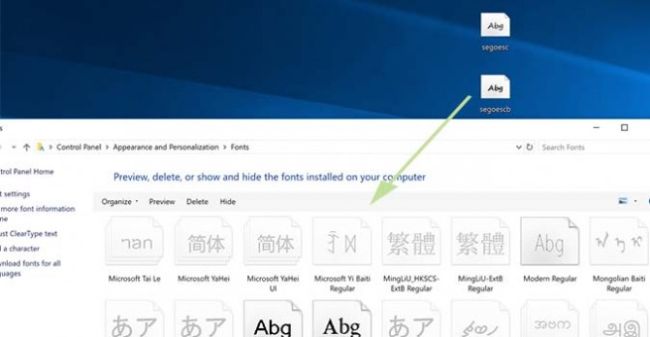
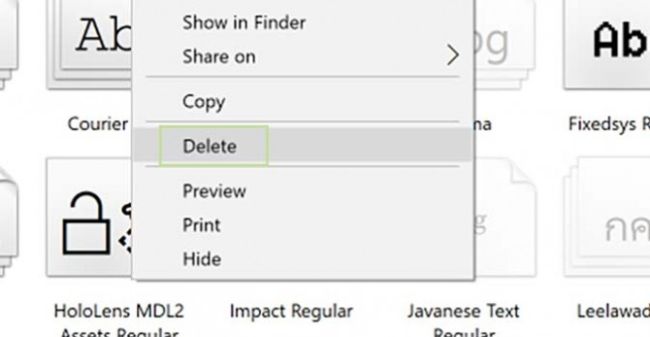
Step 4) If there are fonts you wanna remove, then simply select the fonts, you can select multiple fonts. However, select the font and right-click on it and select the Delete option.
A prompt will appear, asking you for permission and second thought if you wanna delete it or not.
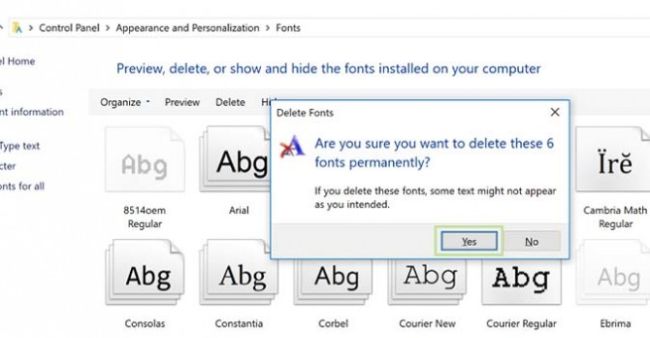
If you are sure, then click on the Yes button and if you don’t wanna remove, then click on the No button.
Conclusion
I hope now you know the importance of fonts and why you should manage them. In the above guide, we explain how easy it is to install and manage fonts on your Windows 10 machine. The process is similar for mac OS machine or Linux PC a well. For more tips like this, do check out our PC tips & Trips section to know more!
