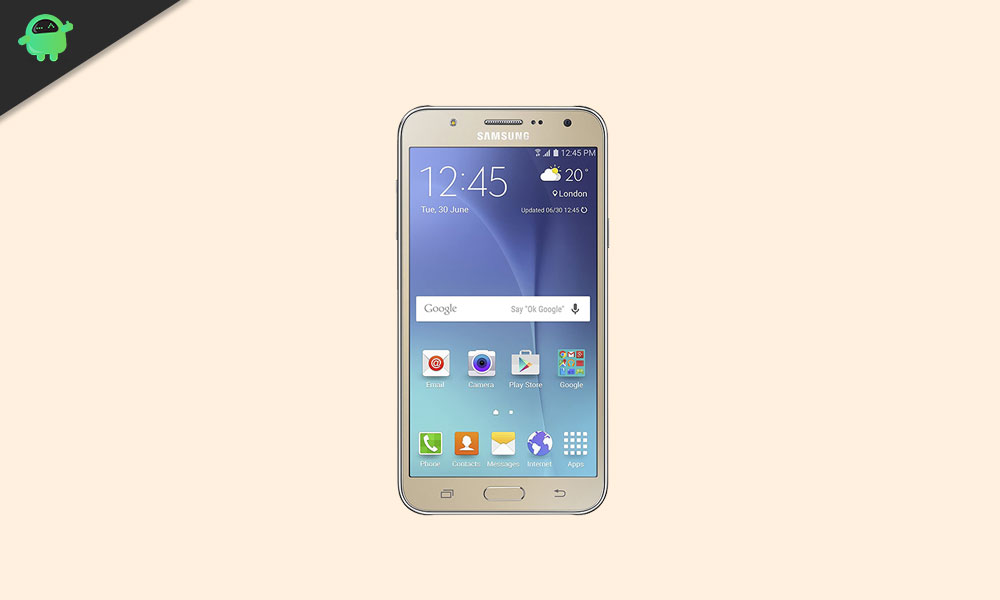
On this page, we will provide all the necessary Samsung J7 SM-J700F flash files for your device. If you’re looking to flash the stock firmware on your Samsung J7 SM-J700F, you’ve come to the right place. We will compile all the Samsung J7 SM-J700F stock ROM flash files and provide a comprehensive installation guide for your convenience.
This guide is essential if your Samsung Galaxy J7 has not received any recent security patch updates or if you’re experiencing issues like a lagging boot loop or even a dead device. Flashing the official firmware file can rescue your device from a hard brick, solve software problems, or restore it to factory ROM settings. Follow our step-by-step instructions to revive and optimize your Samsung Galaxy J7, ensuring a seamless and efficient process.
Page Contents
What is Firmware Flash File?
A firmware flash file is a software package that contains the necessary files and instructions to update, restore, or modify the operating system (OS) and software components of an electronic device, such as a smartphone, tablet, or router. These files are typically stored in a specific format and are used to fix software issues, upgrade the device to a newer version of the OS, or revert to a previous version if needed.
Flashing firmware files can resolve various problems, including performance issues, software glitches, and other software-related errors. It can also enable new features, enhance security, and optimize the overall functionality of the device. However, flashing firmware should be done with caution, as it may void the device’s warranty or, if done incorrectly, cause further issues or even render the device unusable.
The Advantage Of Stock Firmware
- Flash Stock To Unbrick your Samsung Galaxy J7
- Flash Stock ROM to Fix the Bootloop problem
- Upgrade and Downgrade Samsung Galaxy J7
- Unroot or Fix Bugs on your phone
- To fix the lag or stutter on Samsung Galaxy J7
- By flashing Stock ROM, you can solve software problems.
- Revert back to stock to gain your warranty.
Also Read
Samsung Galaxy J7 SM-J700F Firmware Files:
| Flash File Name: J700FXXU4BQH1_INS.zip Region: India File Size: 903 MB Android Version: 5.1.1 Lollipop |
Download |
| Flash File Name: J700FXXU1AOL2_J700FODD1AOL1_INS.zip Region: India File Size: 903 MB Android Version: 5.1.1 Lollipop |
Download |
| Flash File Name: J700FXXU4BRL2_J700FODD4BRK3_INS.zip Region: India File Size: 1 GB Android Version: 6.0.1 Marshmallow |
Download |
| Flash File Name: J700FXXS2APE1_J700FOJV2APC3_XSG.zip Region: United Arab Emirates File Size: 940 MB Android Version: 5.1.1 Lollipo |
Download |
| Flash File Name: J700FXXS4BQF1_J700FOJV4BQC6_XSG.zip Region: United Arab Emirates File Size: 1 GB Android Version: 6.0.1 Marshmallow |
Download |
Steps to Flash Stock ROM on Samsung Galaxy J7 SM-J700F
Before we get straight to steps to Install Stock Firmware on your Samsung Galaxy J7, let us take a look at the pre-requirements at first.
Pre-Requirements:
- This Guide is for Samsung Galaxy J7 SM-J700F
- You need a Windows PC/Laptop and a USB cable to flash a firmware.
- Charge your Galaxy J7 with a minimum of 50% battery backup.
- You have to download the latest Samsung USB Drivers and install it on your PC.
- Make sure that you have ODIN Software installed on your PC.
- Take a backup of your device (No Root) before doing anything.
Now, let’s take a look at Steps to flash Stock ROM on Samsung Galaxy J7.
Disclaimer:
Installation Instructions:
We have provided a full detailed installation guide of Odin Flash Tool for Samsung devices. In order to flash Stock ROM on Samsung Galaxy J7, you need to follow the below guide carefully:
How To Flash Firmware File on Galaxy J7 Using Odin
- Download the appropriate Galaxy J7 stock firmware.
- Extract the contents of the firmware zip file.
- Notice that the extracted files will be in “.tar” or “.tar.md5” format.
- Now download and extract the Odin tool on your PC.
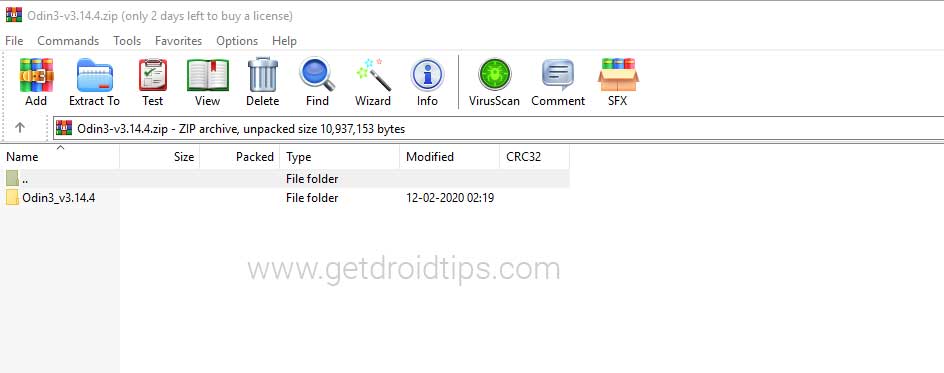
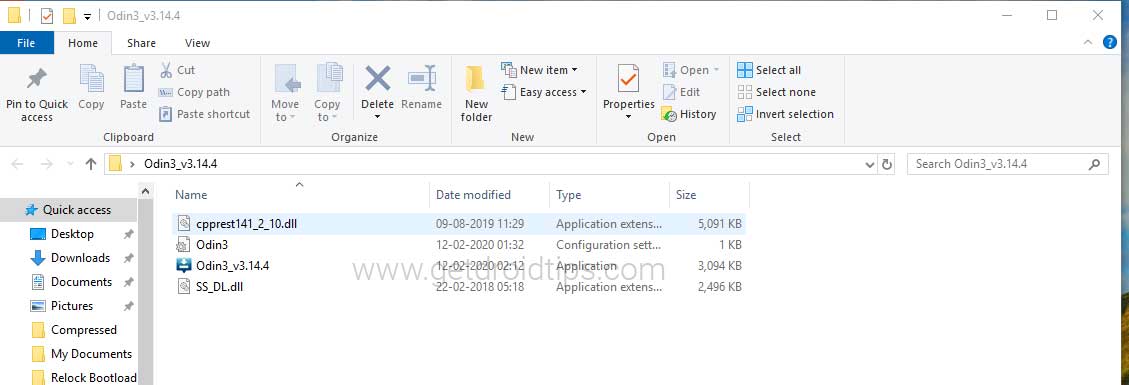
- Open the extracted folder and click on the Odin.exe file.
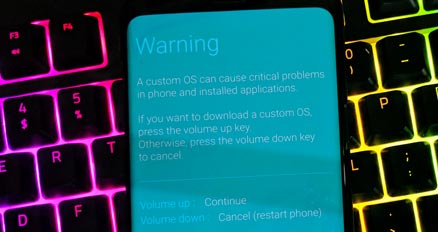
- You need to connect your Galaxy device to the PC while it is in Download Mode.
- Notice that the CO port will light up on Odin once you connect your phone.
- Click the AP button and select the firmware.
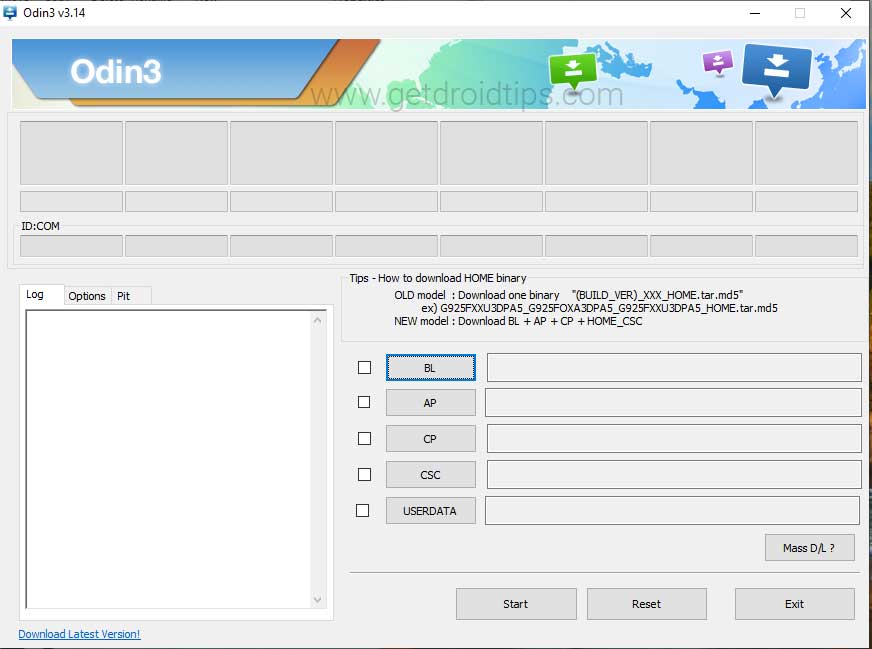
- Do the same for BL, CP, and CSC.
- Keep in mind that the regular CSC file will erase the entire data. In order to save the data, select the ‘HOME_CSC‘ file.
- Don’t forget to select Auto Reboot and F.Reset Time in the Options tab.
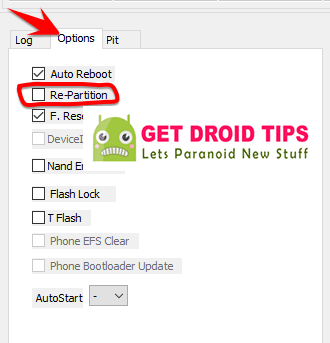
- Click the Start button to install the firmware on your Samsung device.
- That’s it! You will see a PASS message once the installation is complete.

Check out our full depth video guide as well.
We hope that this guide will be helpful to you. If in case, you’re facing any issues, feel free to ask in the comments below.
