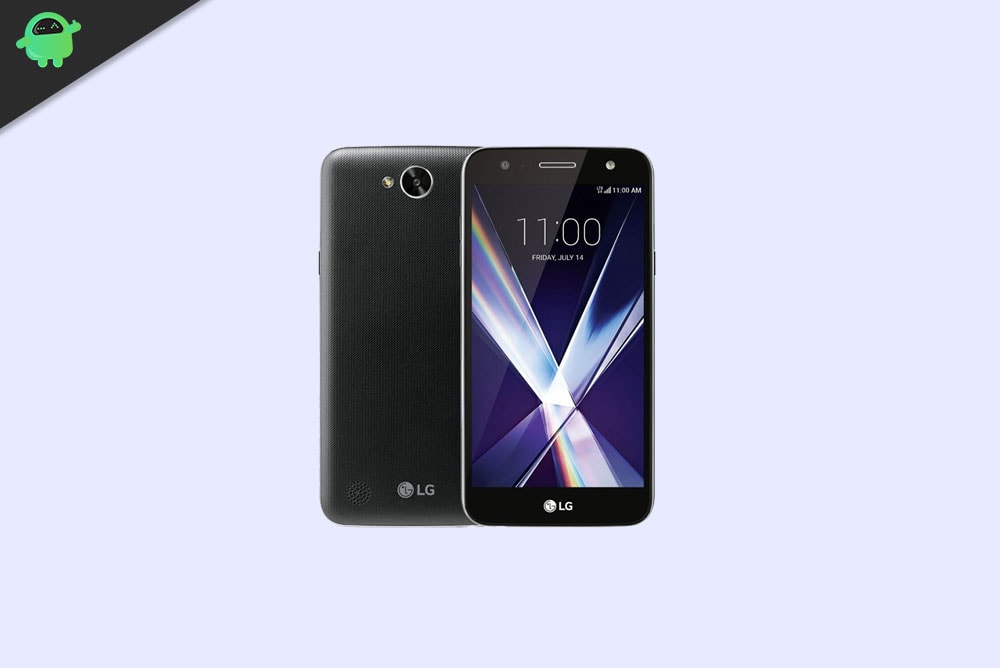
LG has released a couple of market variants for the LG X Charge with Android 7.0 Nougat out of the box. So, it can possible that an older smartphone having an outdated Android OS version may cause multiple issues with the performance. On this page, you will find the official LG X Charge US601 Stock Firmware ROM with the download link and installation guide.
Needless to say that most Android users always prefer customizations which can be acquired by flashing the custom firmware or installing mod files or even rooting. So, if in case, you’ve flashed any third-party file and your device is either bricked or stuck into the boot loop or facing performance or stability issues then flashing the stock firmware again will settle you down.

Page Contents
Steps to Install LG X Charge US601 Firmware File
Here in this guide, we will be sharing the easy method to flash the MediaTek firmware file on your LG X Charge US601 handset by using the LG Flash Tool. Before heading over to the flashing guide below, make sure to follow all the requirements properly. Also, ensure to download all the necessary stuff from the links below.
Pre-Requirements:
As usual, here we’ve shared a couple of necessary pre-requisites to read and follow properly before jumping over to the firmware flashing steps. These pre-requirements are useful to get things ready which will gonna be useful while flashing.
1. Firmware Compatibility
It’s worth mentioning that this particular firmware file that we’ve provided will gonna only work for your LG X Charge US601 model. Don’t try flashing the firmware on other LG models to avoid any kind of bricking or stuck in the boot loop issue.
2. Take a Full Backup
Make sure to take a full data backup of your device before doing anything especially firmware flashing. Sometimes flashing a ROM can delete the internal data or even your data can be messed up during flashing. So, to keep things simple and save your data better, just follow this backup method (without root). Alternatively, if you’ve already installed a custom recovery like TWRP on your handset then you can also take a Nandroid Backup by following this method.
3. Maintain Battery Charge
It’s always recommended to check whether your handset is fully charged or not. Even if it’s not fully charged, just make sure to maintain at least a 50%-60% charge level before performing any task to avoid occasional shutdowns or battery juice run out issues.
4. Get Ready a Computer and a USB Cable
Before flashing the firmware file on your handset using a flash tool, you’ll require a PC/Laptop and a USB Data Cable to connect your handset to the PC. Once connected, you can flash the downloaded firmware on your device via the flash tool.
5. Download Flash Tool and Drivers:
- Download and Install LG USB Driver on the PC
- Get LG Flash Tool and Install on your PC
Disclaimer
GetDroidTips won’t be held responsible for any kind of issue that occurs on your phone by following this guide. Make sure what you’re doing and proceed at your own risk.
Download Flash Files:
| Software File | Download Links |
| Flash File Name: LG_X_Charge_US601_LGUS601_US60113a_00_AMZ_US_OP_1211 OS: Android 7.0 Nougat File Size: 2.2 GB |
Download Link |
Firmware Installation Guide:
Without further ado, let’s get into the firmware installation process below.
- We assume that you’ve already installed both the LG USB Driver and LG Flash Tool on your PC. [If not done yet, do this first]
- Next, boot your LG handset in the Download Mode. Just press and hold the Volume Up button of the phone > Connect your device to the PC via a USB cable (Don’t release the volume up button)
- Once connected, you can release the power button.
- Now, open the LGFlashTool.exe file > The flash tool interface will appear.
- Choose CDMA from the Select Type drop-down list.
- Then click on the Select File (folder icon) to browse and choose the firmware file for your LG model.
- So, choose the KDZ firmware file and click on Open.
- Now, click on the Normal Flash option below.
- The Read Phone Information window will appear.
- Just click on the START button.
- Next, you’ll have to choose the language and country from the Select Country & Language pop-up.
- Once done, click on OK to begin the firmware flashing process.
- It generally takes a couple of minutes to complete the flashing process depending on the firmware file size.
- Once the flashing is done, your handset will restart automatically.
- Again booting your device for the first time after firmware flashing can take a couple of minutes.
- Once your mobile turned on, just disconnect the USB cable from the handset.
- Enjoy!
That’s it, guys. We hope you’ve found this guide pretty helpful. Feel free to ask in the comment below for additional queries.
