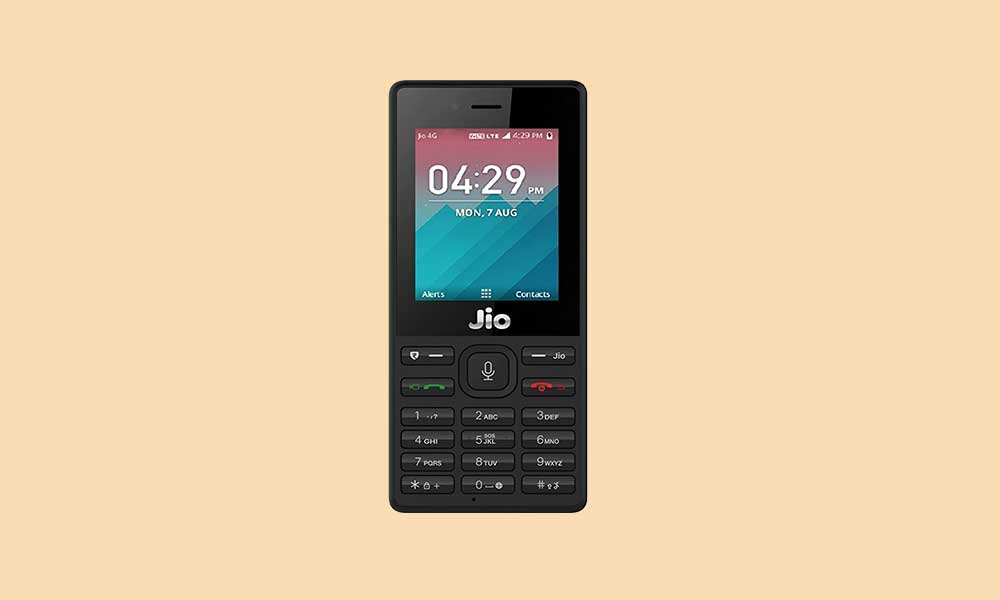
Reliance Jio has a wide range of feature phone lists, including LYF Jio LF2403. The handset runs on the popular Kai OS, and it has a dual-SIM slot, and most importantly, it has an internet browsing feature. Although feature phones don’t encounter any firmware-related issues, some users may find it challenging to run the device as their daily driver due to the software bug or bricking issue. Now, if you’re also facing the same, you can follow the LYF Jio LF2403 Flash File (Stock ROM Firmware Guide) here.
Needless to say that all the feature phones do come with stock firmware that’s specially designed for the devices to run smoothly without any major performance flaws. However, suppose something wrong happened with your LYF Jio LF2403 handset, and either it doesn’t work well or have any major software issue like bricking or bootloop. In that case, you should manually flash the Stock ROM on your device, and it’ll start performing again like before.

Page Contents
Stock Firmware Advantages:
- Flash Stock ROM to Unbrick your LYF Jio LF2403
- Stock firmware also solves the boot loop issue
- Upgrade and Downgrade the software version
- Easily remove root access
- Fix system bugs, lags, stutters, battery draining issues
- Go back to the device warranty (if any)
Download Links:
- QFiL Tool
- LYF-LF2403 (Firmware)
Must Read: How to Enable Diag Port in Jio Phones
Disclaimer: Take a complete data backup of your device and keep the device battery level up to 60%. GetDroidTips won’t be responsible for any error or damage on your device by following this guide. Do this at your own risk.
Steps to Install LYF Jio LF2403 Flash File (Stock ROM Guide)
- Once you’ve downloaded the firmware file and the tool on your PC, install the driver (includes in the zip)
- Turn off your LYF Jio device and connect to the PC using a USB cable.
- While connecting, press *&# simultaneously to check the driver installation.
- It will create a port name “Qualcomm HS-USB Diagnostic 9008,” which means the driver is successfully installed.
- Now, install the flash tool application on the PC called “QFlashTool.”
- Launch the tool and click on Load Content > Select Contents.xml file from the flash file folder.
- Once it shows Port in the tool, click on Download Content to start upgrading.
- Have some patience, and once done, the device will boot into the download mode.
- Disconnect your device and reinsert the battery (if removable).
- Restart your phone.
If in case the flashing fails or doesn’t start, then check whether the flash file name has any space (gap) or not. If yes, then delete the gap. The Jio new meta build filename should be replaced by jio_new or jionew.
