In this tutorial, we will show you the steps to unlock the bootloader on your OnePlus Nord CE 5G as well as relock it later on. OnePlus launched their new device called OnePlus Nord CE 5G which is powered by Qualcomm Snapdragon 750G SoC. The device features a triple rear camera setup at the back with a 64 MP main sensor and on the front, it has a 16 MP Sony IMX471 selfie camera.
Also Read
There’s a plethora of tweaks, modifications, and custom binaries available for various OnePlus devices, and the OnePlus Nord CE 5G is no different either. Although it has only been only a couple of months since its launch, we are already seeing impressive support for this device. But to carry out these tweaks, there is just one requirement that needs to be met- your OnePlus Nord CE 5G should have an unlocked bootloader. In this guide, we will help you with just that. Likewise, we will also show you how to relock the device’s bootloader, if you wish to do so at a later stage. Follow along.
Page Contents
Advantages/Risks with an Unlocked Bootloader
There is a plentitude of perks associated with an unlocked bootloader. To begin with, you could flash custom ROMs like LineageOS, Pixel Experience, etc. Along the same lines, installing a custom recovery like TWRP is also a possibility. This in turn will allow you to flash ZIP and IMG files, wipe various partitions, create and restore Nandroid backup, etc. Likewise, you could also root your device via Magisk and gain access to administrative rights.
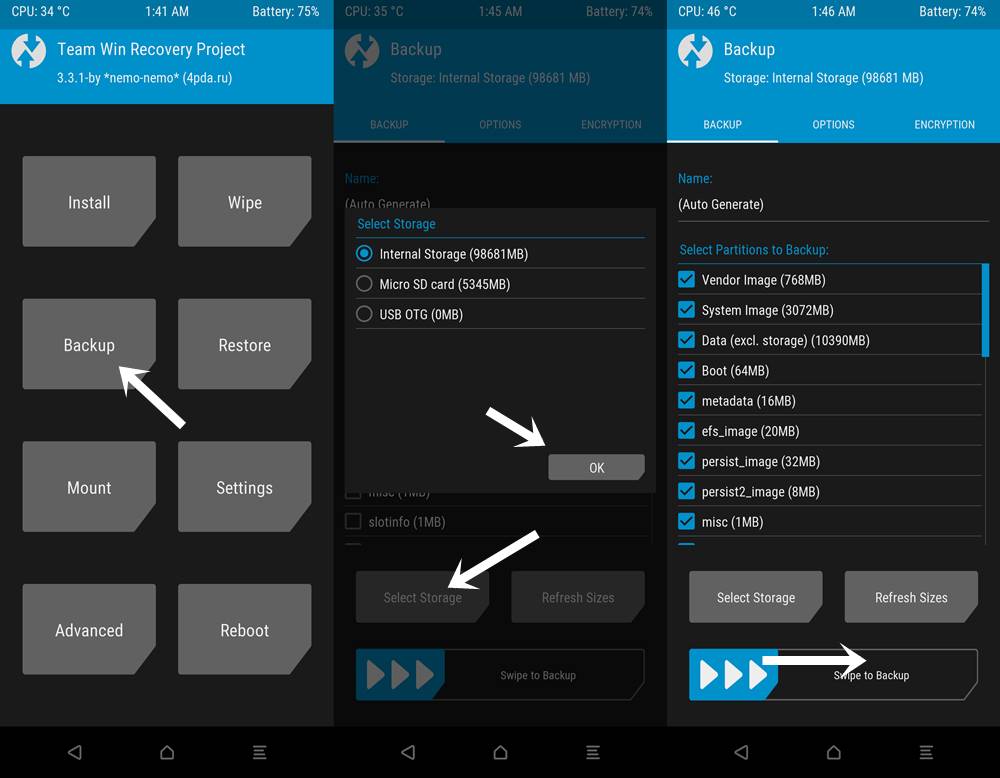
However, these modifications come with a few risks as well. For example, it will wipe off all the data from your device and might make the warranty null and void as well. Furthermore, apps like Google Pay, Netflix, and Pokemon Go might not function properly. The entire process is risky and might cause a few issues if not performed correctly. With that said, if you are ready to proceed ahead, then here are the steps to unlock the bootloader on the OnePlus Nord CE 5G.
Unlock Bootloader on OnePlus Nord CE 5G
Before we list out the instructions, there are a few necessities that you need to go through. Make sure you checkmark all these requirements.
Prerequisites
- First and foremost, create a complete device backup. This is because the unlocking process is going to wipe off all the data from your device.
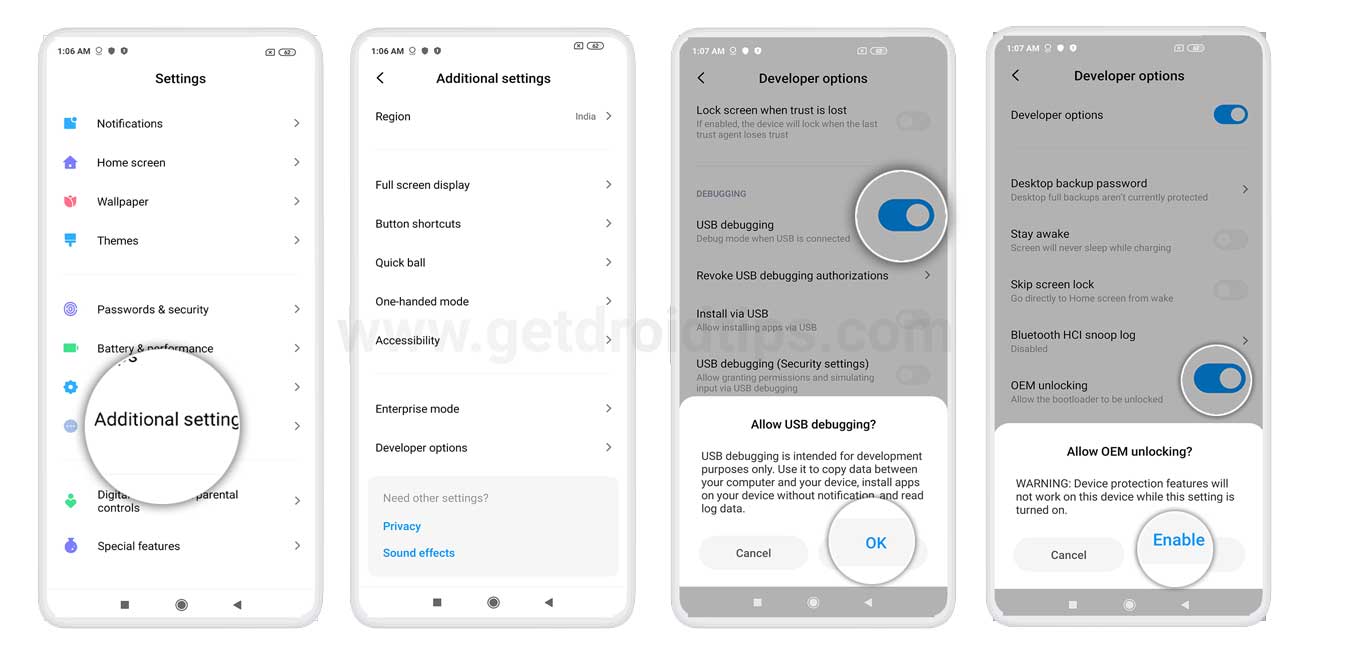
- Next up, enable USB Debugging and OEM Unlocking on your device as well. The former will make your device recognizable by your PC in ADB mode. The latter will allow you to carry out the unlocking procedure. So head over to Settings > About Phone > Tap on Build Number 7 times > Go back to Settings > System > Advanced > Developer Options > Enable USB Debugging and OEM Unlocking.
- Also, install the Android SDK Platform Tools on your PC. This will provide you with the necessary ADB and Fastboot binaries.
That’s it. You may now proceed with the steps to unlock the bootloader on the OnePlus Nord CE 5G.
Instruction Steps
- Connect your device to the PC via USB Cable. Make sure Debugging is enabled.
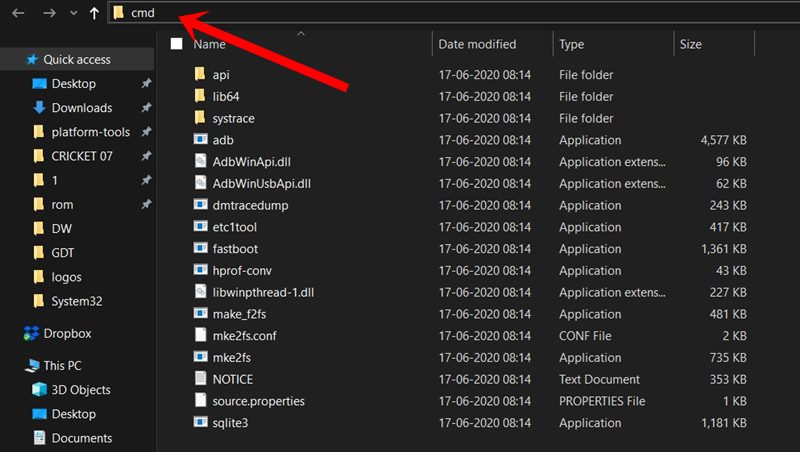
- Then head over to the platform-tools folder, type in CMD in the address bar, and hit Enter. This will launch the Command Prompt.
- Now type in the following command in the CMD window to boot your OnePlus device to Fastboot Mode:
adb reboot bootloader
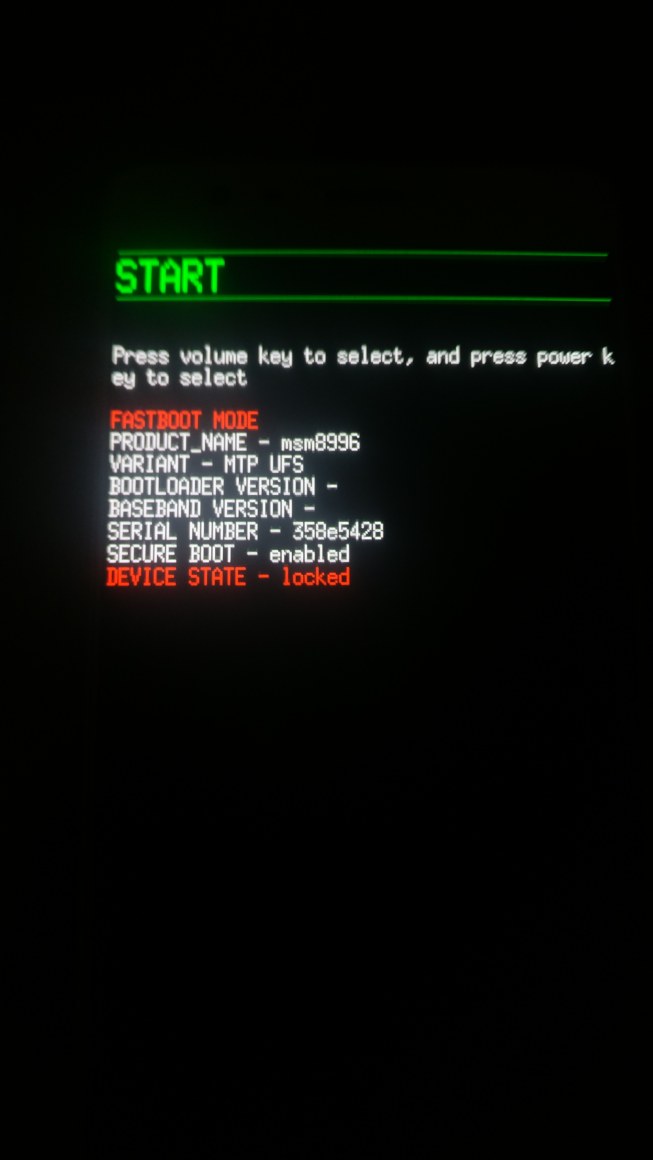
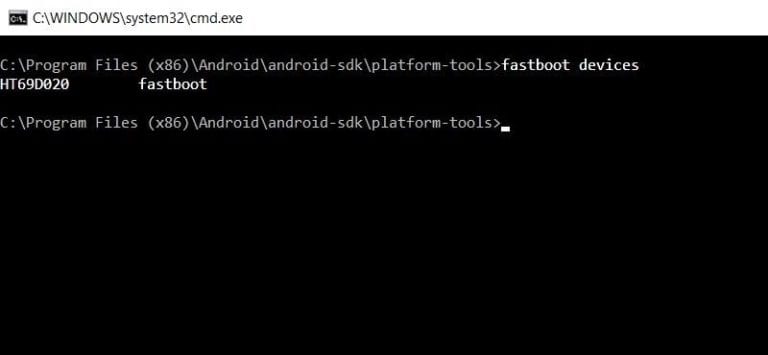
- Execute the below command and if you get a unique string of alphanumeric characters, then it signifies that the device has successfully booted to Fastboot.
fastboot devices
- Finally, type in the below command to start the unlocking process
fastboot oem unlock
- As soon as you do so, you will get a confirmation message on your device. Select Unlock the Bootloader option via Volume Keys and hit the Power key to confirm your decision.
- The process will now begin and should only take a few seconds. Once that is done, your device should boot to the OS. If that doesn’t happen, then you may manually do so as well, using the below commands:
fastboot reboot
These were the steps to unlock the bootloader on the OnePlus Nord CE 5G. Do keep in mind that the first boot will take up some time, this is completely normal. Furthermore, you will have to set up your device from scratch by logging into your Google account. That’s it. Let’s now turn our attention towards the relocking process.
Relock Bootloader on OnePlus Nord CE 5G
If you wish to relock the device’s bootloader and go back to stock, then the below instructions shall help you out. But before that, there are some pretty important points worth discussing. make sure that your device doesn’t have any custom binary installed. By that we mean, it shouldn’t be rooted, nor it should have TWRP installed.
Most importantly, it should be running the stock OxygenOS firmware and not any custom ROM. So if you tick mark all these requirements, then proceed with the below steps to relock the bootloader on your OnePlus Nord CE 5G device.
- First and foremost, create a backup of all the data stored on your device.
- Next up, enable USB Debugging on your device (Settings > About Phone > Developer Options).
- Then go to the platform-tools folder, type in CMD in the address bar, and hit Enter. This will launch the CMD window.
- Now type in the following command in the Command Prompt window to boot your device to Fastboot Mode:
adb reboot bootloader
- Finally, execute the below command to start the locking process:
fastboot oem lock
- You should now get a confirmation message on your device. Use the Volume keys to select the Lock the Bootloader option, and press the Power key to confirm it.
- Your device will now reboot to the OS and you should be greeted with the welcome screen. If it doesn’t automatically boots up, then you may use the below fastboot command for the same.
fastboot reboot
Now just set up the device using your Google ID and that is it. These were the steps to unlock as well as relock the bootloader on your OnePlus Nord CE 5G device. If you have any queries, do let us know in the comments section below. Rounding off, don’t forget to have a look at our iPhone Tips and Tricks, PC tips and tricks, and Android Tips and Trick section as well.
