An Apple Pencil is one of the best pieces of kit you can buy for your new iPad, to help you make the most of the slate by allowing you to sketch, doodle, annotate, handwrite, and more. The original Apple Pencil and the Apple Pencil 2, released in 2015 and 2018 respectively, let you replace your wobbly finger with a slender and accurate stylus, which is vital for many creatives and workers alike.
To take full advantage of everything you can do with the Apple Pencil, you’ll need to know how to use some of the fun little extras. In this article, we’ll show you the options that you can do to Pair, Unpair and Charge Apple Pencil with iPad Pro in very simple steps.
Also Read
Page Contents
Pair Apple Pencil with iPad Pro
1st Generation

- Make sure the iPad you want to use is on and unlocked, then uncap your Pencil.
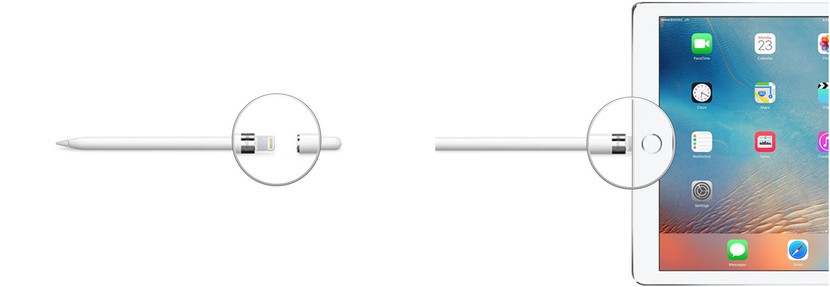
- Plugin your Pencil to the new iPad.
- When the Bluetooth Pairing Request appears, tap Pair.
2nd Generation

- Make sure the iPad you want to use is on and unlocked.
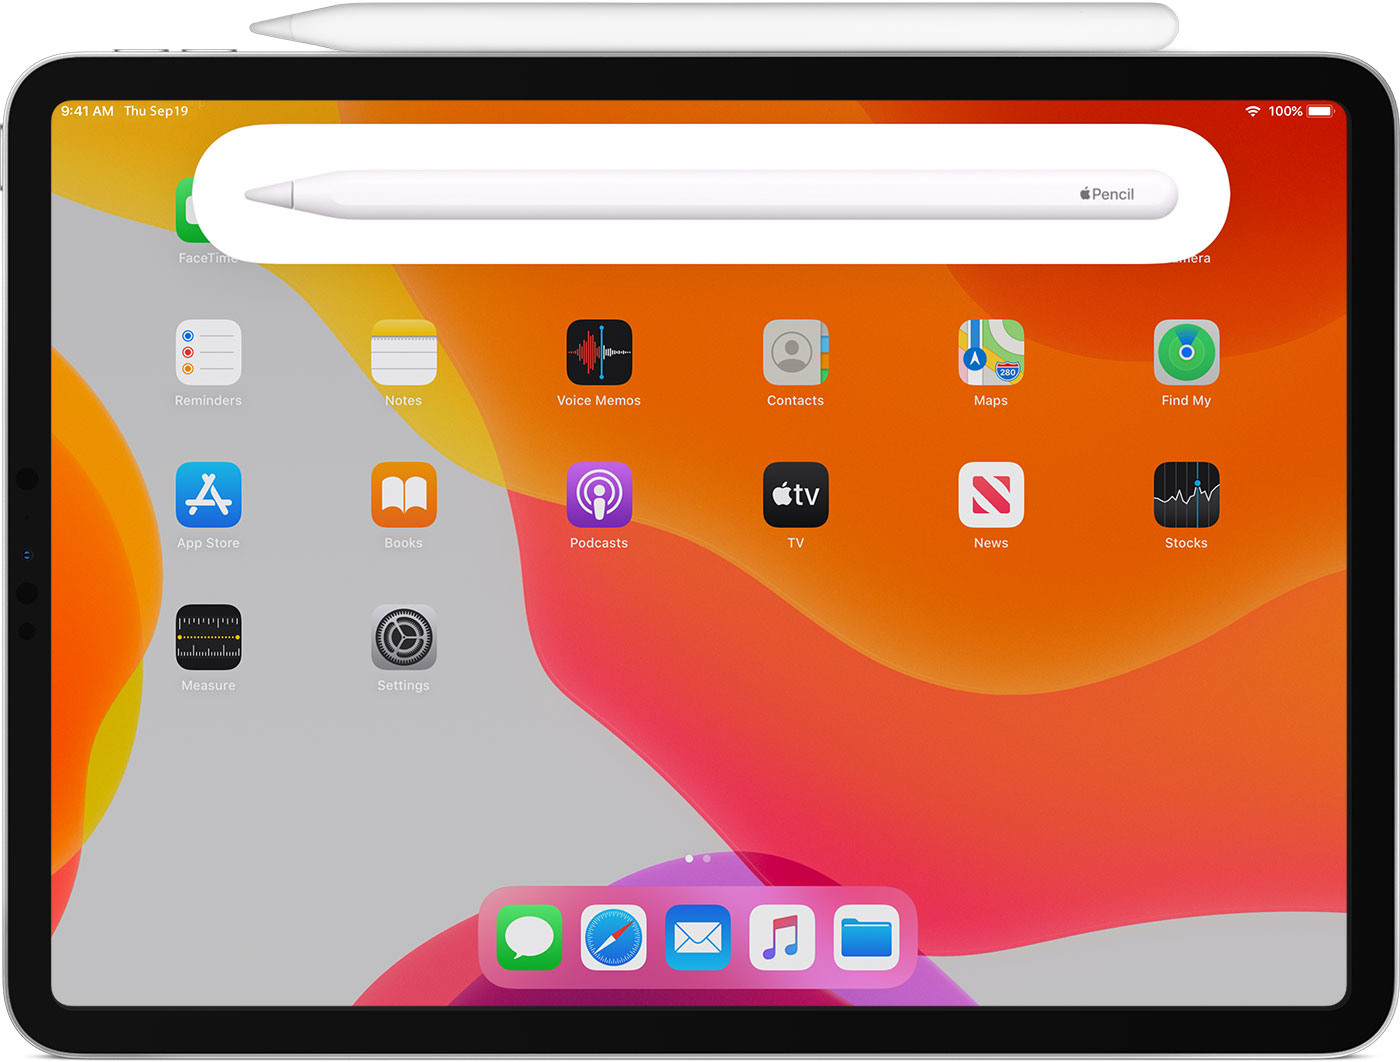
- Place the Apple Pencil on the wide side of the iPad Pro with the magnetic strip.
- Tap Pair when the Bluetooth Pairing Request appears.
Fix, Apple Pencil won’t pair with your iPad
- Make sure to center your Apple Pencil on the magnetic connector on the right edge of the iPad.
- Restart your iPad, then try to pair again.
- Go to Settings > Bluetooth and make sure that Bluetooth is turned on.
- On the same screen, look under My Devices for your Apple Pencil. If you see it, tap i button. Then tap Forget this Device.
- Connect your Apple Pencil into your iPad and tap the Pair button when it appears after a few seconds.
- If you don’t see the Pair button, wait for one minute while your Apple Pencil charges. Then try connecting your Apple Pencil again and wait until you see the Pair button.
- If you still don’t see the Pair button, contact Apple Support.
Unpair Apple Pencil
Your Apple Pencil will automatically un-pair from your iPad or iPad Pro if you pair it with a different iPad or you pair a different Apple Pencil with your iPad. You can also manually un-pair if the need arises.
- Launch the Settings app from your iPad’s Home screen.
- Tap Bluetooth.
- Tap the Info button to the right of Apple Pencil under My Devices.
- Tap on Forget.
Charge Apple Pencil
1st Generation
With iPad

- Remove the cap from your Apple Pencil. (If you’re worried about losing the cap during the charging process, you can magnetically attach it to the iPad next to the Home button.)
- Insert your Apple Pencil’s Lightning connector into your iPad or iPad Pro’s Lightning port.
With Lightning Adapter

- Remove the cap from the back of your Apple Pencil.
- Insert your Apple Pencil’s Lightning connector into the Lightning adapter.
- Plug the Lightning adapter into your Lightning cable.
2nd Generation

For the second-generation Apple Pencil, Apple made it much easier to charge. There’s only one way.
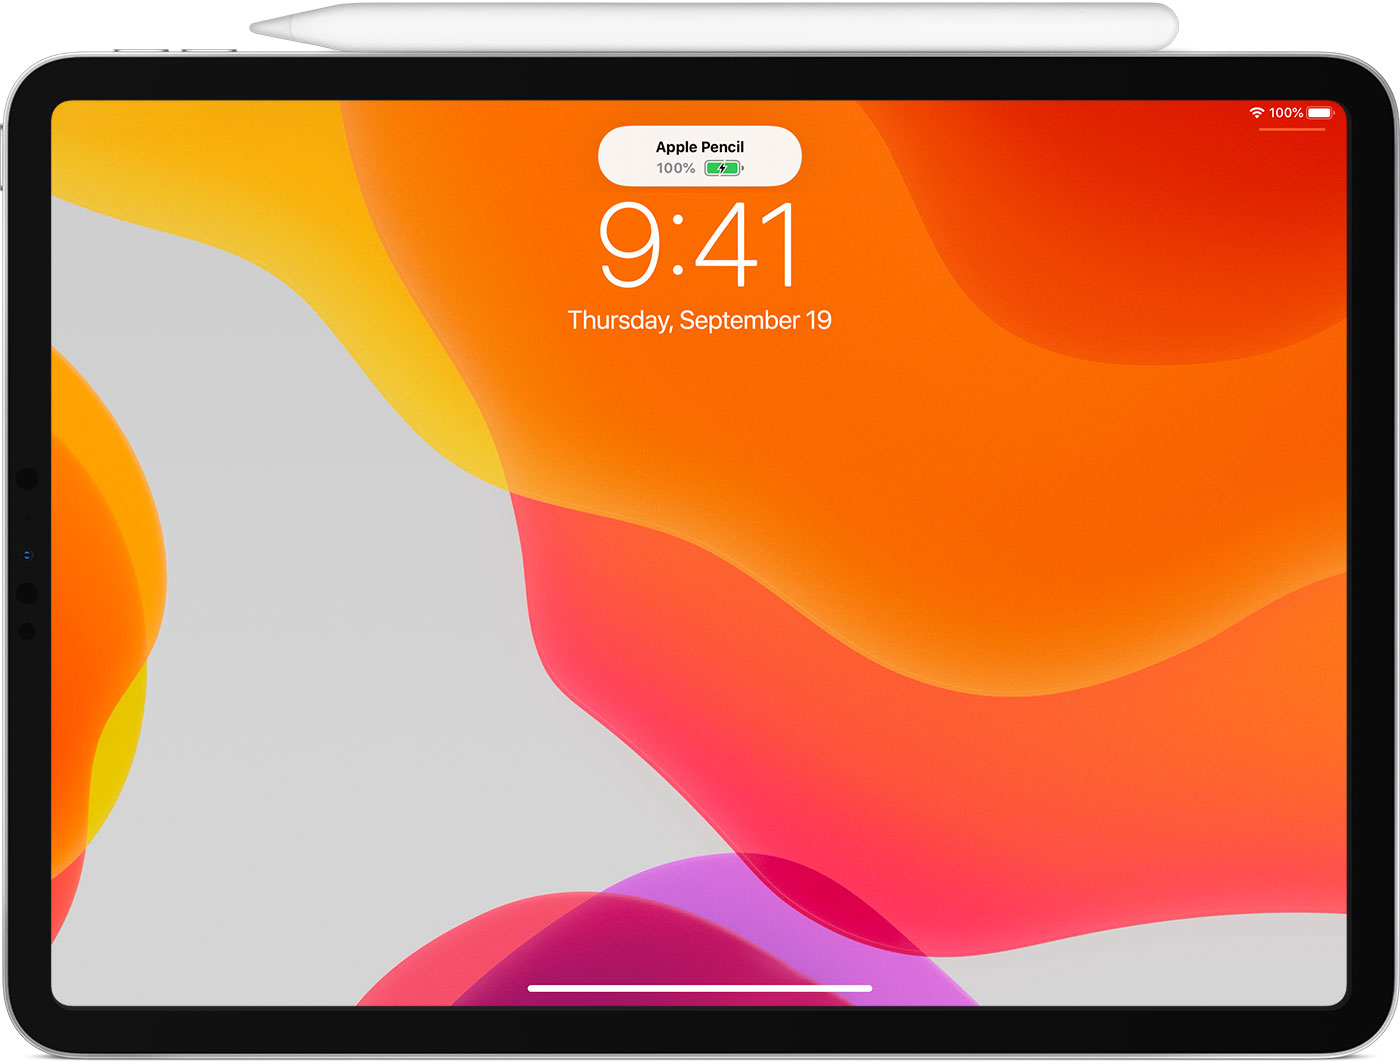
Attach your Apple Pencil to the magnetic connector at the center of the top of your iPad—the side with the volume buttons. If you don’t see the charge status appear for a moment near the top of the screen, make sure that Bluetooth is turned on.
The Apple Pencil’s quick-charge technology provides users up to 30 minutes of use after a 15-second charge, but we generally recommend charging your Pencil for at least 5-10 minutes — especially if it’s under 20% — to avoid having to constantly recharge.
Use Apple Pencil

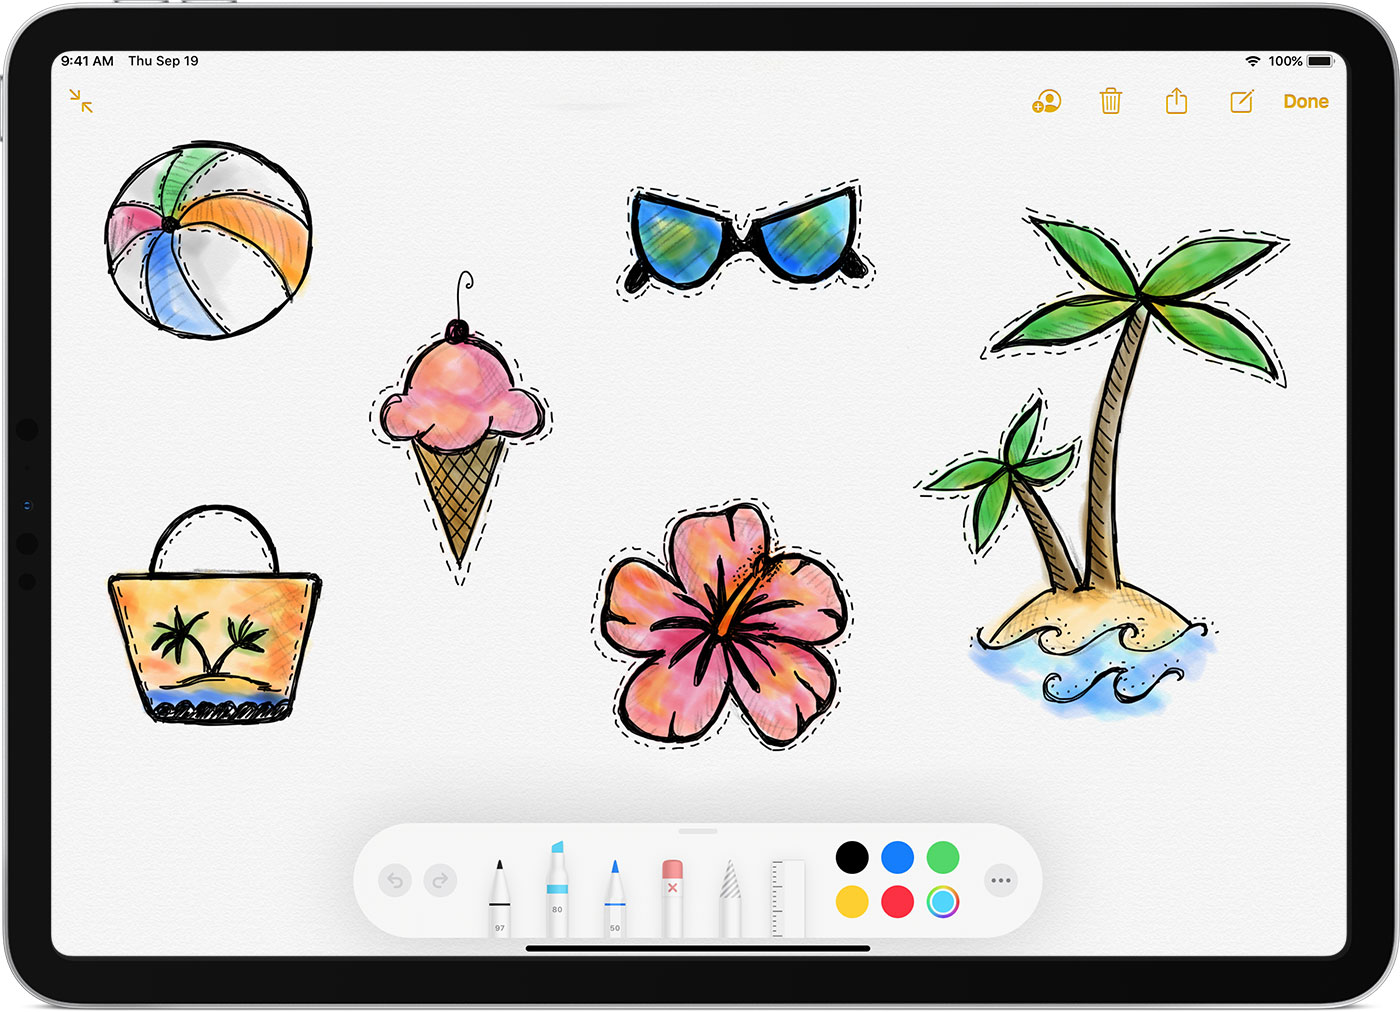
You can use Apple Pencil to write, markup, and draw with built-in apps and apps from the App Store. With some apps, like Notes, you can draw and sketch with an Apple Pencil.
With iPadOS, move the redesigned tool palette around the screen or minimize it so you have more space to draw and sketch. Use the ruler tool to create straight lines, then rotate them with your fingers. Made a mistake? Now you can erase by the object or even by pixel.
To draw or sketch in the Notes app:
- Open Notes.
- Tap
 to start a new note.
 - To draw, tap
 . If you don’t see
  , upgrade your notes. To sketch, tap
  .
. - Start your drawing or sketch. You can choose from several drawing tools and colors, and switch to the eraser if you make a mistake. Double-tap the eraser to view erasing options on your iPad. When you draw or sketch, you can tilt your Apple Pencil to shade a line and press more firmly to darken the line.
Do you own an iPhone, iPad or a Mac and need these types of simple tutorials? Then stay tunned to GetDroidTips’ iPhone Tips & Tricks column.
If you have any queries regarding this, the comment section always available for you.
- How to Send Your Location On iPhone By Messages Very Fast?
- How to Turn Off Auto-Correction on iPad Bluetooth Keyboards
- How to Delete Spotify Cache on iPhone and iPad
- How to Share Playlists in Apple Music on iPhone & iPad
- How to Restore Lost Safari Bookmarks with iCloud
- How to use Look Around in Apple Maps on iPhone running iOS 13 or Higher
- Change Siri’s Voice, Accent, Gender, and Language in iOS, iPadOS or macOS
Image Courtesy: Apple
