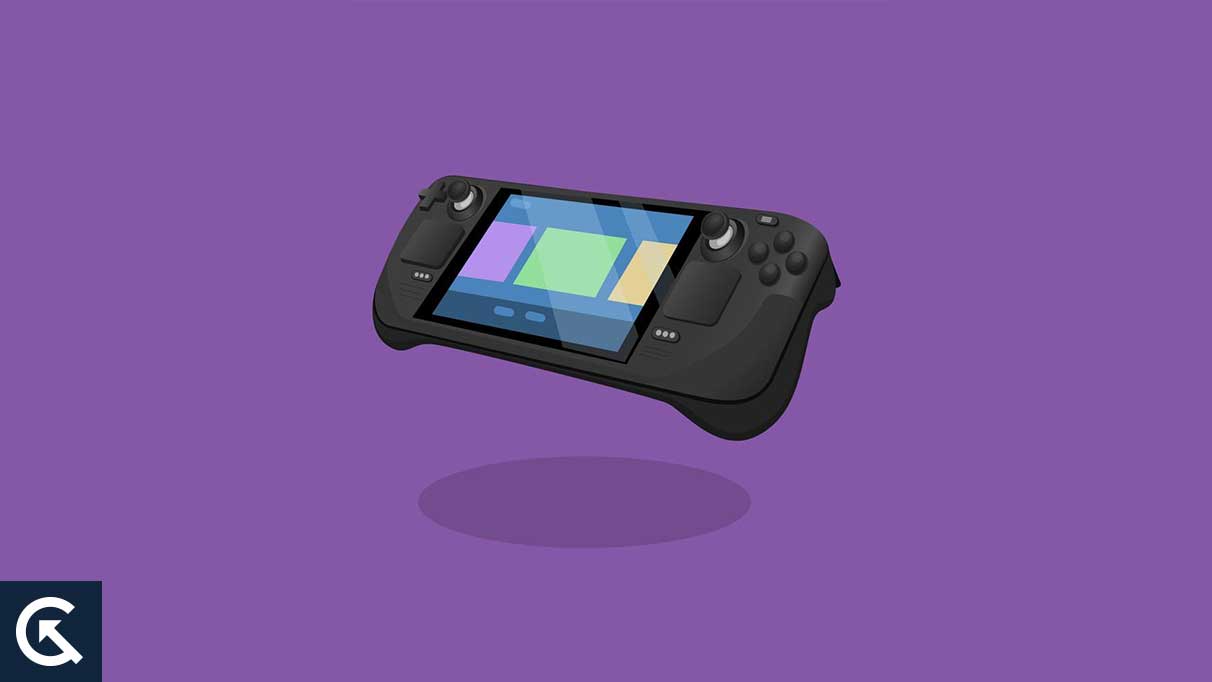
Taking a screenshot of your gameplay can be extremely helpful whenever you want to share your progress or achievements with your friends and peers. Screenshots also help you capture your best memories and save them to look back on in the future.
However, taking a screenshot can be tricky if you don’t know how to. This is especially true for gamers who have not used the Steam Deck for long. In this guide, we’ll provide step-by-step instructions on how to take screenshots on your Steam Deck. So without further ado, let’s begin.
Also Read
How to Use the Desktop Mode on Steam Deck
Steam Deck Bricked After Update, Is there a Fix?
Fix: Steam Link Not Working on Steam Deck
10 Tips to Improve the Battery Life of Your Steam Deck and Extend Gaming Time
Fix: Steam Deck Audio Crackling Issue
How To Play PS2 Games On Steam Deck
Fix: Steam Deck Netflix Videos Not Working

Page Contents
Take a Screenshot on Steam Deck
Taking a screenshot on your Steam Deck is as easy as on your smartphone. Follow the steps below to take a screenshot on your Steam Deck:
- Locate the Steam button. It is a prominent oval button on the Steam Deck’s front.
- Find the R1 button on the right-hand shoulder of the device above the trigger button.
- Press and hold down the R1 and Steam buttons simultaneously to capture a screenshot.
- You will hear a sound and a notification at the bottom right-hand side of the screen indicating that a screenshot has been taken.
View Screenshots on Steam Deck
After taking the screenshot, you should be able to see it. If you don’t know how to view it, then what’s the use of taking the screenshot in the first place? Here’s how to view screenshots on your Steam Deck:
- Press the Steam button.
- From the menu that appears, select the Media option by scrolling down with the control stick and pressing the A button. This will take you to the Media Gallery, where you can view all of your screenshots.
- Use the L1 and R1 buttons to switch between public and private images.
Transfer your Steam Deck Screenshots to your PC
Now that you know how to take and view screenshots on your Steam Deck, the question is how to transfer these screenshots from your Steam Deck to your PC or any other device. Here’s how to transfer your Steam Deck screenshots to your PC:
- To transfer your screenshots to your PC, you must download and install the Steam app.
- Once the app is installed, sign in using your login details.
- Return to your Steam Deck, press the Steam button, and then select the Media option.
- Use the control stick to select the screenshot you want to transfer and press the A button.
- Select the Options icon (the button with three horizontal lines) at the top-right corner of the screen to open the options menu.
- Select whether you want to make the screenshot public or private, and then upload it.
- Go back to the Steam app on your PC.
- Now, select the View and then the Screenshot option.
- In the screenshot uploader screen, select VIEW ONLINE LIBRARY.
- Select All Your Screenshots or Your Private Screenshots if your screenshot was uploaded as private.
- Double-click on the screenshot you want to download to open it in a new window.
- Unfortunately, there’s no straightforward way to download the screenshots on your PC. As a workaround, right-click on the screenshot and select Copy.
- Then, paste the screenshot into any image editing program like Microsoft Paint and press Ctrl + V on your keyboard to paste the screenshot inside the program.
- You can now save the screenshot on your PC.
- Once you have saved the screenshot on your PC, you can share it with your friends and peers.
Final Words
So that’s how you take screenshots on your Steam Deck. We have discussed everything from how to take a screenshot, how to view screenshots, and even how to transfer them to your PC. We hope this article has helped you take screenshots on your Steam Deck, capture your memories, and share them with your peers and friends. Happy gaming!
