Unable to connect to NVIDIA is a GPU connection error that is caused due to some issues with the display driver or NVIDIA drivers themselves. A corrupted or outdated NVIDIA Geforce Experience application causes this error.
The Geforce experience helps you to optimize game settings, record videos, update video drivers, etc. Besides all, if you encounter such errors on your PC, then before doing anything, you may first try to check your internet connectivity.
Are you facing a problem with your NVIDIA graphics card or Unable to connect to an NVIDIA error on your Windows 10 PC? We have a solution for this. Let’s begin with the fixes given below.
Also Read
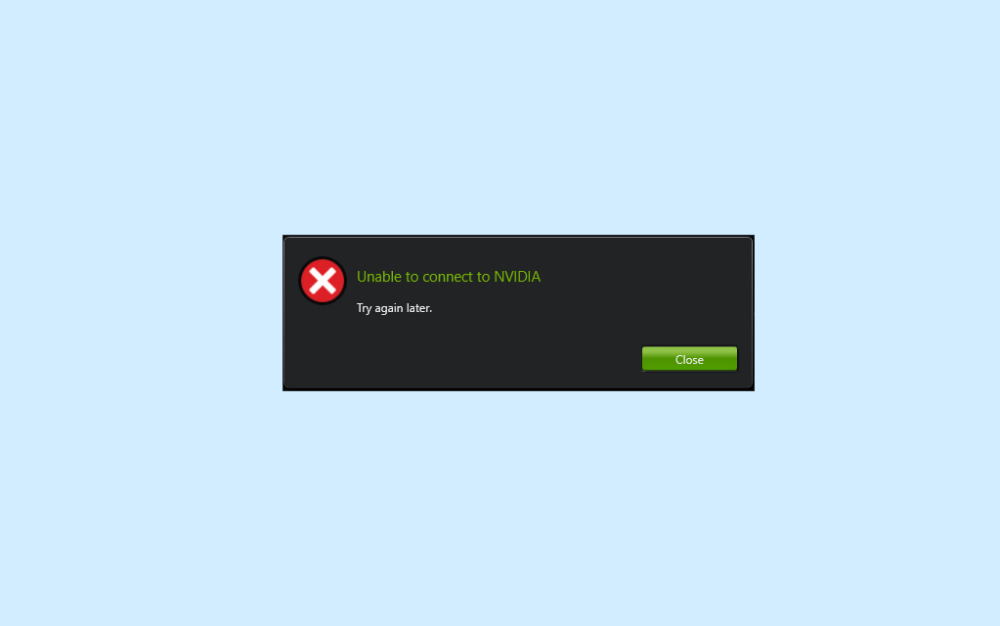
Unable To Connect To NVIDIA Error | How To Fix
You will be able to fix this issue with a few methods. So, stick with this guide till the end to fix this issue.
Method 1: Try to Update NVIDIA Graphics Card Driver
- First of all, go to the device manager to fix this issue. To do so, first, go to the start and type the device manager in the Cortana search bar. Then, select and open it from the result.
- After that, you need to click on the Display adapter to expand the device manager’s display tab.
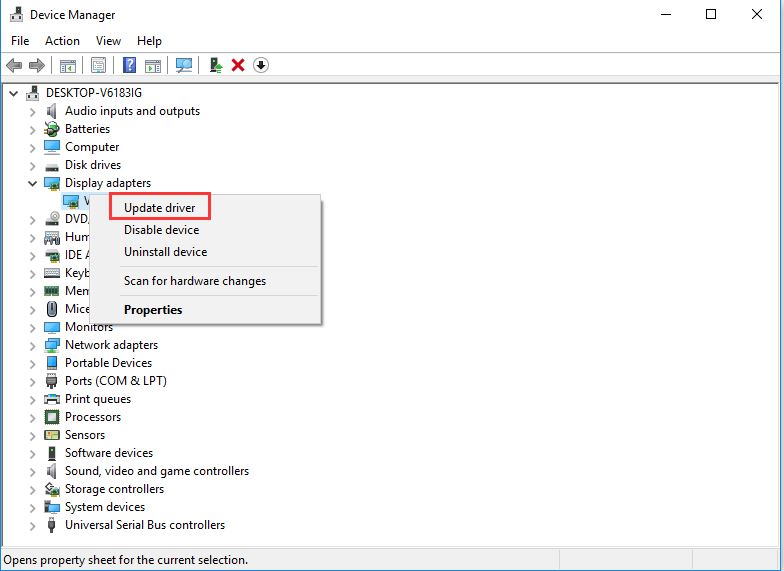
- Then, right-click on the NVIDIA graphics card in your Windows 10 PC, and then from the newly opened drop-down menu, click on the Update Driver option.
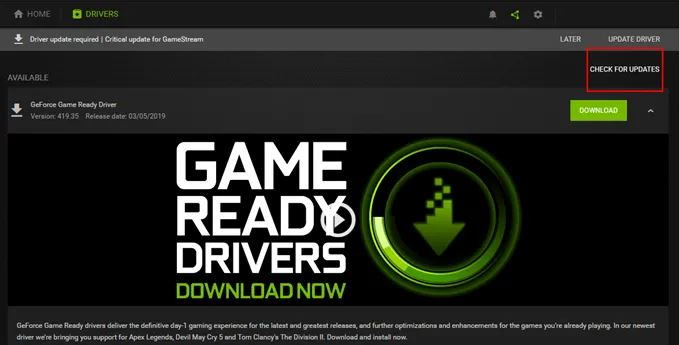
- Now, in the next window, you need to choose the Search automatically for updated driver software. After that, you will notice that windows will automatically start searching for new updates.
- If there is any update available for you, it will automatically download and install it on your Windows 10 PC.
Method 2: Update the Geforce Experience to Fix If you’re Unable to Connect to NVIDIA Error
Geforce Experience is a service that helps you update the NVIDIA drivers, but if you have an outdated Geforce Experience. Then, you really need to update your Geforce Experience because sometimes it affects your NVIDIA device. To do this, you may try the steps as we mentioned below carefully.
- The first and foremost point is to go to the Geforce Experience official website to download the software’s latest version.
- Now, once the download is completed, you need to click on the downloaded file. After that, you will automatically be directed to the installation window.
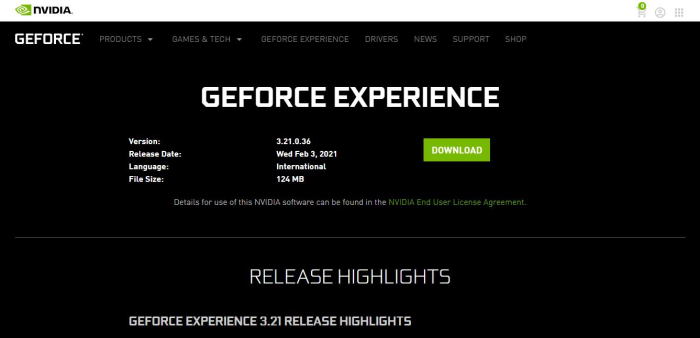
- When installing the Geforce experience is completed, you need to restart your PC to apply the changes.
Method 3: Disable the NVIDIA Services To Fix the Unable to Connect to NVIDIA error
Sometimes due to NVIDIA network service causes unable to connect to NVIDIA error on your PC, and to avoid or fix this issue, you need to disable the NVIDIA Service using the steps given below:
- Firstly, open the Run prompt box and type of service.MSC and hit the OK button to open the service tools.
- Now, you need to navigate through the service tool and find out the NVIDIA Network Service. But, you have to make that the NVIDIA network service status is starting.
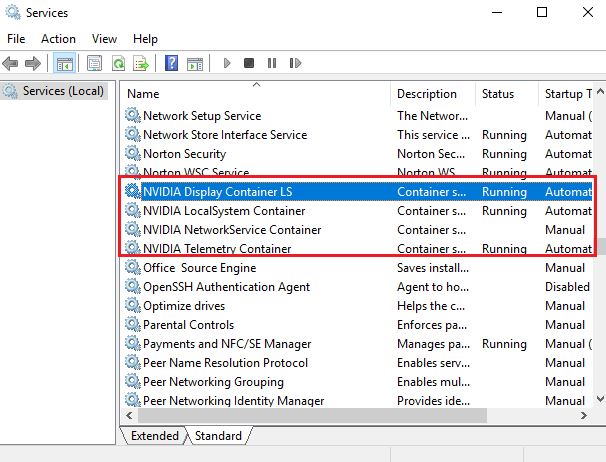
- After that, hover over to the folder by following the path C:\ProgramData\NVIDIA Corporation\NetService\, then find and remove the NSManagedTask.xml file.
- In case you don’t find this file, you can tap on Show Hidden Files in the main menu. Now, you’ll notice that the .xml file appears on the given location.
- Then, press and hold the Ctrl+Shift+Esc key to open the Task Manager. Now, tap on the Detail tab.
- After that, locate and right-click on the file name NvStreamNetworkService.exe and click on the end task button.
- Now, open the NVIDIA Network Service again and enable it in start mode. Then, restart your PC and see if you face the problem persists or not.
Method 4: Start NVIDIA Network Service
However, you all know how to disable the NVIDIA Network Service, but sometimes due to a disabled NVIDIA service, the issues cannot connect to NVIDIA. So to disable the NVIDIA network service follow the steps given below: –
- First of all, you need to press and hold the Windows + R key to open the Run prompt box. Then, type services.msc in the Run box search bar and hit the enter key.
- Thereafter, on your screen, the service page will appear. Now, locate the NVIDIA Network Service and right-click on it.
- After that, select the Properties option from the drop-down menu. Then, from the pop-up window, click on the general tab, and if you see that the service status is Stopped, you need to click on the Start button to turn it on.
- At last, to save the changes you made hit the OK button.
Also Read
Conclusion
So, these are some practical solutions to fix the issue Unable to connect to NVIDIA on your Windows 10 PC. With the methods mentioned above, your problem will definitely be resolved. In case of any difficulties, commend down below, and we will help you out.
