If you are a teacher or a student who needs to make a quick presentation using Google Slides and Google Classroom while recording your screen, Screencastify can come in handy. Today, we will see how you can use Screencastify with Google Slides and Google Classroom to make your presentations more efficient and fruitful.
Since the start of the pandemic, the entire world has certainly shifted towards digital mediums. As students cannot attend their physical classes and employees are unable to go to the office, work from home has been currently prioritized. Most meetings, classes, presentations, etc, are being held online, and that is where Screencastify comes into the act. It is a screen video recorder that comes with several other features which can help you make your presentations look good and more interactive.
You can simultaneously record your face through your webcam while recording your screen. This way, Screencastify can make things easier for both the creator and the viewer to increase the interactiveness, even through these digital sessions.
Also Read
Page Contents
How to Use Screencastify with Google Slides and Google Classroom?
In order to use Screencastify side-by-side with your Google Slides and Classroom, you need to first set up your Screencastify account. Once you are done with it, you can then use it efficiently with your Slides to create an impactful presentation. We will discuss everything here step-by-step.
Setting up Screencastify
Setting up your Screencastify is really simple. All you need to do is follow the few steps below and get your work done.
- Open your Google Chrome Browser and search for Screencastify on the browser.
- Visit the Chrome extension link and tap on the ‘Add to Chrome’ button to install the extension on your browser.

- Once it is installed successfully, the Screencastify icon should appear beside the search bar in your Chrome browser. If it doesn’t appear, click on the ‘Extensions’ icon and tap on the pin icon for Screencastify.
- Click on the Screencastify icon, and it shall take you to a Google Sign-in page.
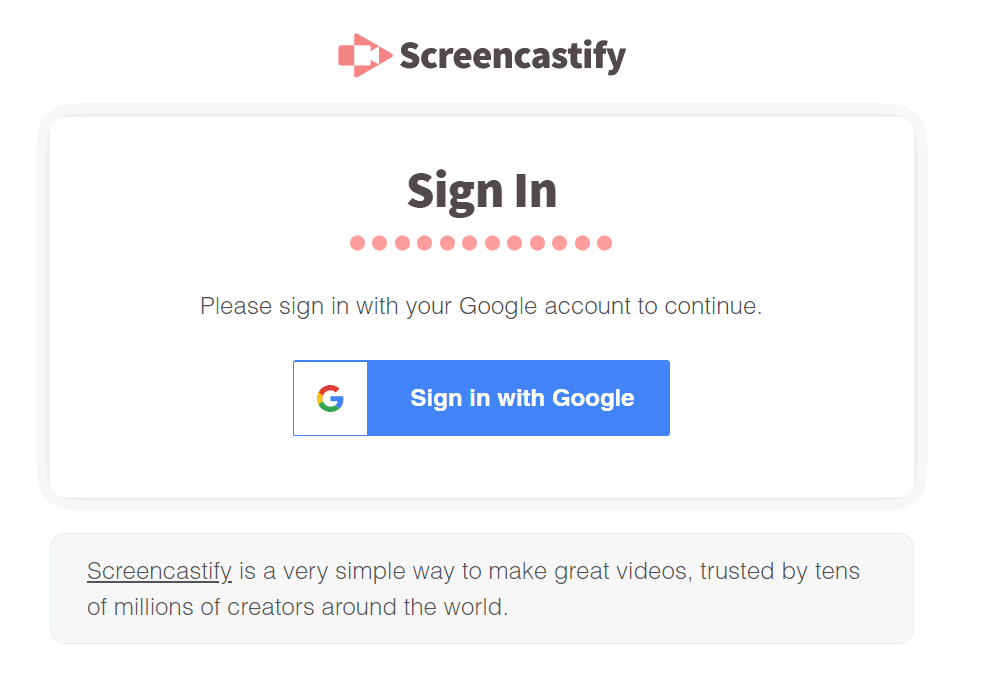
- Click on the Sign-in button, and it shall pop up a new sign-in window.
- Select your Gmail account, enter your password and click on sign in.
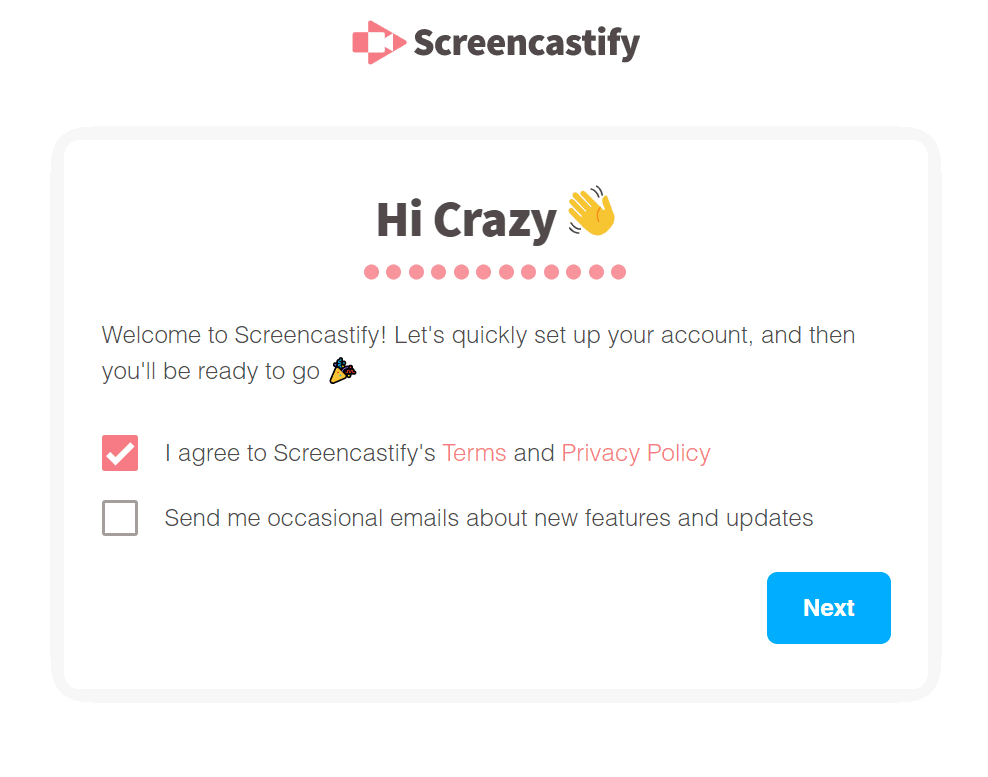
- Now, tick the ‘I agree’ option and click the next button.
- Select your category and your purpose behind using Screencastify.
- Finally, enable access to your Microphone and Webcam for Screencastify to record your screen.
With that, you are now all set to use Screencastify along with other web applications and create your presentations look more appealing.
Using Screencastify with Google Slides and Google Classroom
Once you are done setting up your Screencastify account, it’s now time to use it effectively with Google Slides and Google Classroom. Here are the steps you need to follow in order to use the extension properly for creating your presentation.
- Click on the Screencastify icon.
- If you want to record video as well, turn on the Embed video option. If you want to show yourself in any corner of the video, go to Browser Webcam and enable ‘Embed Webcam’.
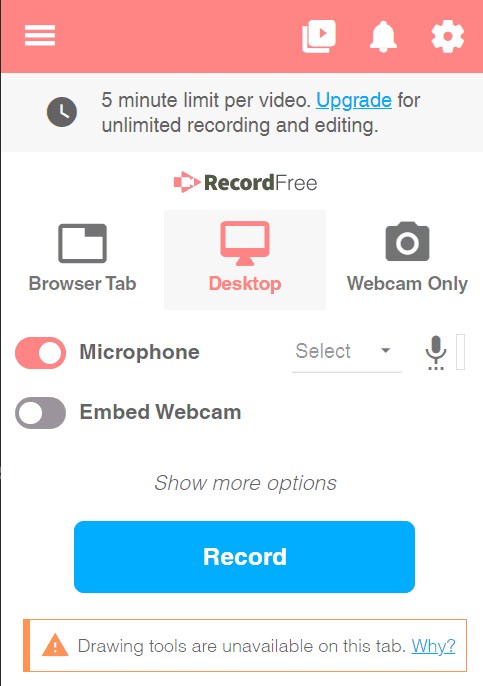
- As you are done with the settings, open a new tab and go to Google Slides and get ready with your presentation.
- Now, click on the Screencastify icon again and click on the Record button to start recording your video.
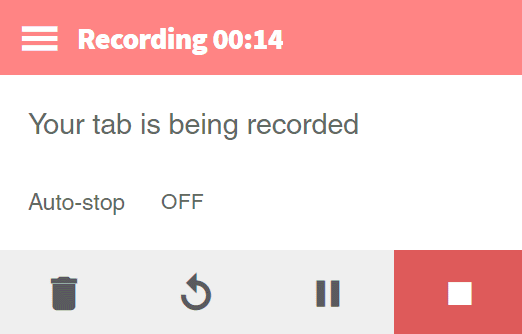
- Once you are done with your recording, you can either use the keyboard shortcut ‘Alt + Shift + P’ or click on the Screencastify icon and click on the Stop button.
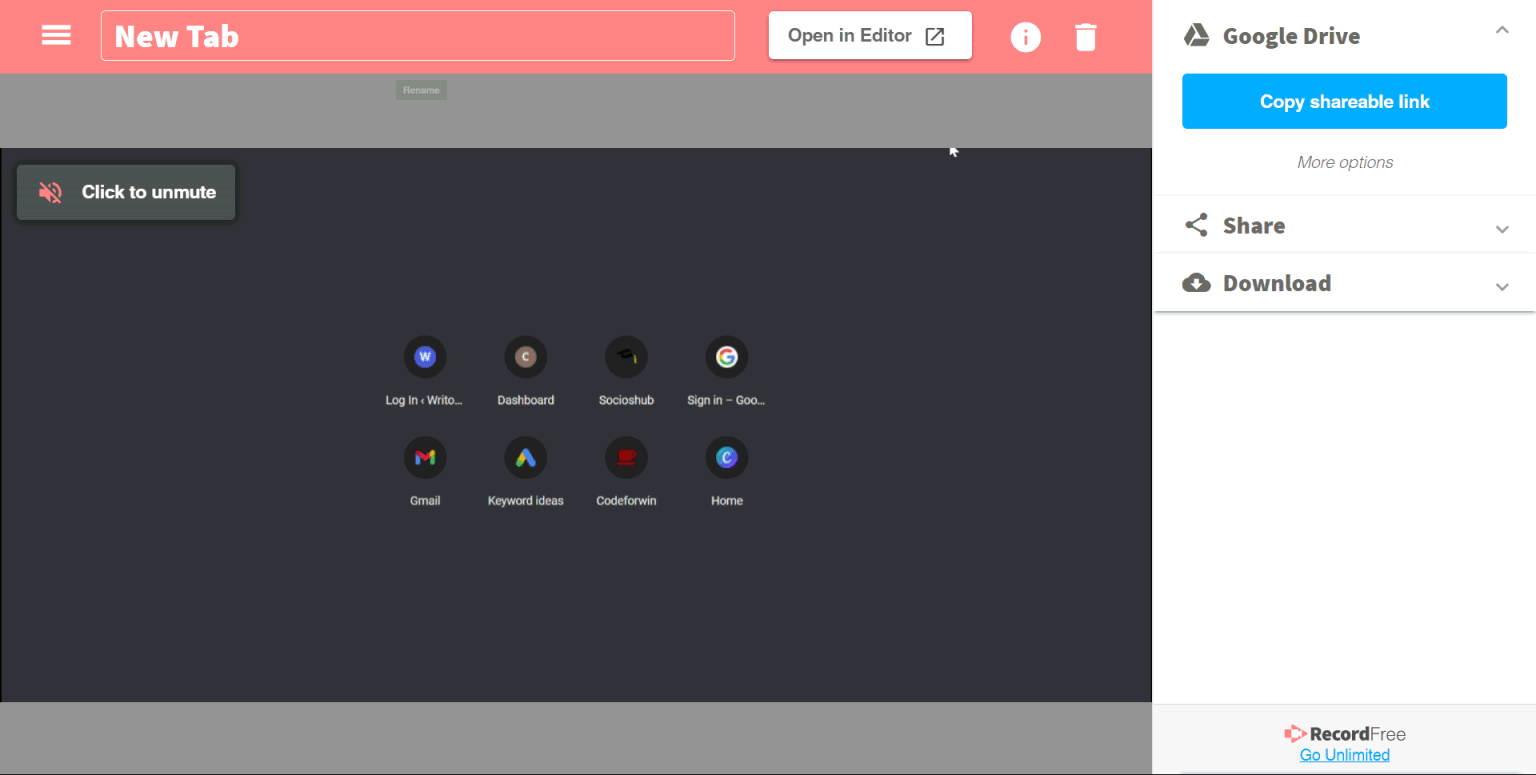
- It will open a new window displaying your recorded session. You can either download it to your device or share it on Youtube, Gmail or simply copy a shareable link.
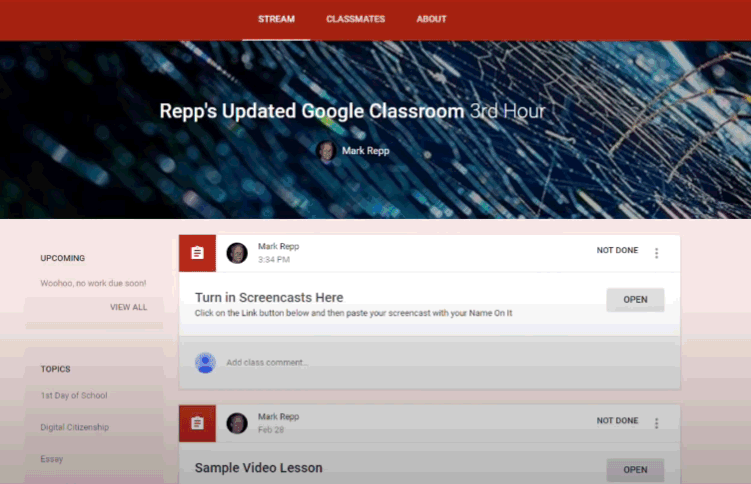
- Now, open a new tab and go to your Google Classroom and open up the specific class. There you should see a separate option for ‘Turn in Screencasts here’. Click on it.
- You can submit your Screencasts through pasting the Google Drive link or through directly attaching the file there.
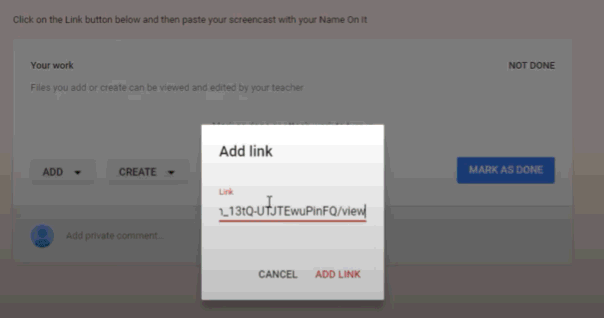
- In this case, I have simply pasted the link and click on the Add Link button.
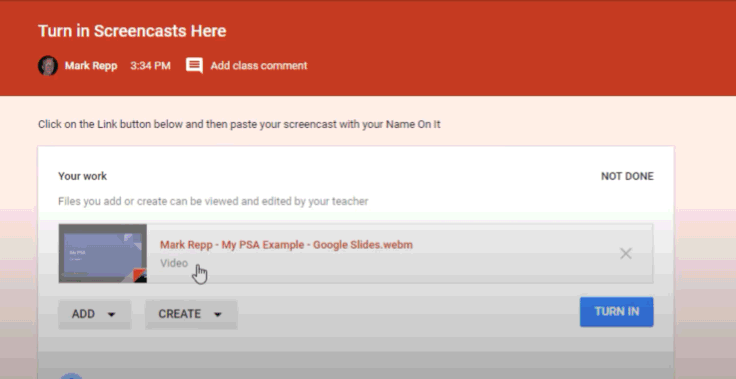
- This will display a separate screencast tab of your recording. And lastly, click the turn-in button to submit your presentation on Google Classroom.
And just like that, you can easily use screencastify with your Google Slides and Google Classroom. It also offers a few other essential features that you can leverage at the time of recording to make your presentations look better. If you want only your voice and no video throughout the recording, simply uncheck the ‘Embed Video’ option.
Conclusion
So, the steps mentioned in this article show you how to use Screencastify with Google Slides and Google Classroom. Since it is available in the form of a Chrome extension, it becomes easier to simultaneously use it while working on other web applications. What’s more interesting about Screencastify is its proper integrations make the work much more efficient and easy.
