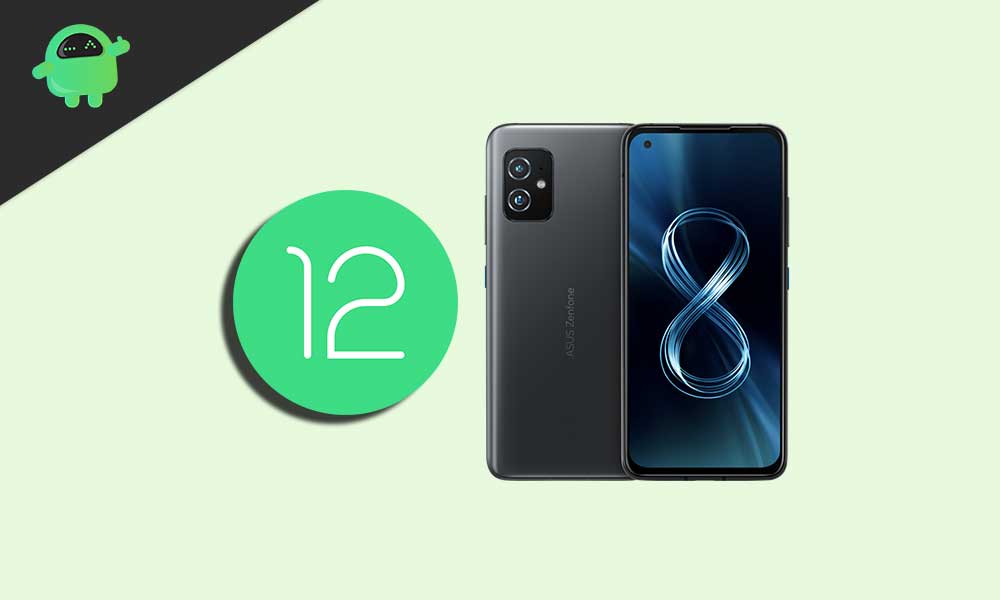
The much-awaited Google I/O 2021 Developer Conference event went live recently and the Android 12 Beta 1 has finally released for a couple of Pixel devices and some other device models too. Asus Zenfone 8 (ZS590KS) has also joined the Android 12 Beta party. Now, if you’re one of the Asus Zenfone 8 (ZS590KS) users, you can easily Download Android 12 Beta for Asus Zenfone 8 and install it.
Initially, Google has rolled out a couple of Android 12 Developer Preview builds to only its eligible Pixel devices since February 2021. Whereas the official stable version of the Android 12 will be released in September 2021 respectively. Now, just like other OEMs, Asus will also start pushing the Android 12 Developer Preview Program for the eligible users to taste out and give feedback for the stable release.
Also Read
To be very precise, the Android 12 Beta update won’t include the latest version of the ZenUI to the Asus Zenfone 8 model. It’ll basically offer a clean stock Android (AOSP) like user interface and experience expectedly. As this is in the early beta stage, we won’t gonna recommend you to use it as a daily driver on your primary handset right now.

Page Contents
What’s New in Android 12 Beta?
Android 12 is the latest version and the 12th iteration of the Android OS or you can say it’s the successor of the Android 11 which was launched last year. Android 12 basically introduces a major UI change, multiple improvements with the app privacy, improved lock screen visuals, dynamic theme & wallpaper, all-new notification shade, all-new widgets, fluid motion & animations, privacy dashboard, and more.
- Behavior Changes
- System changes for privacy, security, and performance may affect your app when it’s running on Android 12.
- New features & APIs
- New features from rich content insertion, extensions to native image decoding, compatible media transcoding, and more.
Read More: Asus Zenfone 8 ZS590KS Software Update Tracker
Download Android 12 Beta for Asus Zenfone 8 (ZS590KS)
Please Note: The Developer Preview or Beta builds are meant to be applicable for developers and early beta testers only due to several bugs or stability issues. If you’ve made up your mind to flash the beta build on your device, you should take a full backup of the important data first.
Known Issues:
1. Fingerprint authentication currently not supported
2. Face unlock feature currently not supported
3. No haptic feedback when touching the recent key
4. Battery status displayed in Settings may be inaccurate
5. 3rd-party apps compatibility issues
Now, if you’re okay with the mentioned issues that you’ll experience while using the Android 12 Beta version on your Asus Zenfone 8, you can proceed to install the beta build.
Pre-Requirements:
- Before installing the Android 12 Beta, ensure to backup your personal data from your device as a first priority. All user data will be erased after installing the firmware.
- Maintain at least 30% of the battery charge.
- Make sure that no screen lock (pattern, PIN, or password) is set on your phone. Just remove the screen lock temporarily.
- You’ll also require a PC/Laptop and a USB cable to connect your device.
Disclaimer: GetDroidTips won’t be held responsible for any kind of bootloop or bricking to your device by flashing the beta build. You should know what you’re doing. Do it at your own risk.
Installation Steps:
Step 1: Turn off your device first > Long-press the Volume Up key + the Power key to enter into the Fastboot mode.
Steps 2: Now, connect your Asus Zenfone 8 handset to your PC via a USB cable.
Step 3: Unzip or extract the Android 12 image file (zip) and use the following scripts to flash the firmware on your device:
- For Windows: Connect your handset to the PC via a USB cable > Double-click on the update_image.bat file from the extracted firmware folder.
- For Ubuntu: Execute the update_image.sh file after connecting your device.
- For MacOS: Execute the update_image_for_mac.sh file once connected your device to Mac.
Please Note: Do not unplug the USB cable and ensure a stable connection between your Zenfone 8 and PC/Mac during the firmware flashing process.
Step 4: Wait for the installation process to complete. Once the firmware flashing update finishes, a ‘Download Complete’ message will appear on the terminal.
Step 5: Hit the Enter key on the keyboard to restart your Asus Zenfone 8 to the all-new Android 12 Beta version. [If any failed message appears on the terminal, it means the flashing process was unsuccessful. In this case, please try again properly or report the issue by filling out this Google Form.]
Step 6: Go through the initial setup process and you’re done.
However, if you’re not liking the Android 12 Beta build that much due to several reasons, you can always opt-out of the Android 12 Beta program and downgrade to the Android 11 stable version again by following this guide.
That’s it, guys. We hope this guide was helpful to you. For further queries, you can comment below.
Credit: Asus
