You can now access iCloud on almost any major platform, other apps like App Store and iTunes are also connected with the iCloud service for various purposes. However, in this article, we will talk about one of the special features where you can create alias for your iCloud email address.
Your iCloud allows you to create an Alias for your iCloud email. The alias is a decoy email address for your real email, and it will hide your real email address. It is a very useful feature, suppose you don’t want anyone to know your real email.
Then you can create an Alias and set up to send and receive an email, and the other user will only receive the Alias email address. Thus, your identity is safe, to create and set up an Alias for iCloud Email Address is very simple.
How to Create an Alias for Your iCloud Email Address ?
You can create an Alias on your iOS device or on your Mac; you only need access to a browser. The steps are really simple and easy; just follow them below to learn more.
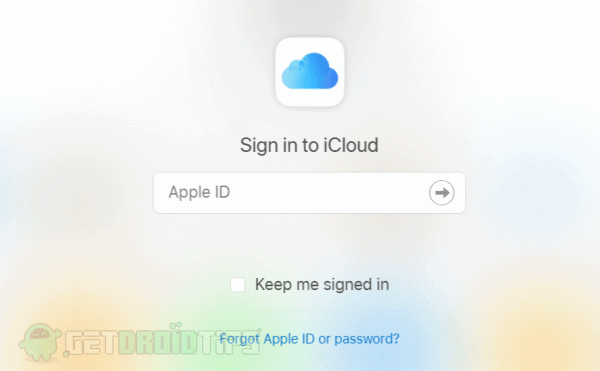
Step 1) Firstly, launch your Web Browser and visit icloud.com, make sure that you have an internet connection, then using your Apple ID credential, login to your iCloud account.
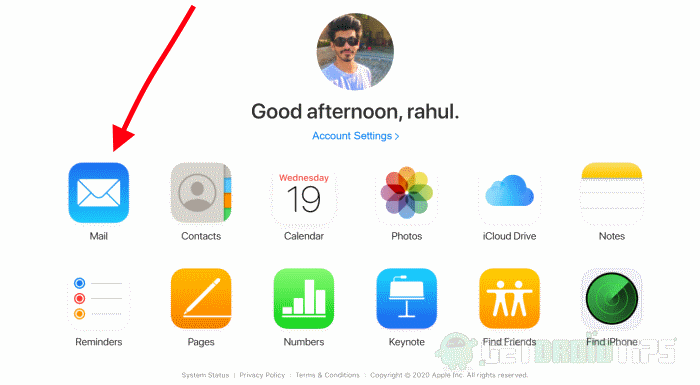
Step 2) After you have logged in to your account successfully, click on the Mail icon.
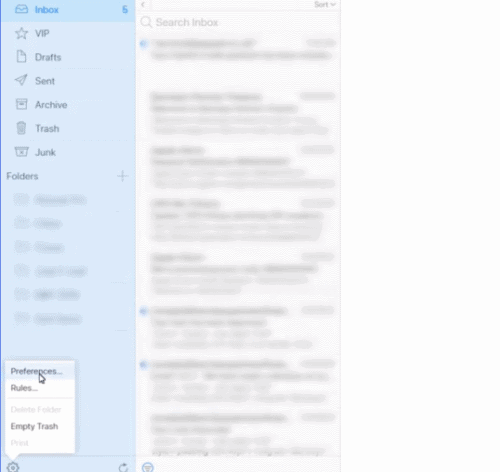
Step 3) Now, you will be in the inbox, click on the Settings icon located at the left-bottom corner of the screen that looks like a gear cog, select the Preferences option from the sub-menu.
Step 4) A prompt will appear in the middle of the Window; by default, it will be on the General tab. However, go to the Account tab and there click on the Add an Alias option.
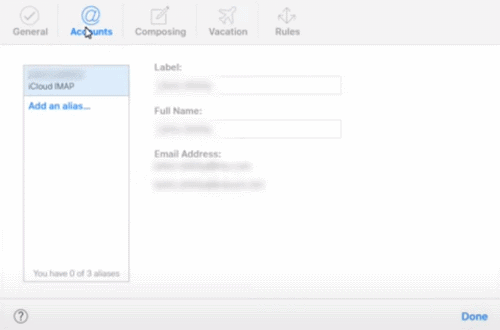
Step 5) After that, another prompt will pop up, here you will be creating your Alias. Under the Alias section, type the Alias you want for your email address. Then type your Full Name, in the label section just type Random or anything else related to your Alias.
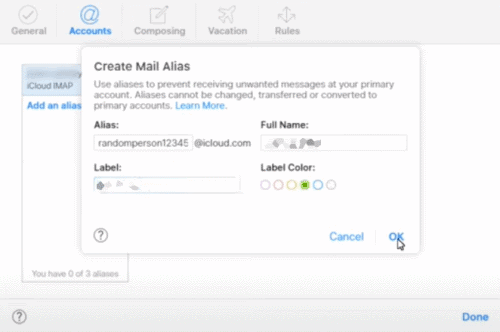
If you wish you can also set the label color under the Label Colour section, pick one of the colors from there. Lastly, to confirm it and to create your Alias, just click on the OK button below; you alias has been created.
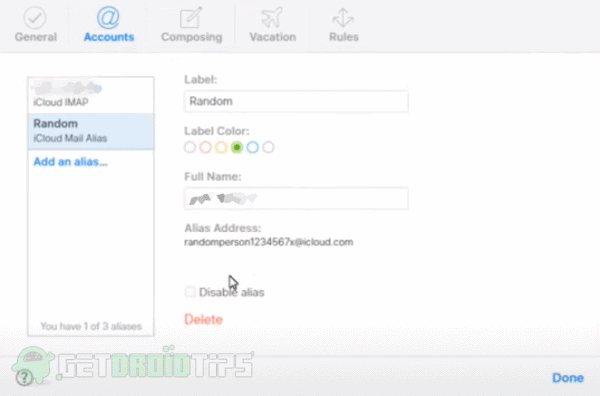
Step 6) Click on the Done button to close the prompt if you wish to disable the Alias just select the Disable alias box option and click on Done. To delete the alias, click on the Delete option, and confirm the delete.
Conclusion
If you wish to set up your newly created Alias on your iOS device, go to the iCloud option in the settings app. Then scroll down and open up the mail option. Under the Allow Sending from the label, you will see the aliases, toggle on the alias that you want to use.
To create an iCloud Alias, head over to the cloud website, go to settings>Preference>Account tab. Click on the Add an alias option and fill up all the necessary sections. Then click on the ok button, and you are good to go.
