Here in this article, we’ll be sharing the possible solutions to Fix Windows Update Error 0x80240023. So, if you’re continuously getting failed to update your Windows OS build or installing it, this troubleshooting guide will help you out. This particular issue can appear whenever Windows users trying to update and install new security or feature update. Windows system basically shows you this error whenever searching for updates or installation gets failed.
Also Read
Fix: Windows Update Error 0x80073701
Download Dolby Audio Driver for Windows 11/10/8.1
How To Fix External Hard Drive I/O Device Error in Windows 11/10
Fix: Win+Shift+S Not Working on Windows 11/10
How to Fix Error 0xc00007b – Application Was Unable to Start Correctly
How to Fix Windows 11 Update Error Code: 0x800703ee
Meanwhile, some of the reports are coming out that Microsoft Office 2007 users may get issues with the licensing and encounter the error 0x80240023 as it’s no longer officially supported. Additionally, this error is also quite related to the KB2505184 (Office File Validation Add-in). Most of the users may get the update error due to the WU_E_EULAS_DECLINED that means there is some issue with the license term.
Also Read
Therefore, users can’t install the Windows 10 build update. It’s worth mentioning that whenever you install a Windows update, the system license term needs to be accepted first to verify or go through the process most probably. Although this process can be done manually, sometimes users may accidentally decline the permission or something like that.
Page Contents
Fix: Windows Update Error 0x80240023
Here we’ve shared a couple of possible workarounds that should come in handy for you. Try following the steps individually and check which one fixes your issue.

1. Restart Windows Update Service
A buggy or stopped Windows update service on your Windows 10 system can basically prevent you from installing the updates due to the licensing term problem. So, you’ll need to restart the service first and then try updating your Windows OS build.
- Click on the Start menu > Type services.msc and hit Enter to open up the Services interface.
- Scroll down and look for Windows Update.
- Right-click on the Windows Update and click on Stop.
- Now, press Windows + R keys to open up the Run dialog box.
- Type %windir%\SoftwareDistribution\DataStore and hit Enter.
- From the Windows Update temporary cache folder, select and delete all files.
- Once done, repeat the same above steps to stop the Windows Update service.
- Next, Right-click on the Windows Update option and click on Start.
- Finally, restart your computer to check whether the error has been fixed or not.
2. Troubleshoot Windows Updates
Troubleshooting the Windows Update on the computer can fix the issue completely.
- Click on the Start menu > Choose Settings.
- Go to Update & Security > Click on Troubleshoot from the left pane.
- Now, click on Windows Update to run the troubleshooter.
- Wait for the process to complete.
- If prompted, click on ‘Apply this fix’.
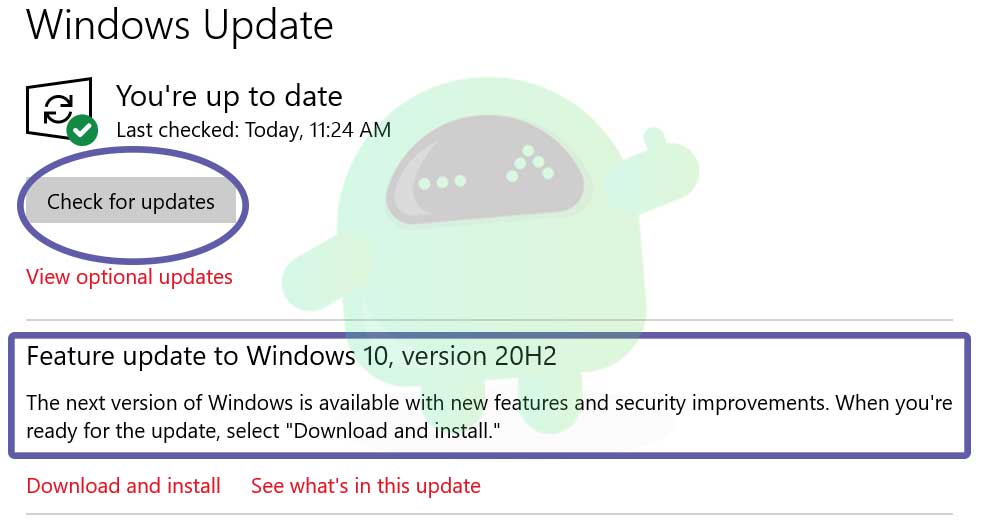
- Restart your computer and try installing Windows security or feature update again. [At the time of writing this article, Windows 10 version 20H2 is the latest one]

However, if that didn’t help, try following other methods.
3. Check if Windows 10 is Activated
The chances are high that your Windows 10 system isn’t activated. To check whether your Windows 10 is activated or not, follow the below steps:
- Click on the Start menu > Go to Settings.
- Select Update & Security > Click on the Activation tab from the left pane.
- Here at the top, you’ll be able to see whether your system is activated with a license or not.
- If it says ‘Windows is activated …’ then you can follow the next method.
- However, if the Windows isn’t activated then you’ll need to purchase a Windows 10 product key according to your current edition like Windows 10 Home or Pro, etc.
- Once you’ve got the product key for activation, click on ‘Change product key’ > Enter the key and validate it.
- Finally, run the Windows Updater again and check if the problem still persists or not.
- Enjoy!
4. Check if Date & Time is Correct
Sometimes it can also possible that the date & time isn’t set correctly according to the region or time zone which can cause multiple issues with the Windows updates, and more.
- Click on Start > Go to Settings.
- Go to Time & Language > Check if the date & time is correctly set or not.
- If not, then click on ‘Additional date, time & regional settings’.
- Choose ‘Set the time and date’ > Click on ‘Change date and time’.
- Set the correct date and time and make sure to check the time zone also.
- Once all done, restart your PC to apply changes.
5. Manually Install Failed Updates
Sometimes it can also possible that a couple of updates or an individual update gets failed for some reason. If that’s happening to you, try manually installing the failed updates on your PC.
- Press the Windows key to open up the Start menu.
- Click on Settings > Go to Update & Security.
- Check for pending Windows build updates. Additionally, you should check the KB updates if anyone is pending to install or failed to download.
- In that scenario, it will look something like ‘Status: Pending install’ or some kind of warning notice.
- You can also go to the Microsoft Update Catalog to check for that failed KB update info.
- Try downloading and installing the KB update again.
- Once the update successfully installed, restart your computer to check whether the Windows Update Error 0x80240023 is fixed or not.
6. Rebuild Windows Update Cache
Some of the reports have previously surfaced online that a cached Windows 10 update file can also cause issues with the error 0x80240023. So, you’ll need to reset and rebuild the cache again.
- Press the Windows key to open up the Start menu.
- Type cmd and right-click on the Command Prompt.
- Now, select Run as administrator.
- Copy / Paste the following command line and hit Enter:
net stop wuauserv
- Next, copy the following command, paste it, and hit Enter:
cd %systemroot%\SoftwareDistribution
- Simply copy command one by one, put it on CMD, and press Enter:
ren Download Download.old
net start wuauserv
net stop bits
net start bits
net stop cryptsvc
cd %systemroot%\system32
ren catroot2 catroot2old
net start cryptsvc
- Once all done, just reboot your PC and check whether the error has been fixed or not.
That’s it, guys. We assume this guide was helpful to you. For further queries, feel free to ask in the comment below.
