Windows 11 brings in new visual changes to the Windows operating system. The OS is not yet available in its stable form, and so far, only the beta users can use it. Since it is in its early stages, most people are choosing not to install the beta build as that might lead to compatibility issues. This is because most applications are yet to provide an update for their apps for support in a Windows 11 computer.
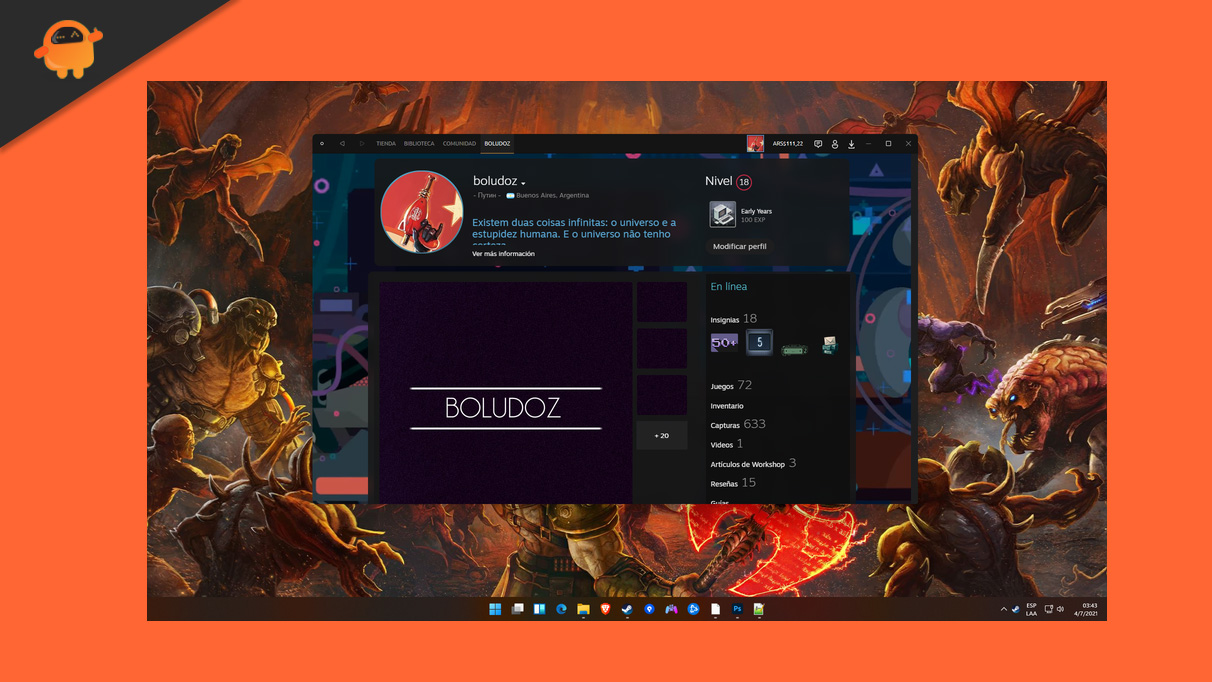
But developers are working on skins for apps that will change the app’s aesthetics, making it look like an app running on Windows 11. The popular game launcher application Steam also has a Windows 11 skin. If you are looking to get such a skin installed on your Steam application, this article will help you out. Here we have included the detailed process for it. So without any further ado, let’s get into it.

How to install a Windows 11 skin on your Steam app?
The skin is in the form of a patch that a Steam user has developed recently to give the Steam application a Windows 11 refresh. The patch in full action was uploaded by a Reddit user named elpurogamer, who even added instructions on how to download and use the patch. Let’s take a look at these steps. It would be best to be careful with these steps as a simple error could result in the Steam app not showing up icons properly.
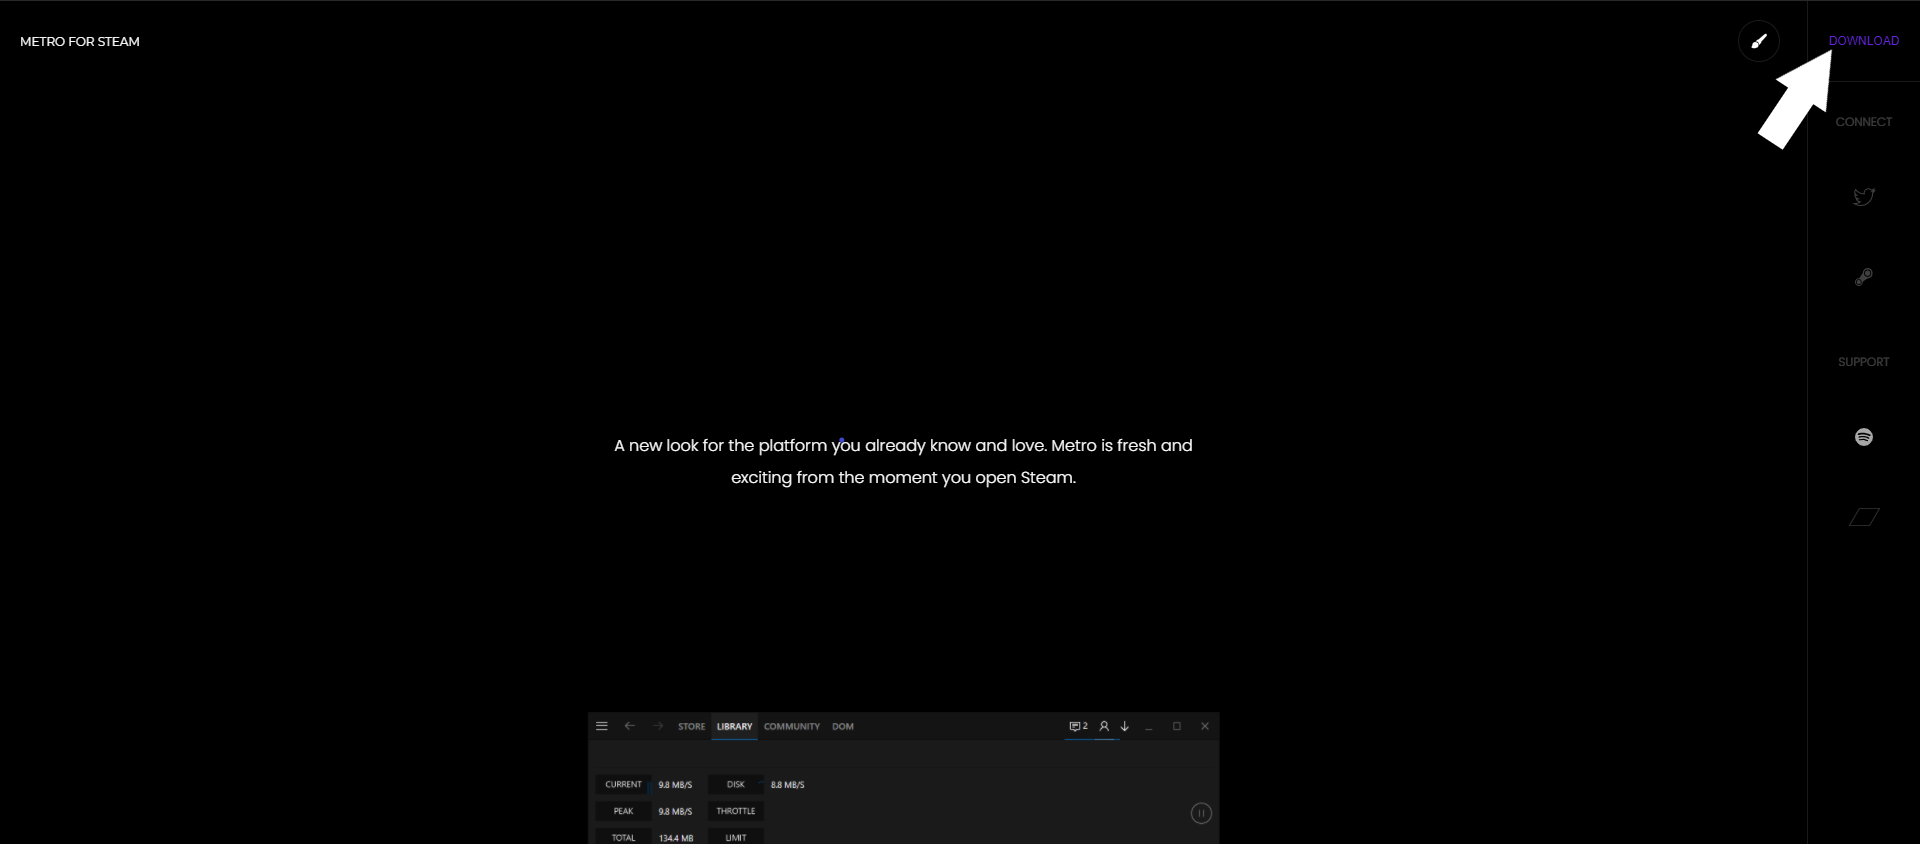
- Download Metro for Steam 4.4 from the official website and install it.

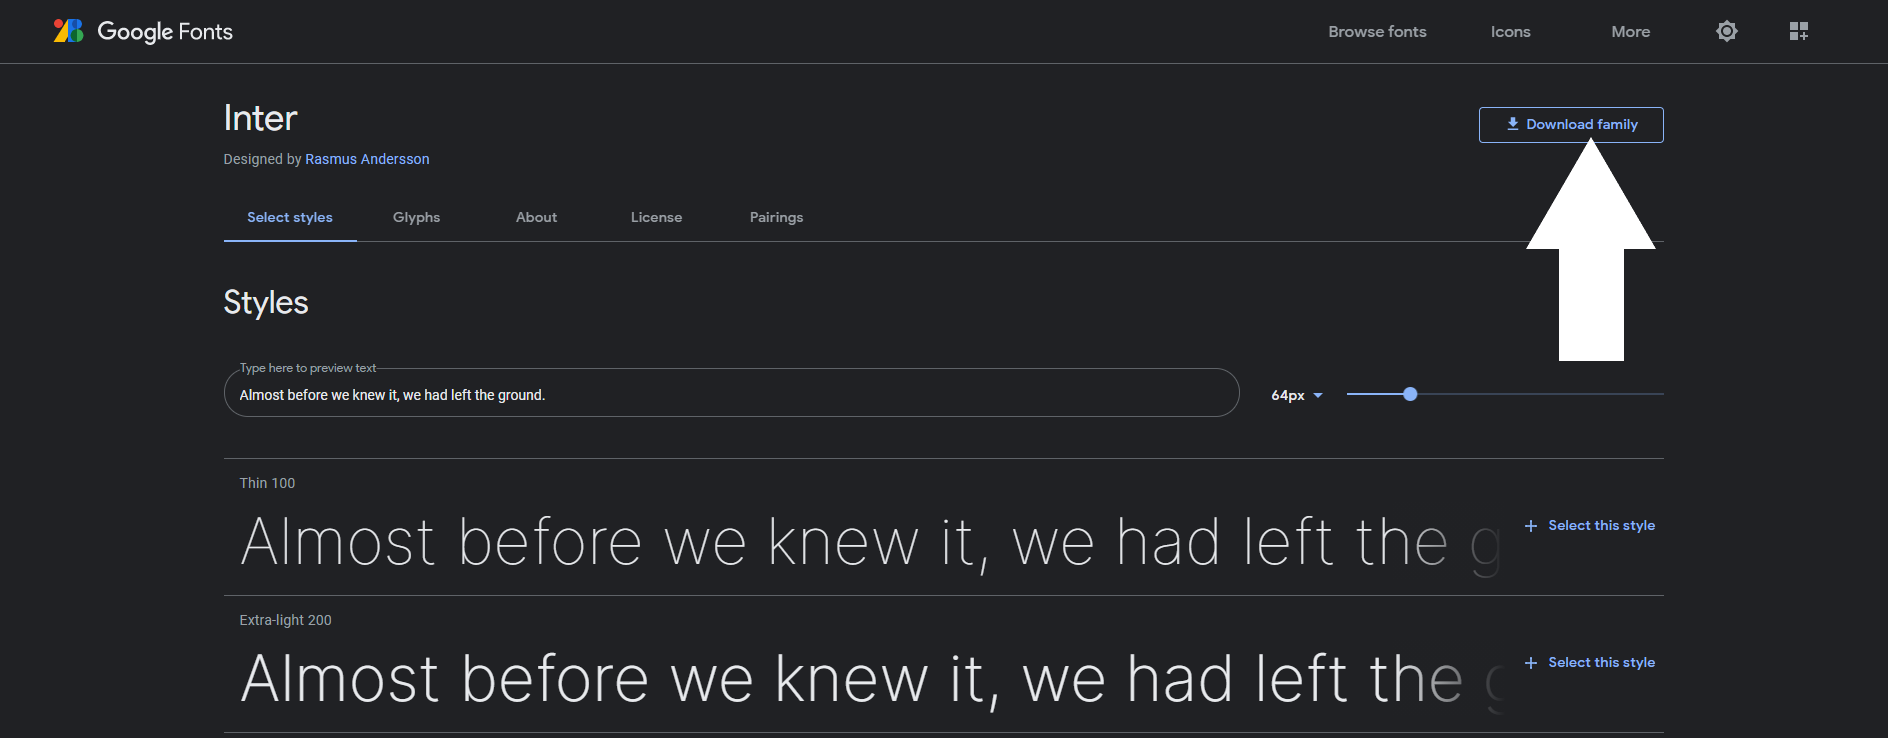
- Download Inter Font from Google Fonts from here and install it.

- Unzip and drag the new download to the “\Steam\Skins\” directory present in the Steam folder. If the directory does not exist, create it.
- Download the latest release of Unofficial Windows 11 Patch for Metro for Steam 4.4 from Github.
- Unzip and drag this new download to the “\Steam\Skins\metro-for-steam-4.4\” directory present in the Steam folder.
- Now launch the Steam app and open up its settings.
- Go to interface and then choose metro-for-steam-4.4.
- After that, restart the Steam application, and it should show up with new visuals.
It is not a complete overhaul for Windows 11, though. For starters, it does not add the rounded edges that you see in Windows 11. The patch or skin only modifies the icons and positions parameters of some elements to make it look like it’s running on Windows 11.
Also Read
Fix: Steam Deck Not Connecting to Steam Servers
How to Fix Steam Achievements Not Unlocking Error
Fix: Steam Link Not Recognizing Controllers
Fix: Steam Workshop Not Downloading
Fix: Steam Not Opening After Update on Windows 11
Steam Content File Locked Error Fix 2023
How to Fix Steam Cloud Error Such as Out of Date, Unable to Sync
How to Fix If Steam Voice Chat Not Working in Windows 10/11 PC
So if you want your Steam app window to show up as a Windows 11 app window, this is the only way for now. When the official version of the Steam app for Windows 11 is released, you can update it with Windows 11 natively running on your computer. That will be a bug-free experience for sure. As for now, this skin is fairly buggy in certain aspects.
So, this is how one can install a Windows 11 skin on the Steam app. If you have any questions or queries about this article, then comment below, and we will get back to you. Also, be sure to check out our other articles on iPhone tips and tricks, Android tips and tricks, PC tips and tricks, and much more for more helpful information.
Also Read
