In this tutorial, we will be sharing two different methods to record screen on your Windows 10 laptop or PC. There might be many reasons why you would need to carry out the said task. For example, you have created a tutorial and need to record all its associated steps. Or many hardcore gamers like to stream their gameplay on Twitch and other such platforms. In these scenarios, you could easily record your screen and carry out the said task.
There are two different methods through which the said task could be carried out. You could either use the in-game windows screen recorder app or go ahead with third-party software. We will be outlining the steps for both, beginning with the former. So without further ado, let us check out the steps to record screen in Windows 10.
Also Read
Page Contents
Record Screen in Windows 10 using Game Bar
The best part about using this software is that it comes pre-installed on your device. Furthermore, coming from Microsoft gives it an upper hand in terms of security. This is because some users are reluctant to use the third-party apps for screen recording purposes, especially when dealing with some personal kinds of stuff. But every side has two coins, and the same is the case here as well.
The Windows Game Bar has some drawbacks as well. For example, the Game Bar records only records at the size of the target app, there isn’t any full-screen recording functionality. Furthermore, the pause feature is also missing from it. Another major drawback that it suffers from is you cannot screen record your Desktop or File Explorer. But if you are looking for a tool that quickly does the screen-recording task, definitely give it a shot. So to try out the screen recording using Windows 10 Game Bar, follow the below steps:
Steps to be followed
- Press the Windows+G key combinations to launch the Game Bar or search the same in the Start menu. If that doesn’t work out, make sure it has been turned on. Go to Start > Settings > Gaming > Game Bar and turn it On.

- Now click on the Capture option. This will open the Capture menu. You have four different options: The first one takes a screengrab, the next option allows you to record the last 30 seconds activity. The third one is used for screen recording purpose and you could use the fourth one to disable Audio during the recording.

- So click on the third option to start recording the screen on Windows 10 PC. Once the process begins, you will see a small dialog box at the top right. From that, you could either stop the video or disable the audio.
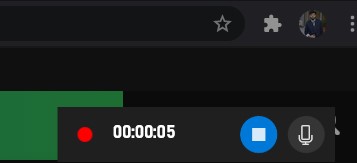
- And once you stop the video, you will see a notification “Game clip recorder”.

- To access this recording, head over to This PC > Videos > Captures. So these were the steps to record screen in Windows 10 using Game Bar. The next time you wish to use this tool, you don’t need to carry out such detailed steps. You could take the help of following shortcut combinations:
- To take a screengrab, use Windows+Alt+Print Screen shortcut
- To record the last 30 seconds activity, take help of the Windows+Alt+G shortcut
- Windows+Alt+R lets you quickly record the screen
- Likewise, the Windows+Alt+M shortcut disables the audio while the screengrab is in process.
Although this in-built screen-recorder Windows app is pretty useful, however, its inability to screen record desktop and file explorer might be a cause of concern for many. On that note, there are a few third-party tools that you could use for that purpose. In the next section, we will be looking at one such tool.
Record Screen using the OBS Broadcaster App
OBS is an open-source tool that makes it easier to record screens on Windows 10. To try it out, download the app for the Windows platform and follow the below steps:
- Launch the OBS Studio setup file and follow the onscreen instructions to install it on your PC.
- Once it is installed, open it and head over to the Settings option. From the left menu bar, click on Audio.
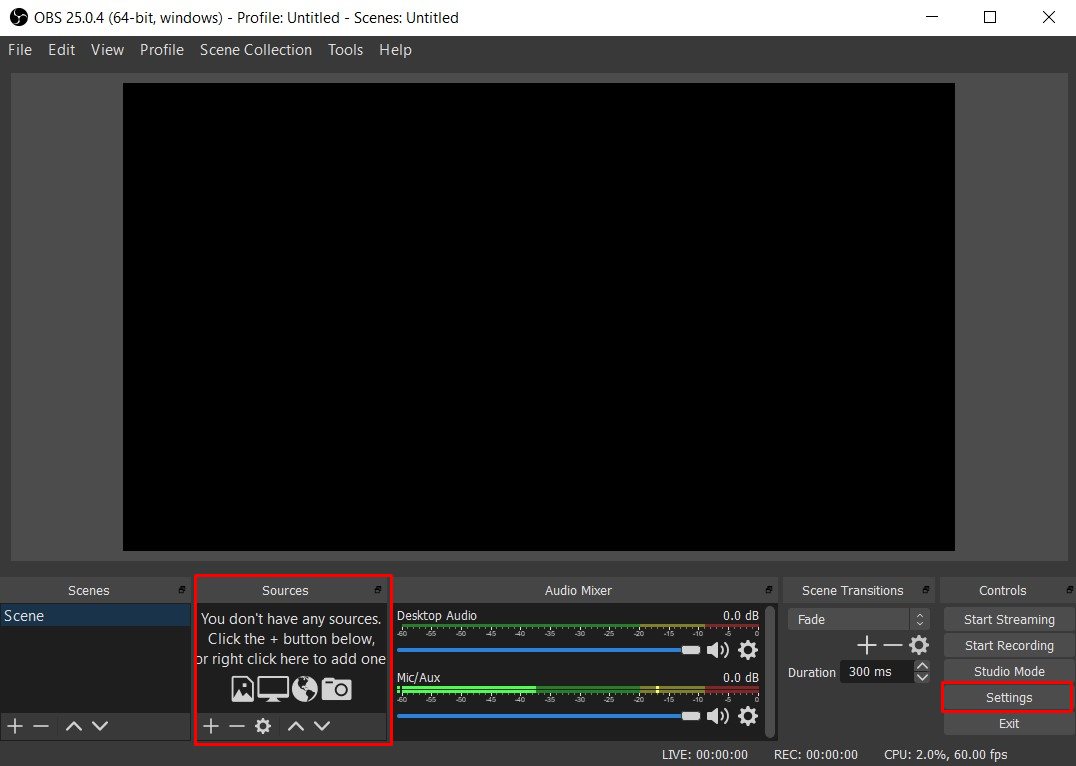
- From the Desktop audio device section, select the audio source of your PC.
- Next, select your microphone from the Mic/Auxiliary Device drop-down.
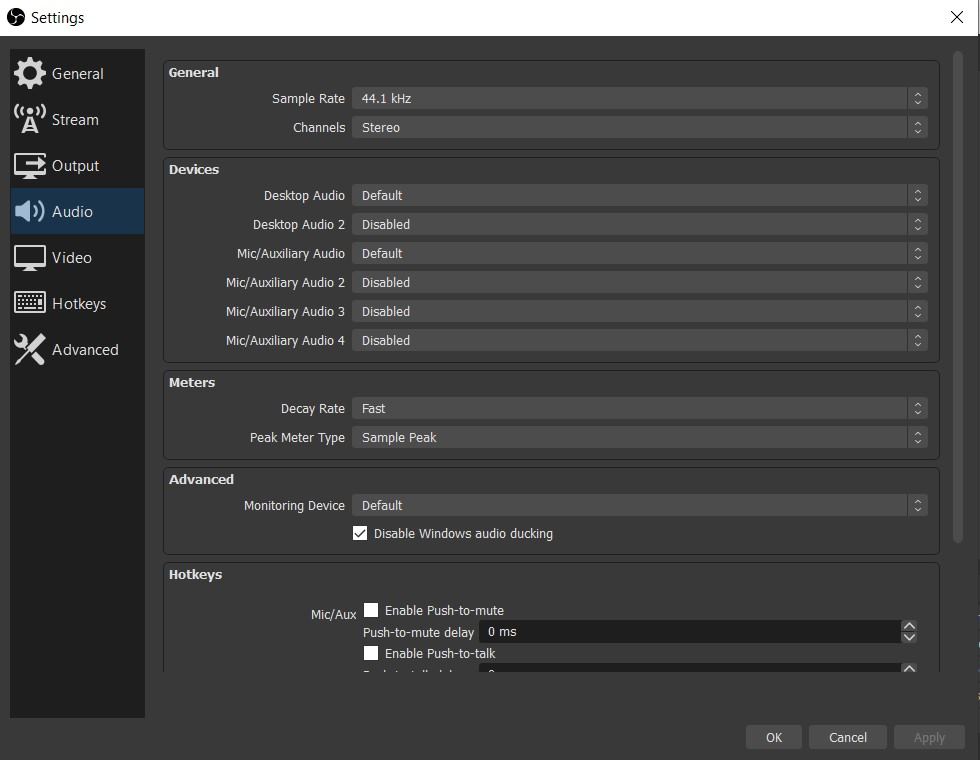
- Now you will be required to add the source to let the software know what it needs to record. For that, go back to the main menu and click on the plus icon in the Source dialog box. Select Display Capture and click OK.
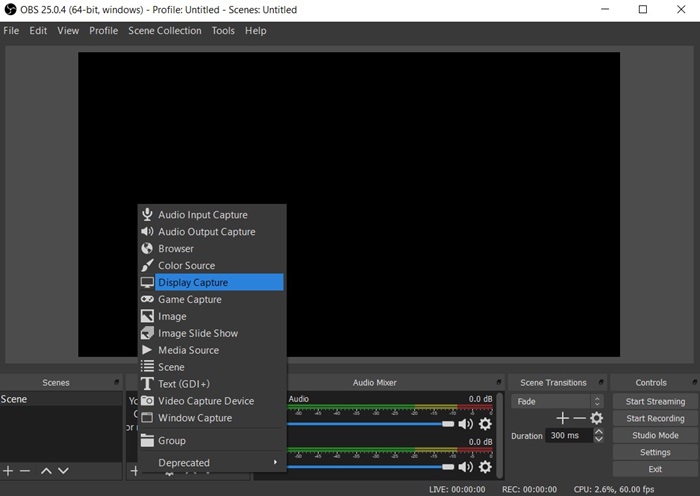
- You will now see your entire display on the app’s dashboard. However, if you don’t want to record the entire display, but only a portion of the screen, choose Window Capture instead of Display Capture from the Source box.
- These were the steps to perform a screen-record using the OBS app. Once the recording is finished, you could find the same under C:\Users\your_username\Videos.
Conclusion
With that, we conclude the guide on how to record screen on Windows 10. We have shared two different methods for the same. Furthermore, we also discussed the associated risks and benefits with both these tools. It’s up to you, the user, to decide which one you ultimately end up choosing. On that note, do let us know which is your preferred method. Likewise, there are some other iPhone Tips and Tricks, PC tips and tricks, and Android Tips and Tricks that you should check out.
