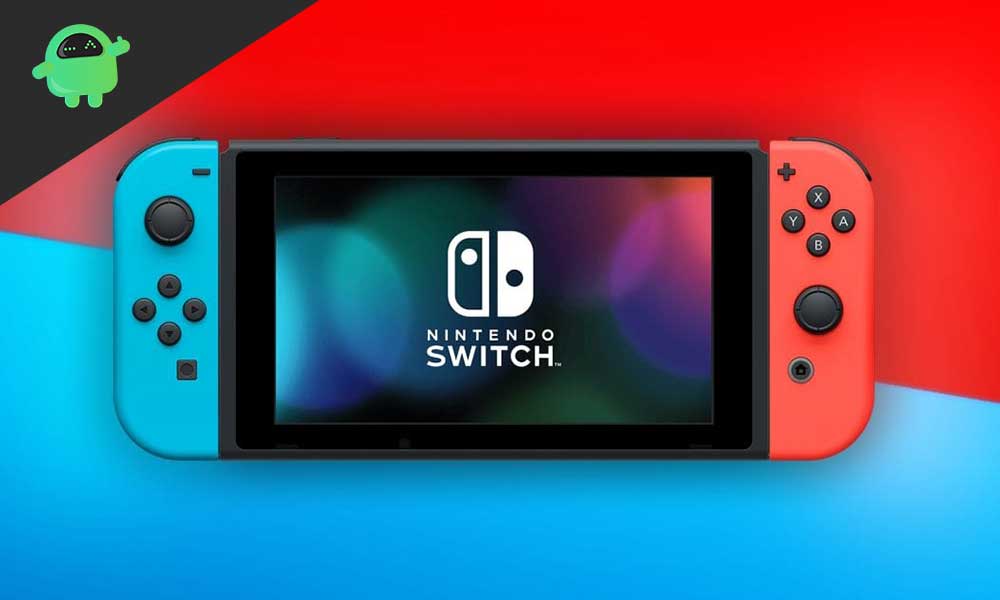
Nintendo Switch is a popular handheld gaming console developed by Nintendo and introduced in 2017. It is the only hybrid console we have seen to date with the state of the art features. This includes wireless joy controls and a hybrid display to play at home and on the move. Now with the outbreak of the pandemic, Nintendo Switch sales have gone par with that of the last year owning to this holiday season. So Nintendo is quite aware of the security it needs to provide the users. Nintendo decided to bring up 2FA or Two-factor authentication to its devices.
Also Read
Nintendo Switch Won’t Connect to WiFi or Internet | How to Fix
How to Fix Nintendo Switch OLED Screen Burn-in Issue
Fix: Nintendo Switch Stuck on Logo Screen
How To Download Faster On Nintendo Switch in 2022
How To Track a Lost Nintendo Switch
5 Best Nintendo Switch Emulators for PC (100% Working)
How To Check If Your Nintendo Switch Is Moddable
Security is one of the critical elements in online gaming, especially when we are quite accustomed to listening to security breaches across the globe. Fortunately, Nintendo has introduced Two Factor Authentication for both their devices. Nintendo Switch and Nintendo Switch Lite. So owing to this Two Factor Authentication protocol, we have decided to bring up a complete guide to turn this on. So let’s get started.

Page Contents
Why is Two Factor Authentication necessary for Nintendo Switch?
Two-factor authentication is necessary because, nowadays,, many threats are going on in the Nintendo network. The attackers are trying to create unethical accounts that they are using to steal Fortnite Vbucks from user accounts. And some users have reported this to Nintendo as well as Fortnite; to prevent this, two-factor authentication comes into play. It forms a security layer over any purchases made on the online network of Nintendo by confirming it. The user then provides a one-time password or a click from his smartphone to open the payment gateway. This level of security is always appreciated.
How to turn on Two Factor Authentication in Nintendo Switch?
You don’t require a Nintendo Switch or a Nintendo Switch Lite in your hands to enable Two Factor Authentication. You need your computer and a Nintendo account. We will now discuss the complete method in steps.
- Firstly, you have to log in to your Nintendo Account.
- Then click on “Sign-in and Security.”
- After that, scroll down and find “2-Step Verification.”
- You will see there is “None” selected; now click on the edit button to start the verification process.
- You will be asked to verify your e-mail address.
- After that, you will be prompted to download “Google Authenticator” for Android and iPhone. (Link is given below)
- Download it and scan the QR-Code that you will see on the Nintendo Site.
- If this does not work, you can even use your six-digit code to start the authentication process.
- This will enable your Two Factor Authentication on Nintendo Switch.
[googleplay url=”https://play.google.com/store/apps/details?id=com.google.android.apps.authenticator2″]
After performing the above steps, you will that whenever you log in to your Nintendo Switch or Nintendo Switch Lite, you will have to turn on Google Authenticator to authenticate your account. This method is highly secure than the previous password-based. But still, you have to enter your password for account login.
Also Read
Wrap-UP
This guide was to help the users to set up Two-Factor Authentication in Nintendo Switch. We hope our guide helped you. If you have any queries or feedback, please comment below with your Name and E-mail ID. Likewise, check out our iPhone Tips and Tricks, PC tips and tricks, and Android Tips and Tricks for more such tips and tricks. We urge you to participate in the $100 giveaway by subscribing to our YouTube Channel. Thank You
