Motorola Moto G8 Plus (codename: doha) launched in October 2019. The phone came out of the box with Android 9.0 Pie and later received Android 10. In this tutorial, we will show you how to download and install Lineage OS 18.1 on Moto G8 Plus (doha) device. The Google-owned OS is open source in nature. This allows the userbase to try out tons of customizations and modifications onto your devices.
All that is required is an unlocked bootloader, and then you could easily set your feet in the custom development. From installing a custom recovery like TWRP to gaining root access via Magisk, the possibilities are endless. Along the same lines, you could also try out a customized Android OS in the form of custom ROMs. And in this guide, we will be discussing just that. Today, we will show you the steps to install Lineage OS 18.1 onto your Moto G8 Plus (doha) device.

Page Contents
Lineage OS 18.1 with Android 11 Features
Among all the custom ROMs available for our device, Lineage has been among the oldest player. In its early days, it was known as CyanogenMod and now this ‘lineage’ seems to have been rightly carried forward. Based on the Android Open Source Project, you will be able to welcome a few handy customization options to your device. The ROM isn’t known to offer a plethora of features, rather it maintains an equilibrium with the stability front.
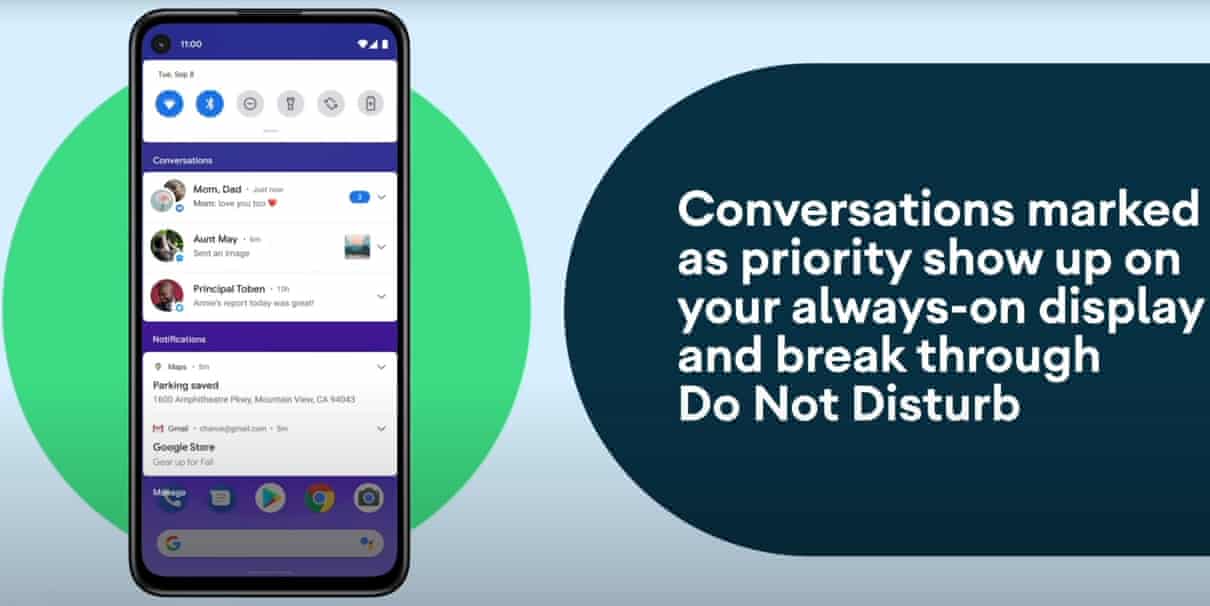
As far as the latest LineageOS 18.1 is concerned, it is based on the latest Android 11 that has just been released. This in turn translates to the user getting blessed with some noteworthy features. These include a separate Conversation section, OneTime Permissions, and the new Notification History. Likewise, there has been the introduction of Chat Bubbles and a native Screen Recorder. The Media Player has now also been moved to the Quick Settings with some handy Media Controls options.
Refer to our detailed instructions on how to install lineage OS 18.1 onto Moto G8 Plus.

Warning
What is GSI Stands for?
GSI stands for Generic system image which is an Android System image that can be used to replace the current installed Android version with a new one. It is a pure Android with an unmodified Android Open Source Project (AOSP) code. With Android 8.1, Google introduced the project treble support for many devices and now with Android 9.0 Pie, Google finally added the API level 28 to support Generic System Images to all app developers to install and run the latest Android GSIs on a variety of existing Android devices. To know more: Read here
How to Install Lineage OS 18.1 on Moto G8 Plus
To install, as we said, you need to unlock the bootloader and must have a TWRP (to install via a device) or a PC (to install via Fastboot). Yes, there are two methods to install the Lineage OS 18.1 GSI on Moto G8 Plus.
Disclaimer
AOSP GSIs which is still marked as a pre-release. Even on a device that runs Pie GSIs nicely, it’s still possible to get broken media, camera, RIL, or even flat-out no-boot. You are strongly advised to try PHH’s original and then identify/report issues there, before moving onto other GSIs that are based on his work. Please report bugs on the same thread related to the ROM.
We’re at GetDroidTips won’t be responsible for any kind of damage or error that occurs to your handset while or after following this guide. This is a Custom ROM and may contain some of the bugs or stability issues. We can’t recommend you to use this firmware as your daily driver. Proceed at your own risk.
Pre-Requirements:
- This guide is for Motorola Moto G8 Plus.
- You will require to unlock the device bootloader at first
- ARM, ARM64, or x86: Check your Android Phone’s Processor
- Treble Support: Check If Your Smartphone Supports Project Treble
- Download the required file and Support the GApps file from below.
- Keep your device battery charged up to 60% at least for a smoother process.
- Take a complete backup of your device data without Root. In case anything goes wrong, you can easily restore all the data.
- Download and install Motorola USB Drivers
- For adb method: Download ADB and Fastboot tool
- For TWRP Method: Download and Install TWRP Recovery on Moto G8 Plus
Note:
A only arm32 – arm avN
A only arm64 – arm64 avN
A/B arm64 – arm64 bvN
A/B arm32 – arm bvN
Download Links:
- AOSP Quack Phh-Treble: Download
- LineageOS 18.1 Download – If broken link, check official forum
Install via TWRP Recovery:
This guide is for those users who have installed TWRP recovery on your device. If your device is not supported, you can try the next method to install the custom ROM via GSI build.
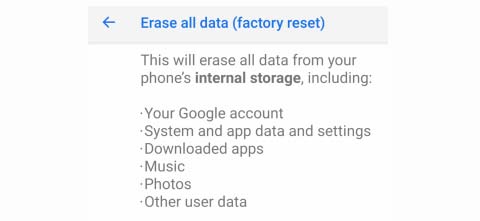
- To install via TWRP, you need to factory reset your device using TWRP
- Go into the Wipe option and Swipe to Factory Reset.

- Transfer the GSI build to your Moto G8 Plus using a USB Cable.
- Once you have moved, you can remove your USB cable.
- In your TWRP, tap on the install button –> Change type to Install Image and find the GSI you have moved in the 3rd step.

- Confirm the flash by choosing the system partition
- Once it is done, you can reboot your device and wait for a few minutes to boot up.
Flash via Fastboot
- First, do the factory reset on Moto G8 Plus. There are two methods to do it, follow anyone.
- Factory Reset When Powered On: To install without TWRP, you have to factory reset using your Umdigi A7 Pro factory reset option.

- Factory Reset via Stock Recovery: Reboot your Moto G8 Plus into stock recovery using a button combination or ADB command.
adb reboot recovery
- In your Stock Recovery, navigate using the Volume UP and DOWN button.
- Factory Reset When Powered On: To install without TWRP, you have to factory reset using your Umdigi A7 Pro factory reset option.
- Make sure to extract the downloaded GSI build.
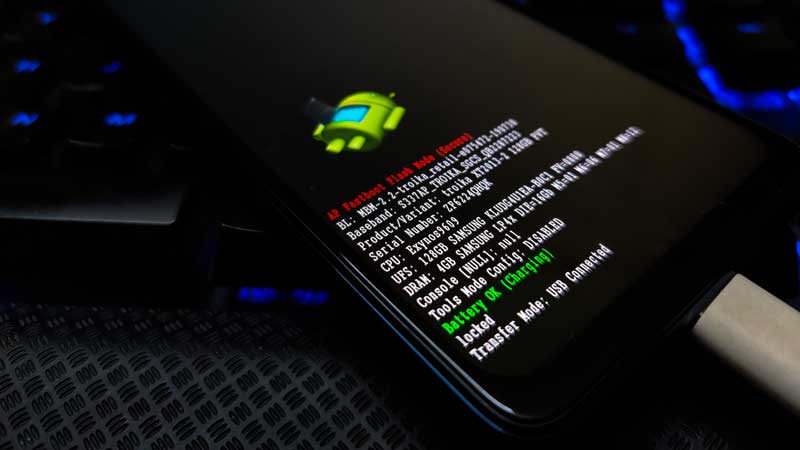
- After resetting the factory ROM, you can now boot your device into bootloader mode using the adb command
adb reboot bootloader.
- Now open the extracted folder of GSI build, there, now open the command prompt window by holding the SHIFT KEY and Right Mouse click.
- In your command window, enter the command
fastboot erase system - To flash the system image, enter a command in the following format:
fastboot -u flash system name_of_system.img - Wait for the image to flash, it could take a few minutes. Once it has been completed, reboot your device either manually via power key or by entering
fastboot rebootand wait for a few minutes to boot up.
We hope that this guide is helpful to you and you have successfully installed the Custom ROM on your Moto G8 Plus handset easily. If in case anything goes wrong or if you have any queries, feel free to ask in the comments below.
Credits to all the developer from XDA forum and 4PDA forum
Did you know?
