macOS Ventura users have complained about external monitor issues in the Mac computer. The users have updated the software edition to the latest version, and they started to face display issues in the system. The users also stated the display uses the same cable, settings, and applications.
Also Read
FIX: macOS Ventura Not Detecting External Monitor
FIX: Logitech G HUB Not Working on macOS Ventura
macOS Ventura No Internet Connection Issue, How to Fix?
macOS Ventura Zoom Crashing or Not Working, How to Fix?
macOS Ventura Trackpad Issue: How To Fix?
5 Reasons Why Not to Install macOS Ventura and Why Should Update the macBook
macOS Ventura Photos Is Not Syncing: How To Fix?
Fix: macOS Ventura Cannot Add Security Keys Error
How To Reset Network Settings on macOS Ventura?

Page Contents
- Why is my Mac not recognizing my external monitor?
- FIX: macOS Ventura Not Detecting External Monitor
- Shut Down macOS Machine
- Downgrade macOS or Try Linux OS
- Compatible Displays
- Clean Mac Computer and Cables
- Change Display Resolution
- Let’s Check Monitor and Cables Health
- Modify DisplayPort Version
- Disable Automatic Graphics Switching in Mac
- Confirm the Interference
- Diagnose Mac for Hardware Failures
- Apple Diagnostics shows a progress bar when testing the hardware.
Why is my Mac not recognizing my external monitor?
We don’t know what’s preventing your external monitor from connecting with Mac software. We have to identify the root cause and solve the display issues. I have prepared a list of potential reasons, and take your time to find out the root cause.
macOS Ventura Bugs & Glitches:
Apple pushes new desktop-class software editions for the users. Many experts don’t recommend that professionals install the latest version in the first month. Newly released software editions have bugs and glitches in them. The in-house developers take weeks to rectify the issue in the next update. I have shown you a temporary solution to counter the bugs and glitches.
Dust and Grime Dirt:
Dust/grime dirt is a powerful enemy of electronic products. We don’t care about the Mac and monitors. We leave them aside after using them for hours. We repeat the same mistake for months and years without cleaning the electronic goods. I have written the instructions to clean the Mac and monitor without damaging them.
Cables:
Is the cable connecting the external display and Mac working?
There are many questions and I have found a solution to identify the faulty cable. I have covered the part below and read the tutorial to smoke out the faulty HDMI or DVI cables.
Incorrect Settings:
Display settings decide how the content is viewed on the monitor. Incorrect monitor settings can leave the monitor with a blank screen. Show the Mac how you want the displays to work in the system. We have shown the monitor settings below and applied them to your iMac or MacBook.
Incompatible Cable or Display:
Some monitors don’t work with MacBook or iMac. We assume that every monitor will work with the macOS software. I have provided a list of compatible external displays for your macOS machine. Meanwhile, use your phone to call the display manufacturer’s customer care and ask them about compatibility.
macOS System Files Corruption:
macOS is not an invincible software. The Mac computer has corrupted system files. We are not 100% sure, and there is a way to find it. We have shown you how to identify software failure in the guide.
Hardware Failure:
I don’t want to scare you, but the external monitor disconnection may indicate a hardware failure. We have to find out whether the Mac computer or display has reached the End-of-life product category. We can use the Apple built-in tools to test the hardware in the macOS machine.
Also Read
FIX: macOS Ventura Not Detecting External Monitor
All monitors have universal drivers, and macOS supports them. You don’t need additional programs or drivers to connect the external display. However, I request the readers contact the manufacturer for suggestions. Check the product listing page for information, and you will find something over there.
Shut Down macOS Machine
We don’t have to debate whether you should shut down or put the MacBook or iMac on sleep mode. Many notebooks don’t sleep for weeks or months. We put them in sleep mode and woke up the machine the next day. Give some time for the hardware to dissipate the heat. Give some time for the software to dump the previous session’s temp files.
1. Click on the Apple logo.
2. Click on the “Shut Down” option.
3. Click and confirm to power off the notebook.
Put the MacBook aside and let the machine rest for an hour. The software loads drivers, applications, services, system files, and background processes in the next boot. Most software bugs and glitches go away temporarily. We have to rely on the Apple developers to release the patch update.
Downgrade macOS or Try Linux OS
Many newer models can downgrade the macOS edition for stability and performance. You can watch YouTube videos on how to downgrade the macOS version.
Meanwhile, the discontinued MacBook and iMac don’t have many options. I suggest the readers try Linux operating system. Older Mac computers don’t receive security updates, performance updates, and more.

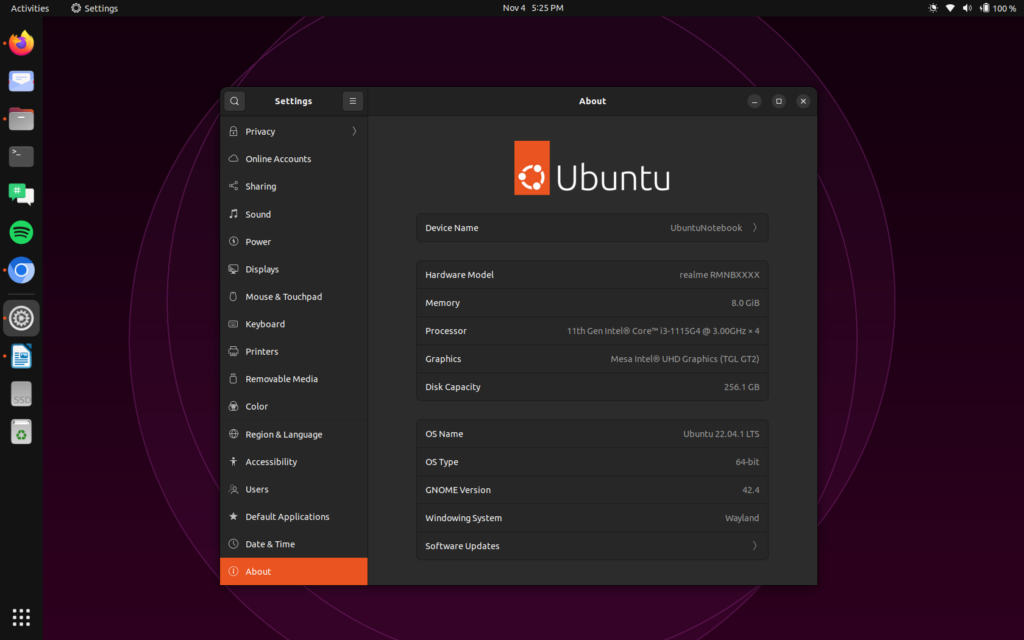
Install Ubuntu LTS editions and receive five years of support and additional five years of security updates.
I’m an active Linux (Ubuntu 22.04 LTS) user for a long time. You don’t have to install drivers.
An open-source community developed elementaryOS for Mac users. You can try the Linux operating system without paying a single penny.
Compatible Displays

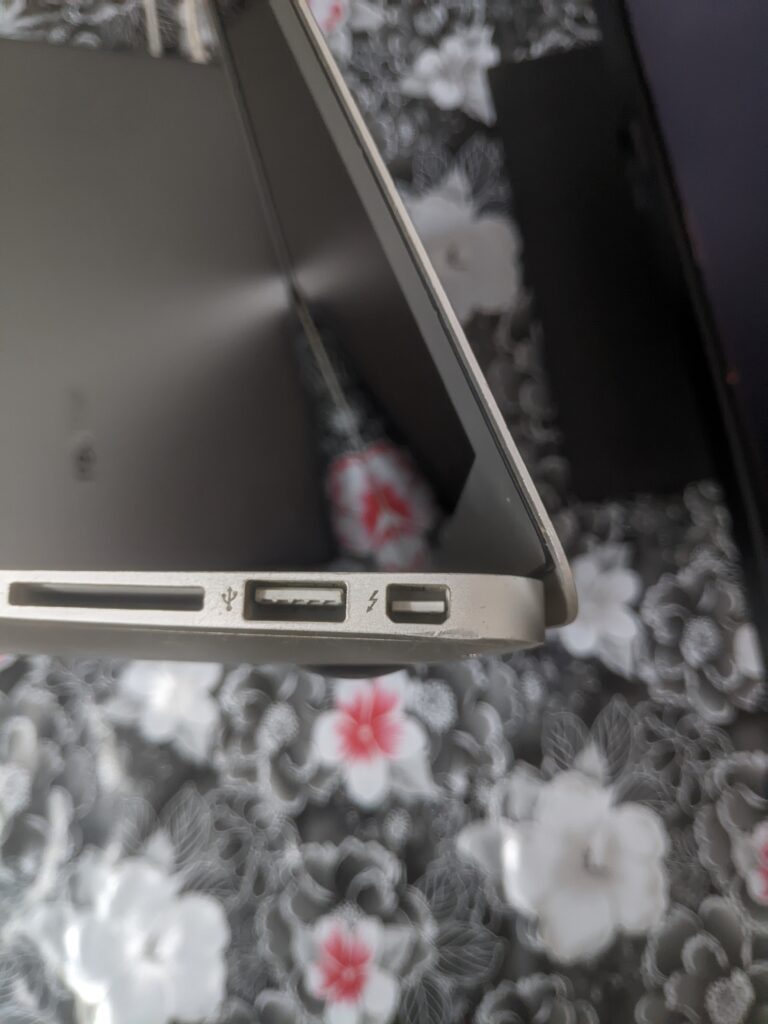
Mac computers have limited ports. Apple has removed ports on the MacBooks & iMacs to create more space for other components and build a thin & light notebook. Learn about the ports and cables you need to connect an external display without issues.
A. Mini DisplayPort
B. Thunderbolt cable
C. Thunderbolt 2
D. Thunderbolt 3 (USB-C)
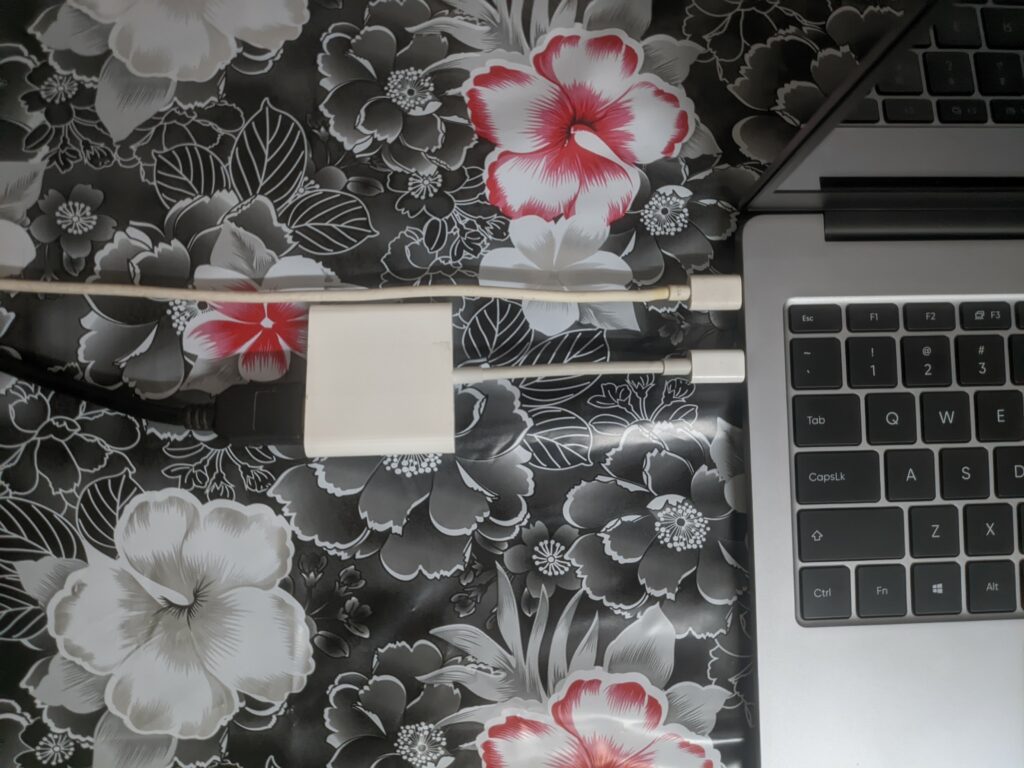
Many MacBook users purchase adapters to convert HDMI cables. Stop using the aftermarket cables and converters. Kindly purchase MFI-certified or genuine cables from the Apple store. You can use USB-C Digital AV Multiport Adapter for the newer Mac computer models.
Clean Mac Computer and Cables

Do you remember the last time you cleaned the Mac computer and the accessories?
Let me guess. I don’t think you recall cleaning the Mac and the cables in the past. I will give you some instructions to remove dust without damaging the hardware. Shut down Mac and remove all cables.
a. Use a dry cloth. I prefer microfiber cloth.
b. Use cotton to clean the ports and tiny areas.
c. I forbid newbies to use liquid or isopropyl alcohol. Unless you know what you’re doing at your own risk.
d. I forbid readers from using blunt objects to remove tough stains or grime.
I recommend readers approach an expert to remove tough dirt and grime from the notebook.
Clean the Mac and the cables gently. Brute force can damage the power cables and hardware.
Change Display Resolution
Monitor software sets the default screen resolution in the computer. Mac overrides the native resolution and pushes to a higher number. Correct the settings, and I have shown you below.
1. Click on the Apple logo.
2. Click on the “System Preferences” option.
3. Click the “Displays” option.
4. Choose the resolution suggested by the manufacturer.
Most displays have 1080p, 1440p, and 2160p resolution. Choose the number one-by-one to find the supported resolution.
Let’s Check Monitor and Cables Health
We should find out whether the display is working or not. Let’s enable one set from the system preferences and clear the doubts.
1. Click on the Apple logo.
2. Click on the “System Preferences” option.
3. Click the “Displays” option.
4. Choose “Arrangements” from the top menu.
5. Enable the “Mirror Displays” option.
A setting is causing the error in the macOS machine if mirroring works flawlessly. We know that the Mac computer recognized the external display. The Mini DisplayPort or USB-C cables are working. Move to the next solution or reconnect the Apple cables if the mirroring doesn’t work.
Modify DisplayPort Version
The DisplayPort in the Mac computer may have mistaken the port version. You can modify the DisplayPort version from 1.2 to 1.4 or the other way around. Follow my lead, and don’t complain if the option is missing on your system. Many users have reported that the setting is missing in Catalina or later.
1. Click on the Apple logo.
2. Click on the “System Preferences” option.
3. Open “Monitor Settings” using the search bar.
4. Switch the Display Port Protocol v1.4 to Display Port Protocol v1.2 version.
Do the other way around and switch Display Port Protocol v1.2 to Display Port Protocol v1.4 version.
Restart the Mac computer. The external display should view the contents in the boot.
Disable Automatic Graphics Switching in Mac
Apple enabled automatic graphics switching by default in the Ventura operating system. Disable the feature in the Mac computer, and let the built-in graphics take care of the task.
1. Click on the Apple logo.
2. Click on the “System Preferences” option.
3. Open “Battery” from the settings.
4. Choose “Options” from the settings.
5. Disable the “Automatic graphics switching” from the options.
Restart the Mac computer. Do not disconnect the external monitor and let the system detect the display.
Confirm the Interference
I suspect a third-party program or drivers clashing with the external monitor connection. Let me show you how to confirm the problem. Use Safe Mode because it will load essential system drivers and processes. The third-party drivers, programs, and apps don’t load in the SM.
For Intel-based Macs:
1. Turn off your Mac computer.
2. Press the Power button.
3. Press and hold the Shift key immediately.
4. Release the Shift key until the lock screen appears on the screen.
Restart MacBook or iMac to boot into normal mode.
For Apple Silicon:
1. Shut down your Mac computer.
2. Press and hold the Power button.
3. Release the button after the “Loading startup options” appears on the screen.
4. Select the macOS installed volume.
5. Hold the Shift key.
6. Click the “Continue in Safe Mode” option.
The Mac computer booted into Safe Mode. Test the monitor and play around with the display settings.
Diagnose Mac for Hardware Failures
The macOS software has a built-in tool to diagnose the hardware. Let me show you how to access the Apple tool and identify the faulty hardware.
1. Shut down the Mac computer.
2. Remove all accessories of the MacBook.
a. Remove Ethernet
b. External keyboard and mouse for MB only.
c. Flash drives
d. External drives
3. Charge the MacBook up to 95%.
Remove them all.
#1: Access Apple Diagnostics
For Intel-based Computer:
1. Press the Power button and release it.
2. Press and hold the D key until the progress bar appears on the screen.
Or, when you are asked to select the language.
Move to the next part.
For Apple Silicon:
1. Press and hold the Power button.
2. Release the Power button when the startup options appear on the screen.
3. Press the Command (Left) key to continue.
Move to the next paragraph.
Apple Diagnostics shows a progress bar when testing the hardware.
You can repeat the test by clicking “Run the test again” or pressing Command (Right). Note the error code and search for the answers on the official Apple site.
Bottom Line
You can solve macOS Ventura external monitor issues by applying the official solutions. Update the macOS version or downgrade the software. Discontinued MacBook or iMac users can download and use the elementaryOS. You will get five years of software and security support from the open-source community. Linux is the most secure operating system, so don’t worry about the vulnerabilities.
