Blue Screen of Death (BSOD) is a serious problem, and Windows PC crashes the machine to prevent hardware damage. Users shouldn’t take it lightly and focus on identifying and resolving the issue as soon as possible. BSOD is caused by software and hardware failures, don’t come up with conclusions. I have listed several reasons why the Blue Screen of Death occurs in Windows 11.
What are the reasons for the Blue Screen of Death in Windows?
My gaming machine is suffering from multiple BSOD daily, and it is due to the latest software. Windows 11 is a new edition with lots of bugs, glitches, and shortcomings, which takes a minimum of a year to call a stable operating system. I’m getting the word out because the unstable software can crash the machine. Here are a few reasons why Windows machine crashes multiple times a day.
- New software (bugs)
- Outdated drivers
- Broken/faulty devices (Example: Mechanical Hard Drives)
- Corrupted Windows file system
- Faulty memory or RAM module
- Overheating components (Example: CPU, GPU, motherboard, etc)
- Latest Windows updates
- Virus and malware
- Pirated software
- Installing Windows on unsupported hardware
These are a few contributing factors that lead to Blue Screen of Death in Windows 11 and earlier versions. Let me present you with a few solutions that will identify the main suspect and help you resolve the problem.
Virus & Threats
100 million malware pieces were created for Windows 10 in 2020 alone. I haven’t even disclosed the 2021 data, and it will shock you further. You should take measures to prevent the software from getting infected with malware, adware, spyware, virus, and other threats.
Also Read
Virus and Threat Protection Not Working on Windows 11
Fix: USB Detected But Not Accessible Issue in Windows 11, 10
Fix: Windows 11 Touchpad Gestures Missing
Fix Windows 11 Random Shutdown Issue
Fix: Miracast Not Working on Windows 11 and 10
How To Fix External Hard Drive I/O Device Error in Windows 11/10
How to Fix if 4K Videos Not Playing on Windows 11
Fix: Windows 11 Taskbar Not Hiding in Full Screen
How to Fix Scanner Not Working Issue on Windows 11
One of my close peers depends on Windows Security/Defender to protect the computer from threats. However, it is recorded that the Windows Security system is inconsistent and let malware get inside the software.
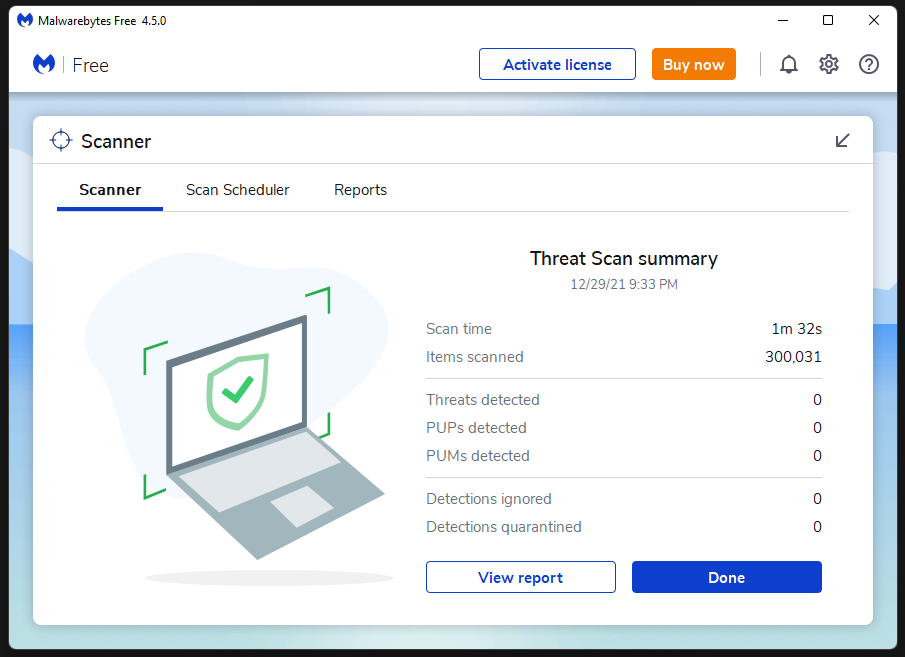
You should get a premium solution to protect the computer from all sorts of threats. It’s not easy to ward off the threats at a 100% ratio, but the paid security solution keeps the threats at 99.9%.
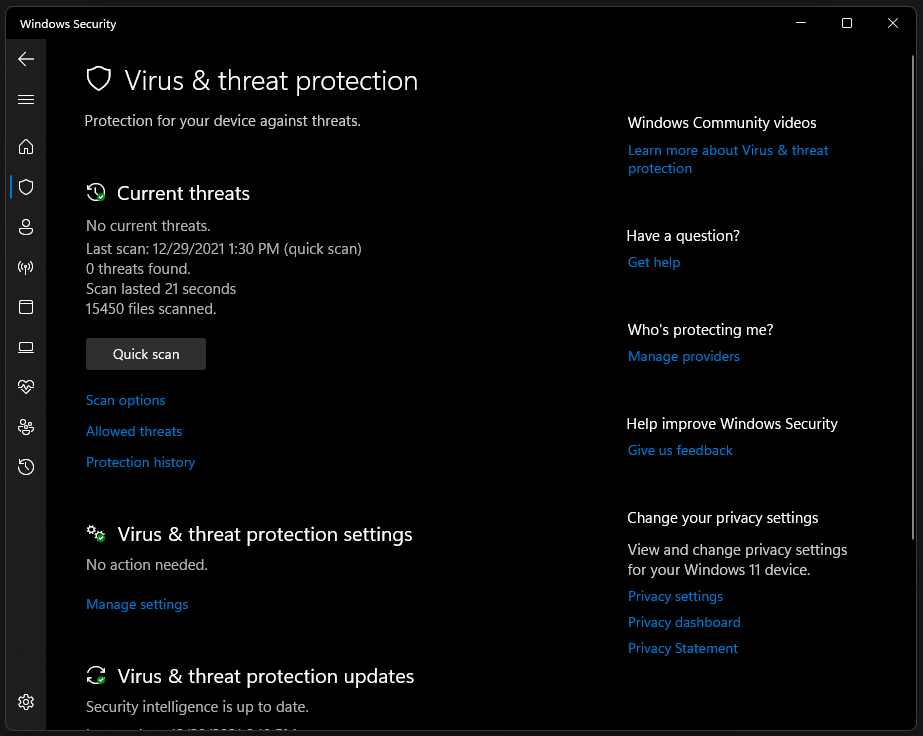
Run a full computer scan, and you have to give the security program hours to go through every file in the machine.
You can utilize Windows Security and run a full computer scan.
We are not sponsored by Malwarebytes or partners and I use the free solution to protect the machine to some extent.
Also Read
How to Delete Display Cache in Windows 11
How to Fix If Brightness Slider Missing on Windows 11 and 10
TranslucentTB Windows 11 Not Working, How to Fix?
Fix: Micro SD Not Showing Up on Windows 10/11
Fix: Mouse Scroll Wheel Jumps Up and Down on Windows 10, 11
How to Enable New CoPilot AI in Windows 11 23493
Run System File Scanner
Corrupted Windows system files are common, and I have reinstalled the operating system to resolve the issue over the years. You can find out if the OS has corrupted system files and then take action according to the results.
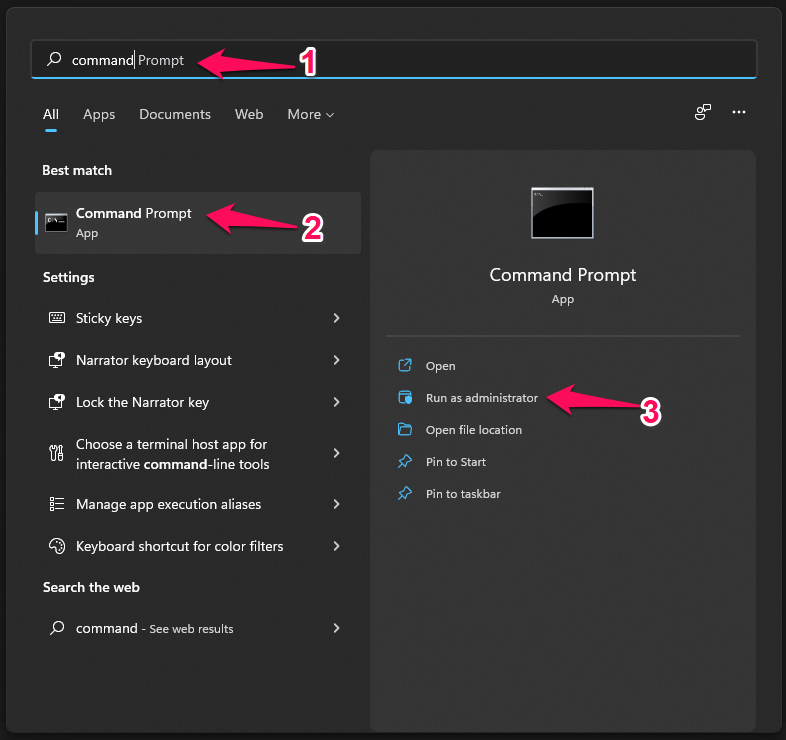
1. Press Windows Key and S, then open CMD as administrator.
2. Type “sfc /scannow”, then press the Enter key.
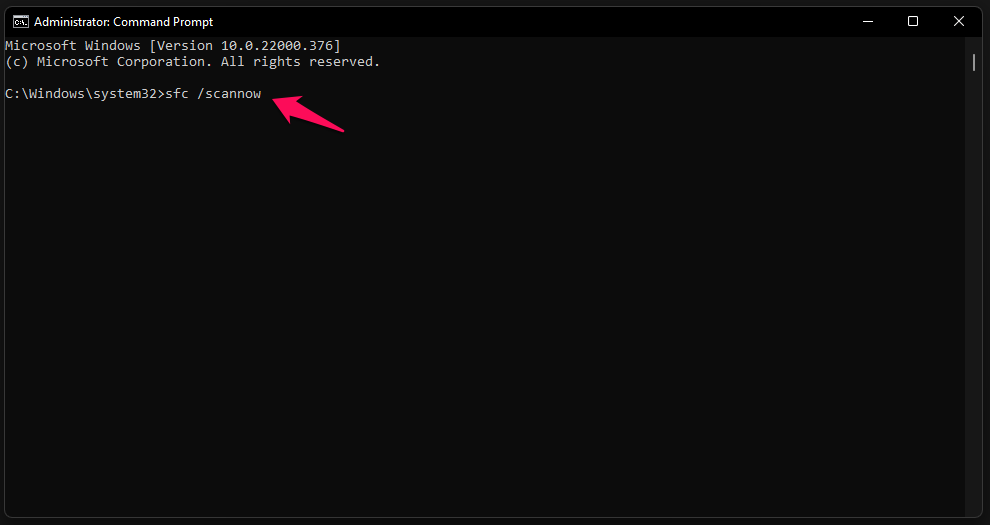
3. The inbuilt tool begins scanning the system files.
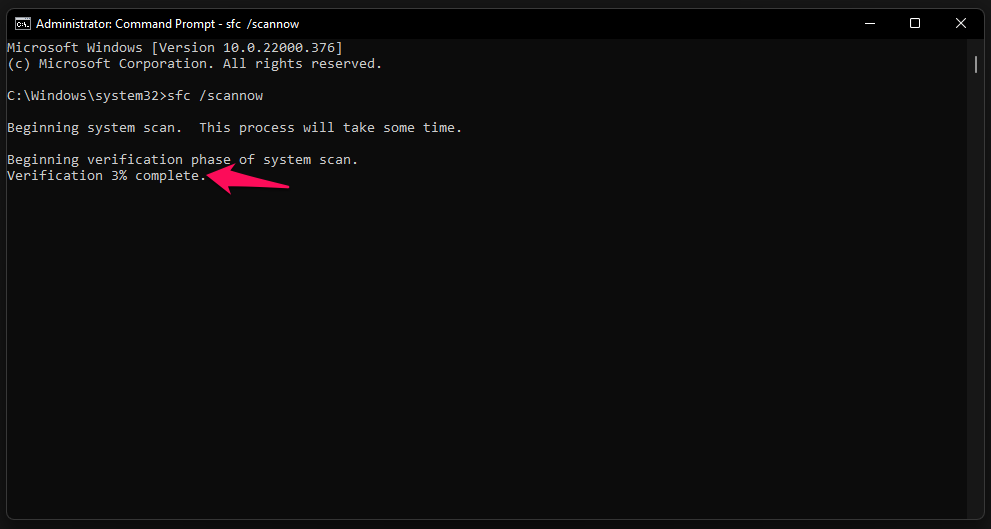
The scanning process consumes less than ten minutes on an SSD and it will take longer on the mechanical hard drive (5200rpm).
4. The results are on the screen, and my Windows copy has no corrupted files.
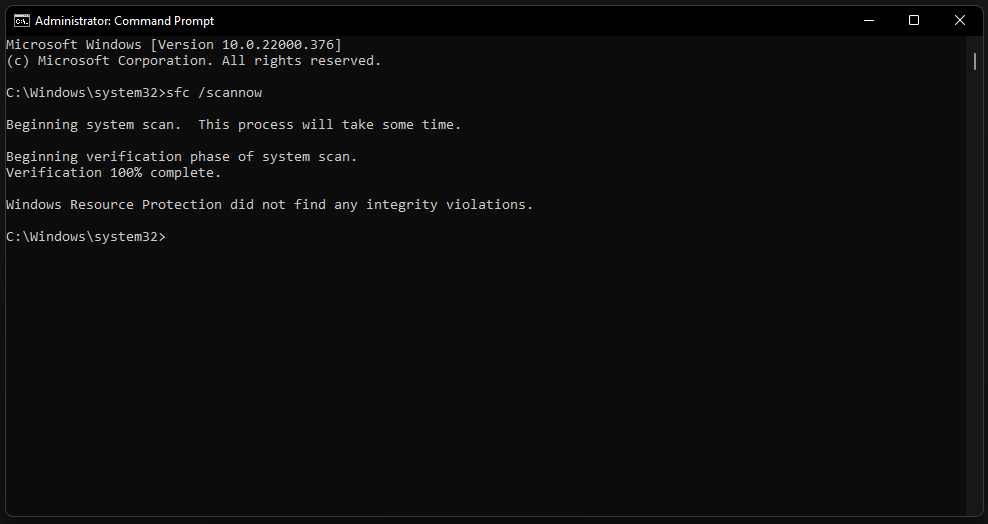
You should reinstall the operating system if the results are “Windows Resource Protection found corrupt files but was unable to fix some of them”.
Go to Safe Mode and run the scan if the results are “Windows Resource Protection could not perform the requested operation“.
You should restart the machine and run the scan again if the result is “Windows Resource Protection found corrupt files and successfully repaired them”.
I faced the above problem in the past, and the results remained the same no matter how many times I ran the command. I had to reinstall the OS to resolve the issue, and I recommend the readers to do the same.
Scan Drive for Errors
Older mechanical drives were bottlenecking the CPU, GPU, and motherboard. I prefer a hard drive as a storage expansion solution because the SSD’s prices have gone up. You can get a 1TB HDD for $40, while a 1TB SSD costs around $120 in the market.
However, it won’t eliminate the fact that slower hard drives have moving parts, which end up having problems later down the line. Let me show you how to scan storage drives in a Windows machine.
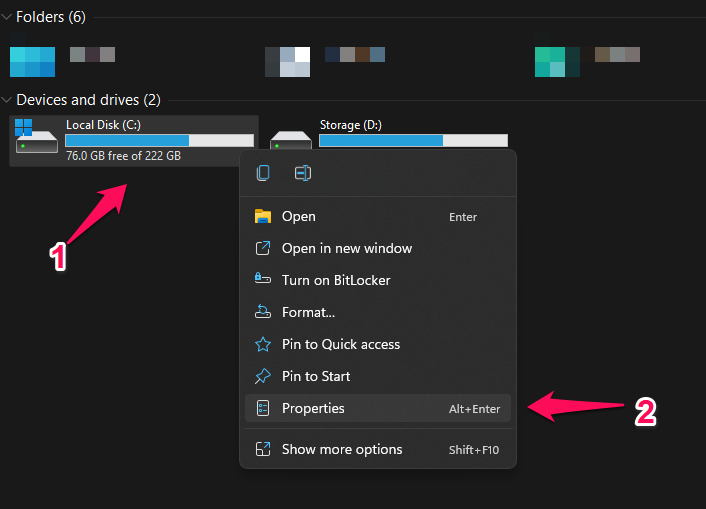
1. Open This PC and select the Windows installed drive.
2. Right-click the mouse to view more options and select the “Properties” option.
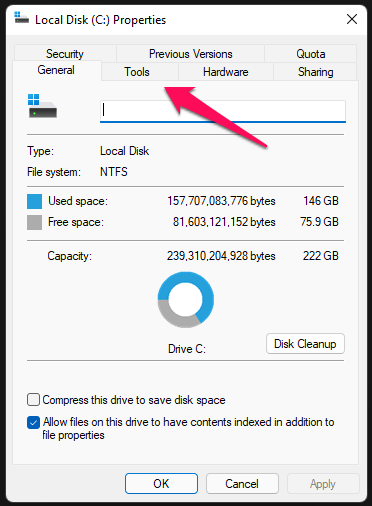
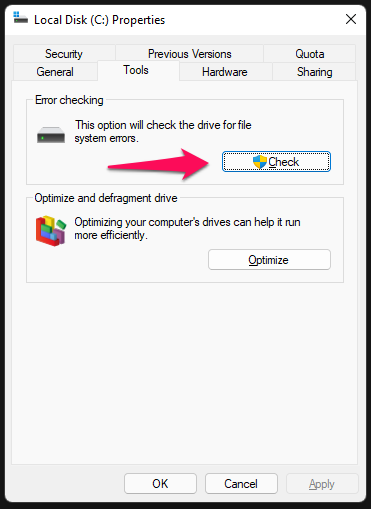
3. Click on “Tools” from the top menu.
4. Click on the “Check” option under “Error Checking.”
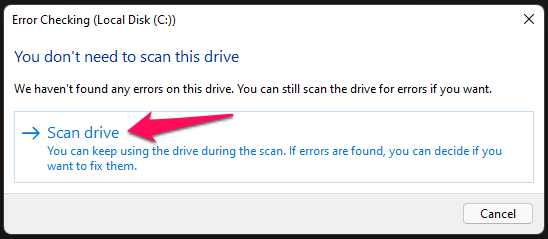
5. Click on the “Scan Drive” option.
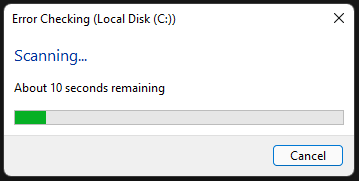
6. Let the tool scan for errors, and it takes a few minutes to finish.
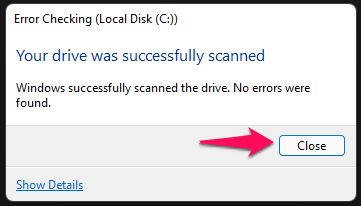
7. My drive has no problems, and click on “Close” to finish the process.
Perform the same task on the other partitions and mechanical drive. You should perform the same tutorial on connected drives, and it will give you an idea of storage drive health. Listen to the hard drive sound, and if it is making a cracking sound, then the drive heads are faulty. Reach the nearest brand service center and ask them to replace it before it damages the disk permanently.
Scan Memory Modules
RAM is a core component in the computers, and your machine crashes if the memory module is not working or faulty. It’s not easy to identify the faulty memory stick, but I will show you a way to automate the scanning process to find the component health result.
Note: The entire process takes 45 minutes to finish on a modern computer and longer on older machines. Yes, I ran the test on my desktop, and that’s how I recorded the duration. Your PC will restart and run multiple tests on the module, so make sure to save the background work.
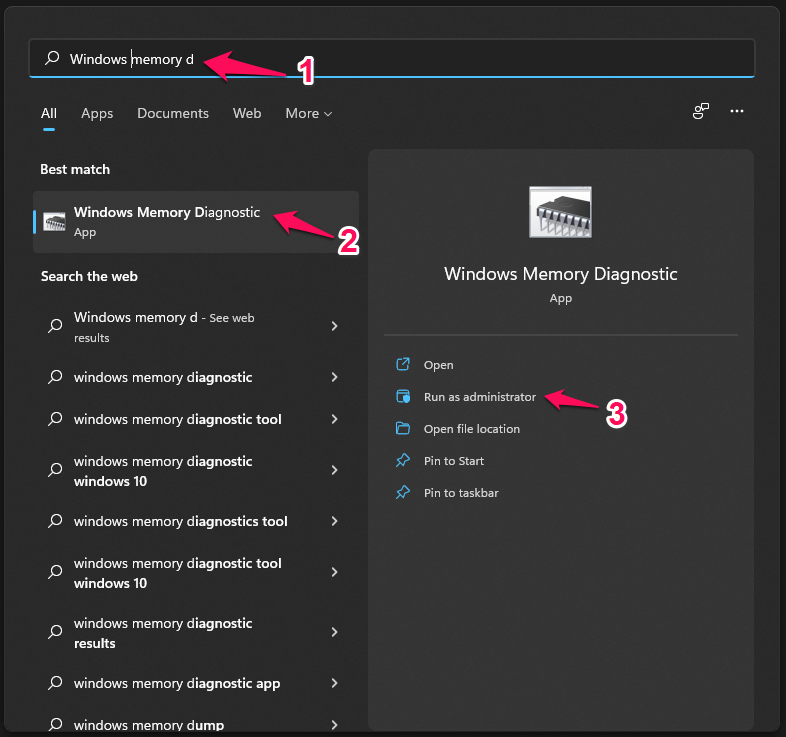
1. Open the search bar, then open “Windows Memory Diagnostic” too.
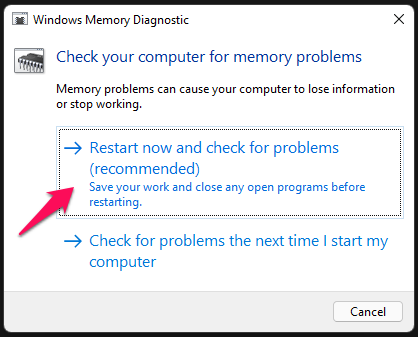
2. Click on the “Restart now and check for problems” option.
3. The first test begins, and you should wait patiently.
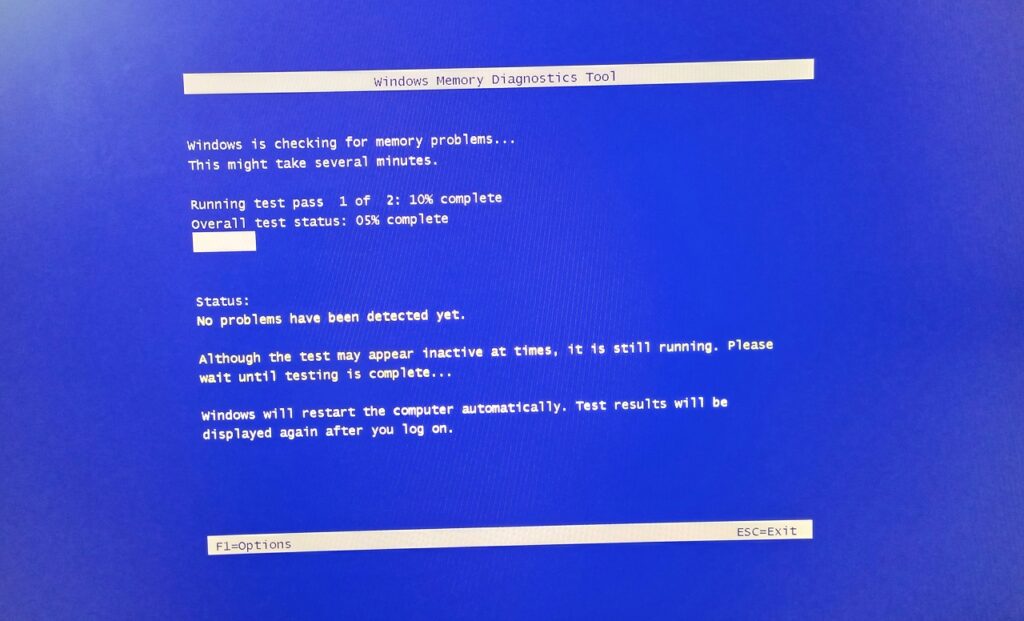
There are two tests conducted during the 45 minutes scanning period.
4. The memory modules have completed the second test without a problem.
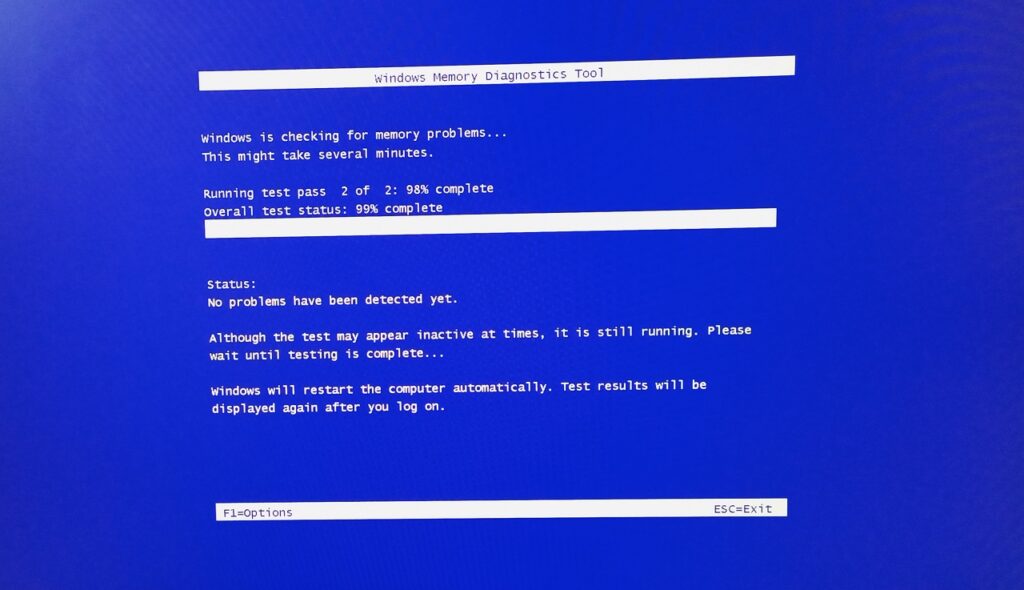
5. Windows Memory Diagnostic could not find any problem.
Your PC will restart when the scanning process finishes, and it will provide information in the “Notification” center. I apologize for not capturing the result at the end, and it will show up in the notification center.
Remove Recently Added Components
Many desktop and laptop owners connect multiple devices and upgrade the components. I have upgraded laptop storage drives in the past. I have upgraded multiple components in Windows desktop such as storage drive, GPU, RAM, and more.
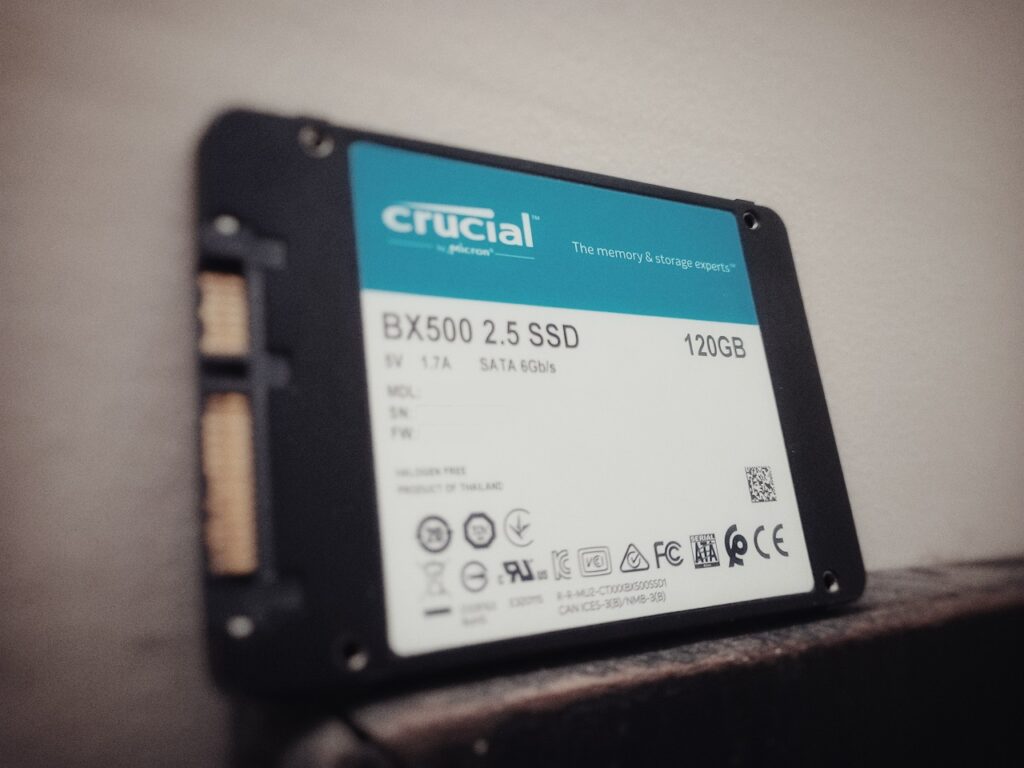
You should remove recently added components from the machine and find out if the problem is persisting. Remove the upgraded storage drive and if you have installed Windows on the new SSD then try to run Linux instead of in the USB drive. Nowadays, gaming mice come with dedicated programs to control them, and you should remove the peripherals to eliminate further suspects.
Uninstall Recently Updated Drivers
Right now, my Windows 11 gaming machine is crashing due to unwanted driver updates. Allow me to show you how you can uninstall the drivers from Windows Update.
1. Press Windows Key and me to reveal the “Settings” app.
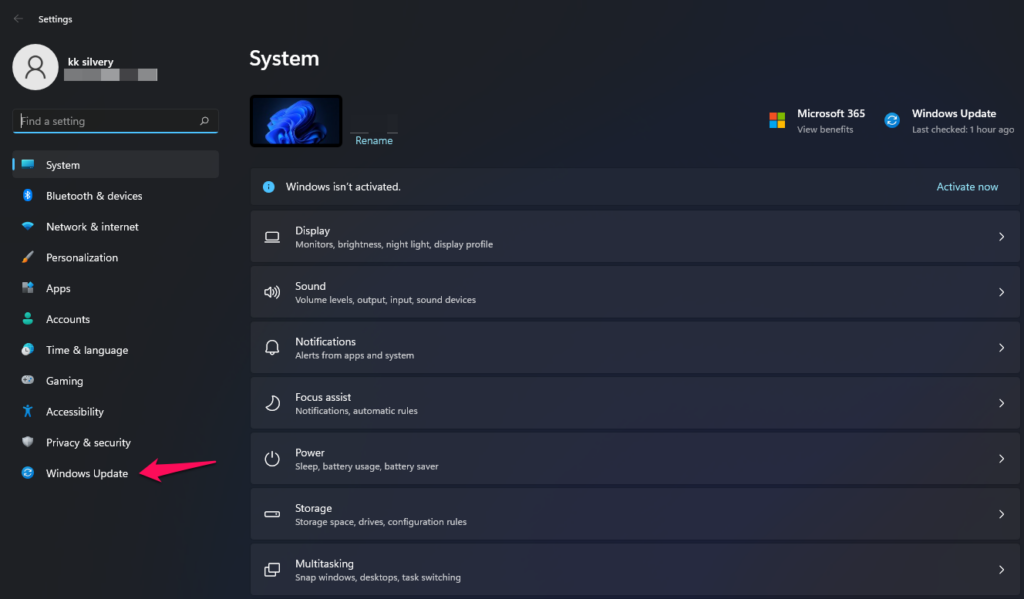
2. Click on “Windows Update” to view more.
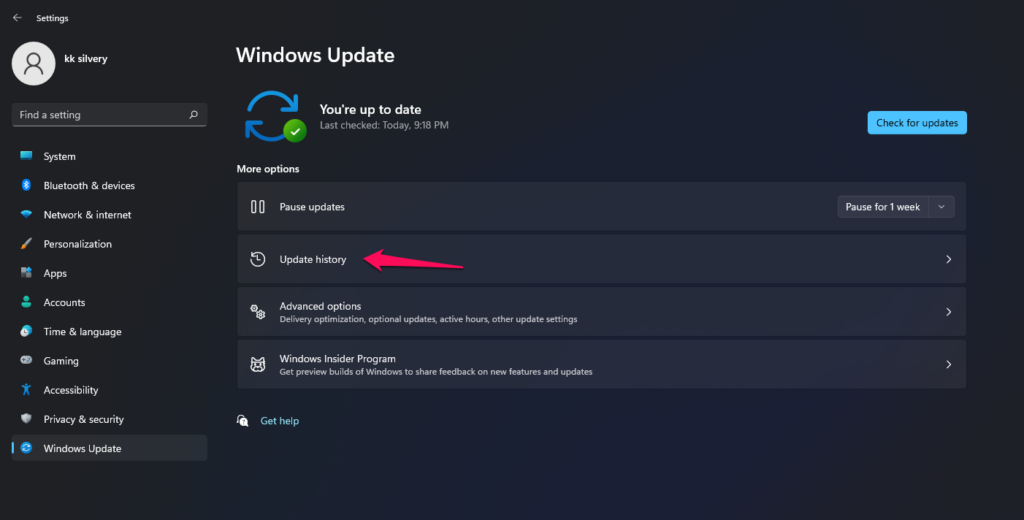
3. Click on the “Update History” option.
4. Click on “Driver Updates” from the section.
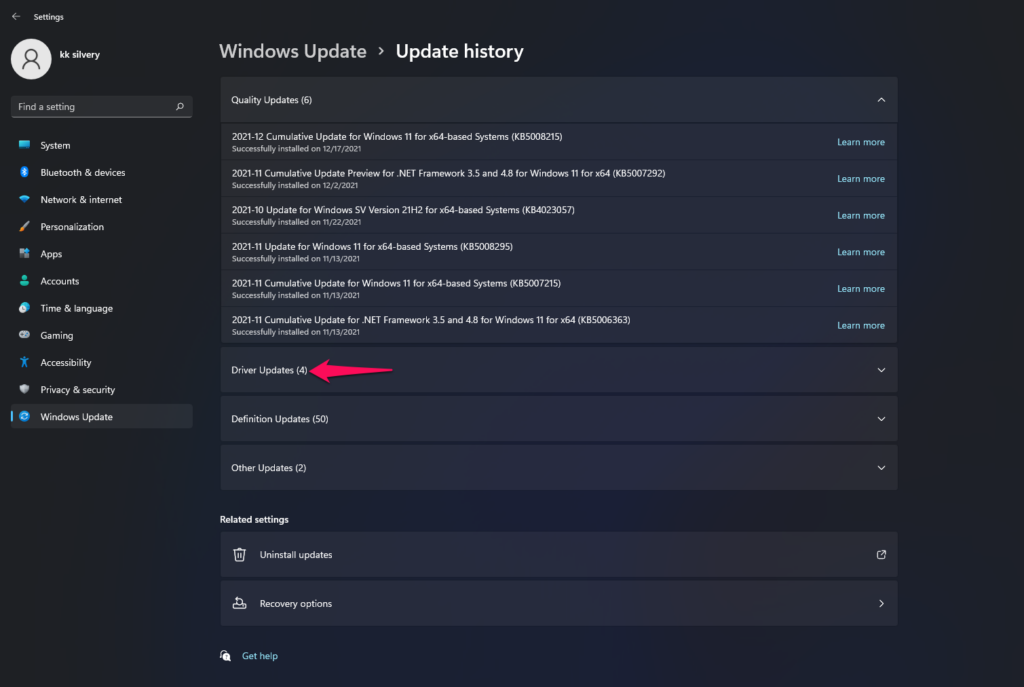
5. The driver list is available here, and note down the name & version.

6. Open “Device Manager” and find the device here.
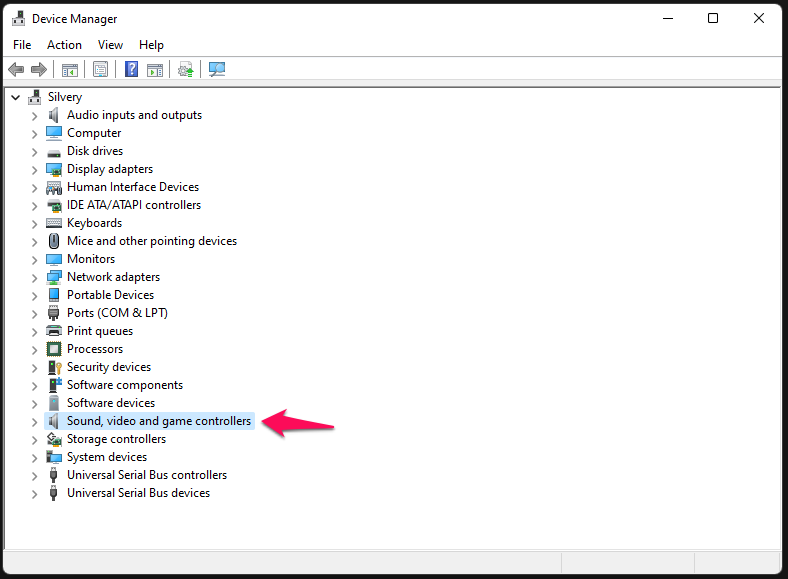
I selected “Sound, video, and game controller” since the audio device is manufactured by a Realtek vendor.
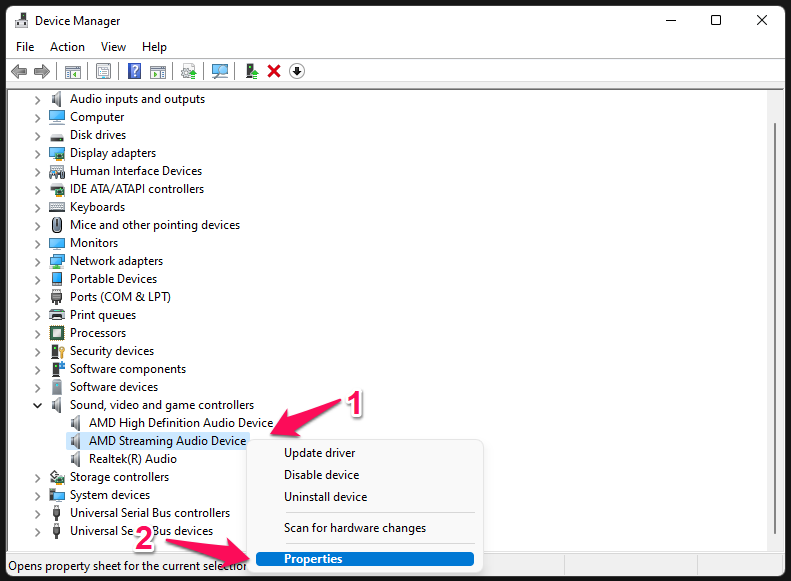
7. Select the audio device and choose “Properties” from the options.
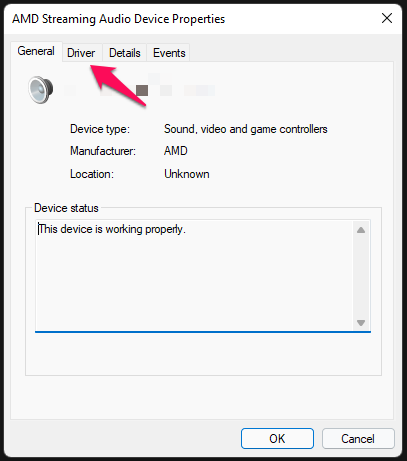
8. Click on the “Driver” from the top menu.
9. The updated drivers are matched.
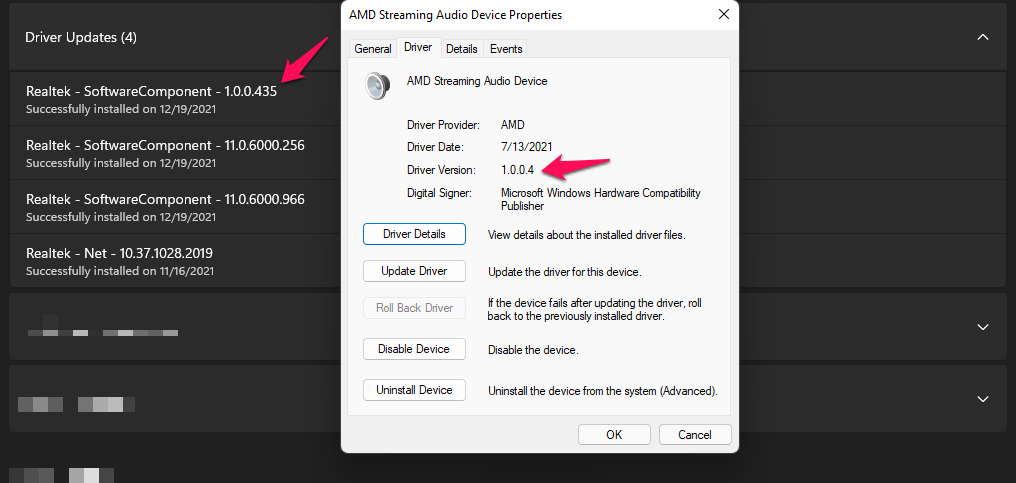
Of course, I wouldn’t uninstall it because it’s part of the AMD Radeon Software. I wanted to show you how to find the latest drivers that were updated from the “Windows Update” service.
By the way, I would reinstall an earlier version of AMD Radeon Software or GPU drivers.
However, you should take time and find which driver was updated, then remove it accordingly.
Uninstall Windows Quality & Features Updates
There is no way to uninstall the quality updates and feature updates in Windows 11/10 machine. But I will show you the official method to uninstall the updates and feature updates in the 11th and 10th editions.
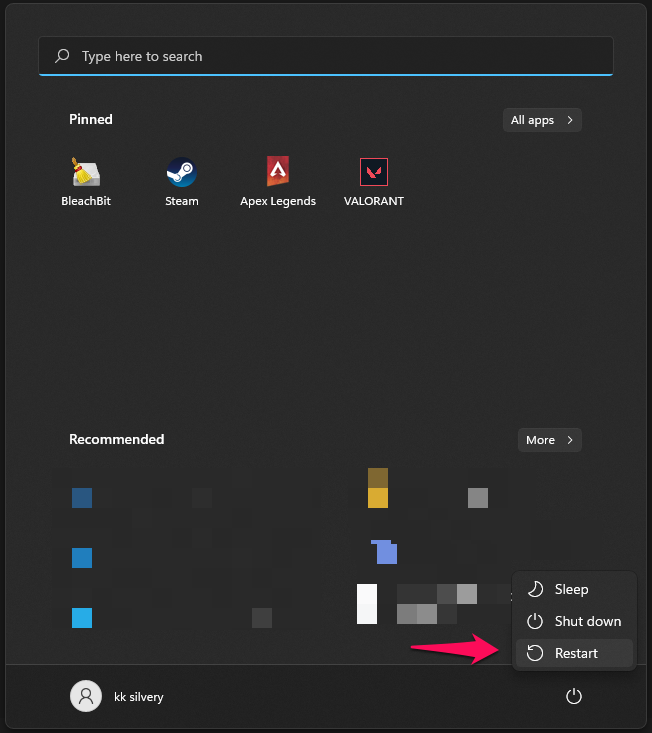
1. Restart Windows PC while holding the “Shift” key.
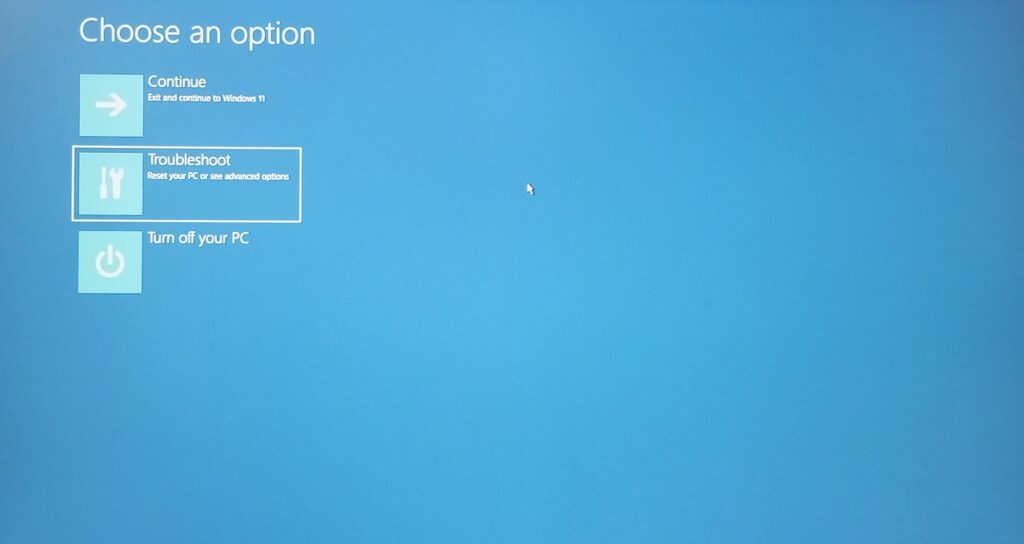
2. Click on “Troubleshoot” in the Recovery Options.
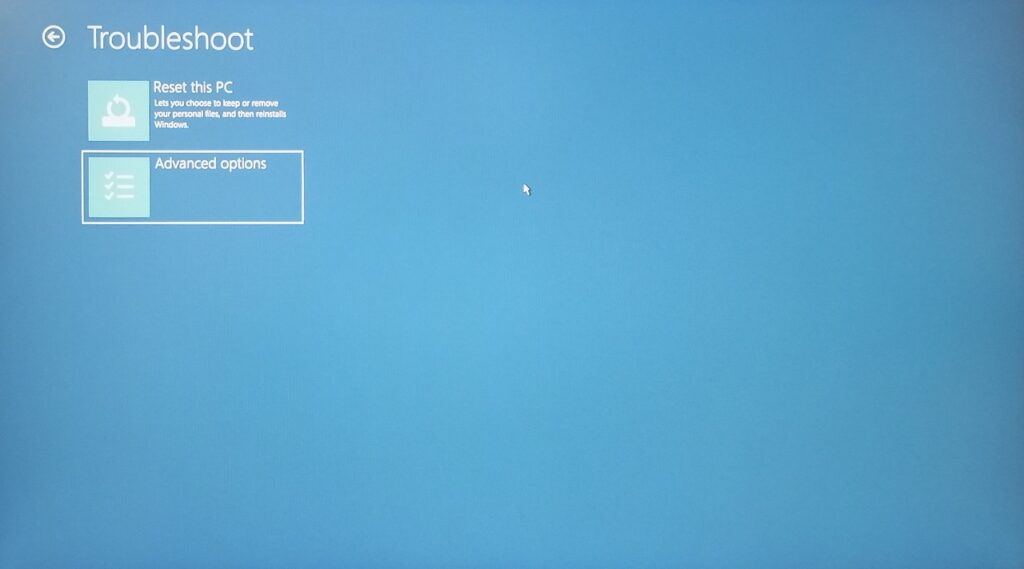
3. Click on “Advanced options” to continue.
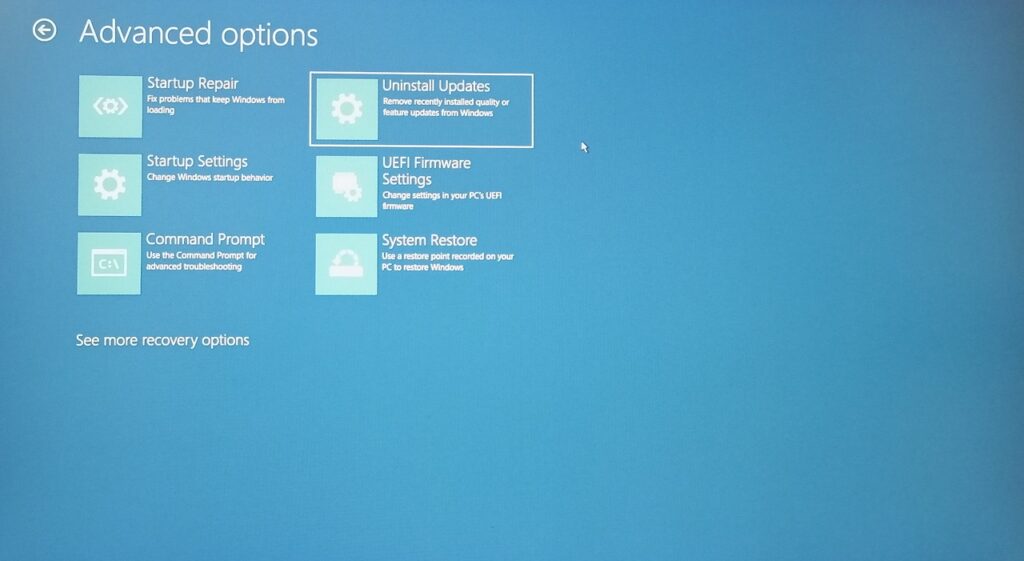
4. Choose “Uninstall Updates” to view more options.
5. Select the “Uninstall the latest quality update” option.
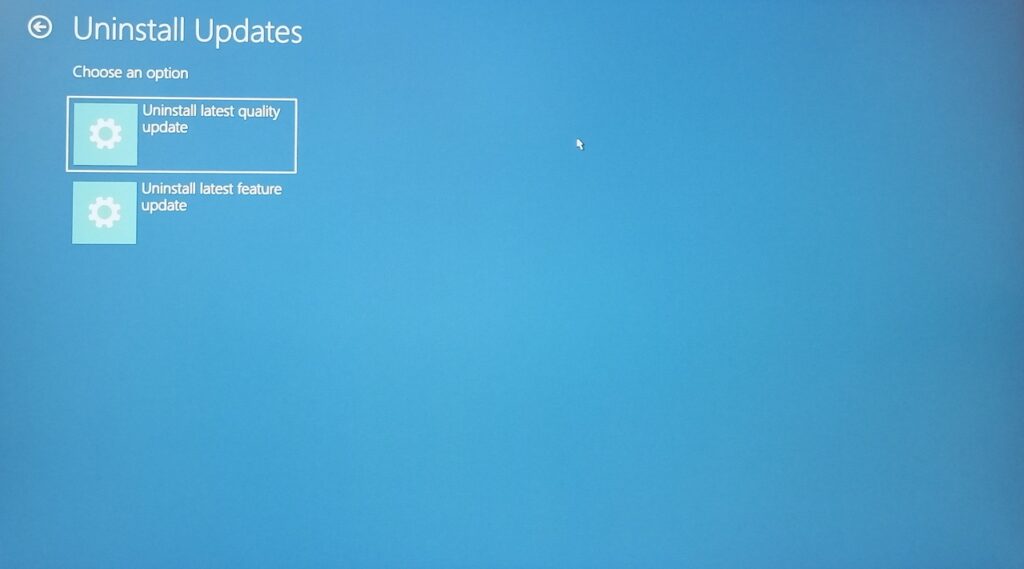
6. Click on the “Uninstall feature update” button and finish removing it.
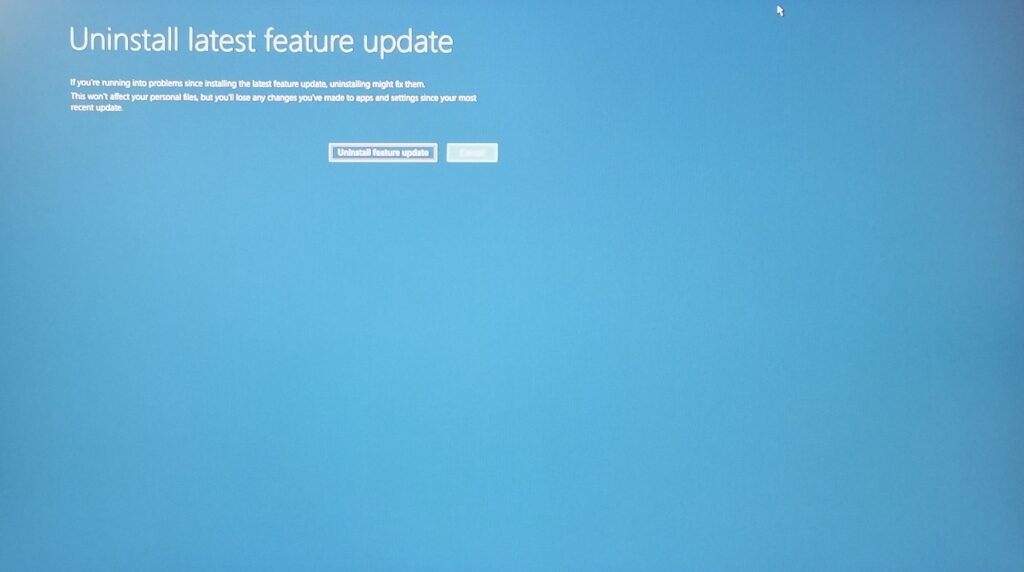
Go back and choose the second option.
7. Select the “Uninstall feature update” button.
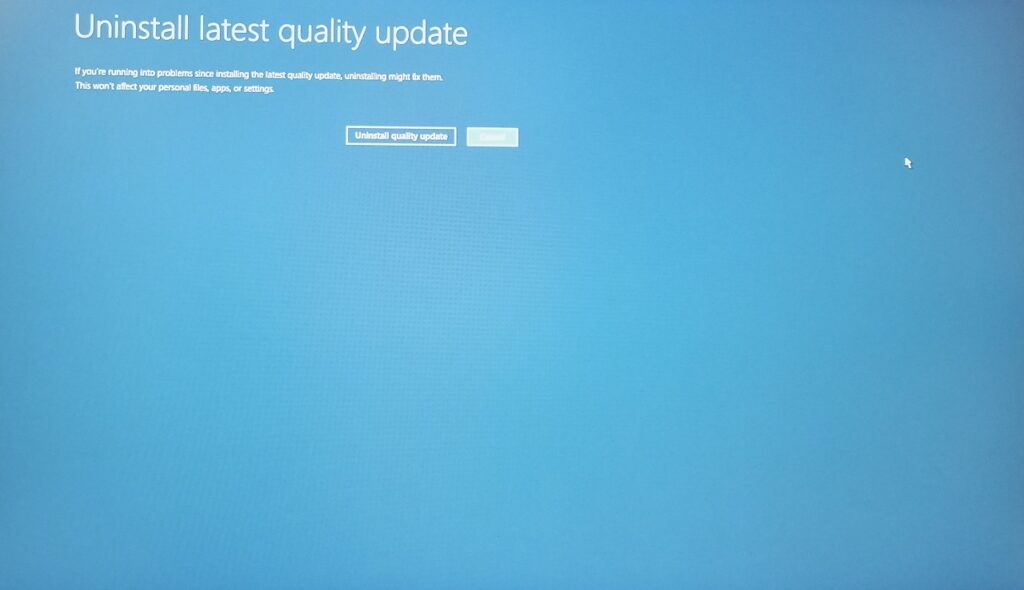
This is how you can remove Windows core updates from the system.
Restore System to Earlier Point
Is your Windows PC not starting normally? You can restore the operating system to an earlier point, and I will show you how to do it in the recovery mode.
Your PC will end up on the recovery options if the software is not booting up normally.
1. Restart Windows PC while holding the “Shift” key.
2. Click on “Troubleshoot” in the Recovery Options.
3. Click on “Advanced options” to continue.
4. Select the “System Restore” option.
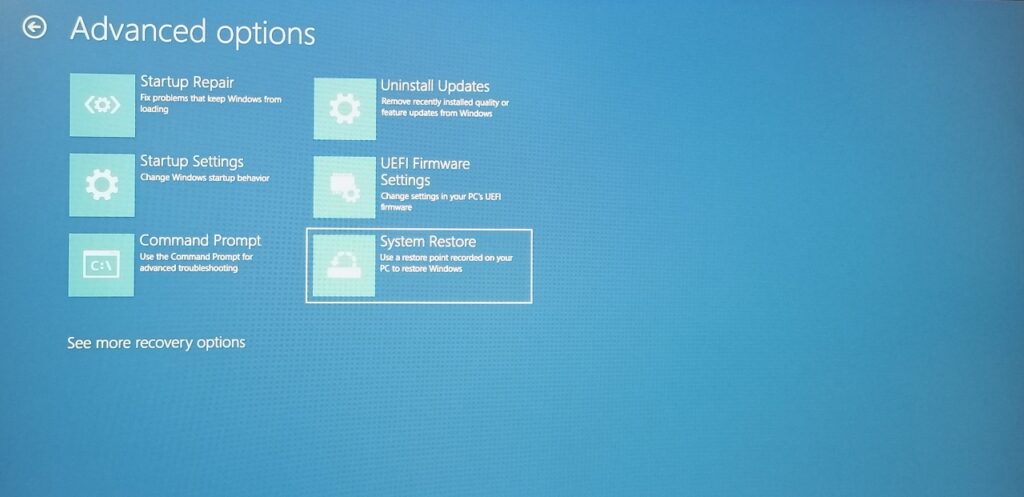
5. Click on “Next” to view restore points.
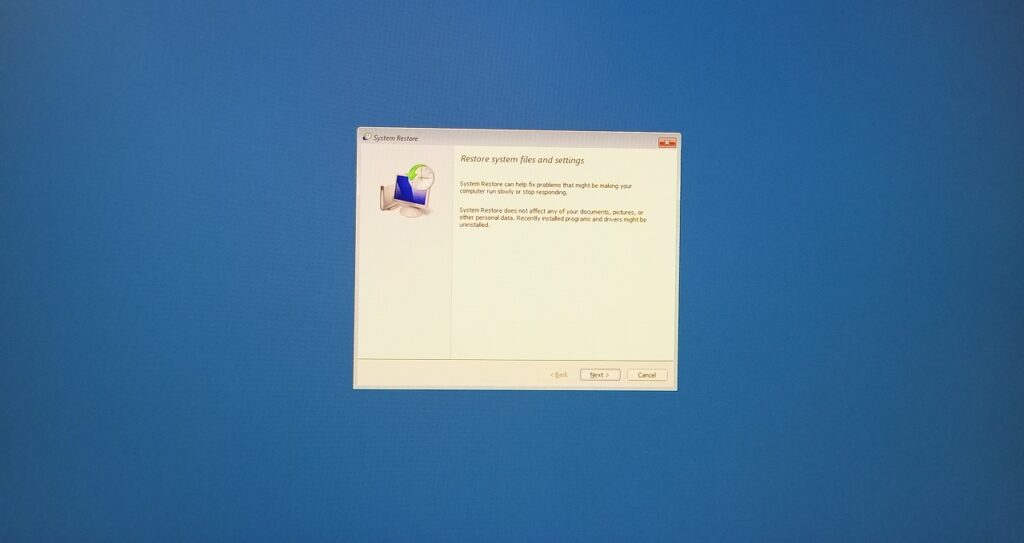
6. Select one restore point that had no problems.
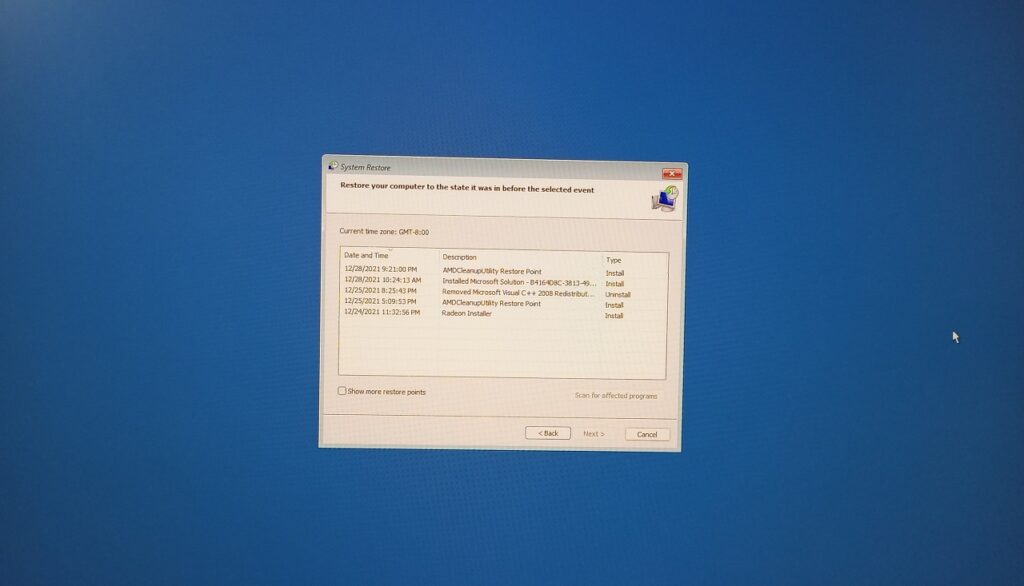
Note: Take your time to review the restore points.
Select the restore point and click on “Next” to continue.
7. Click on “Finish”.
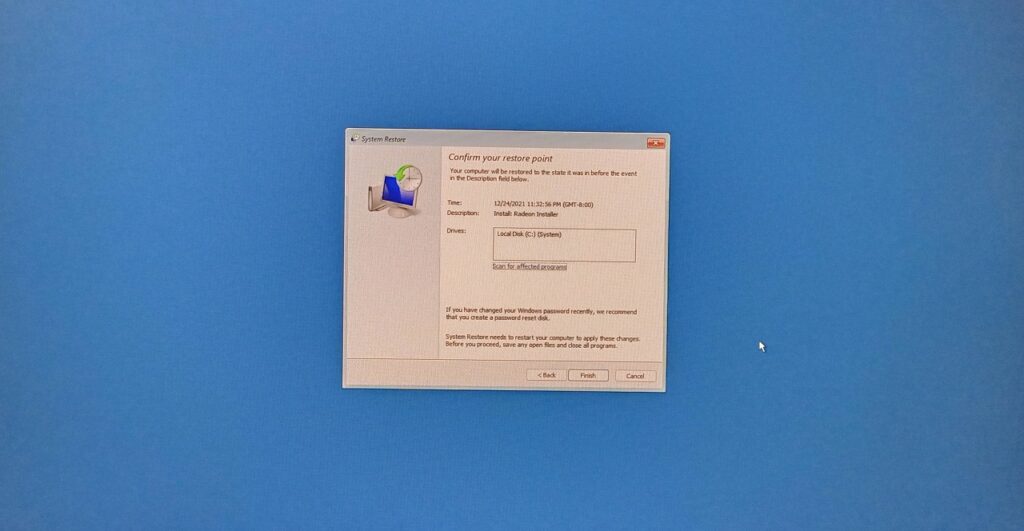
The software will restart, and it will begin restoring the system to an earlier point. Sit tight and wait patiently for the entire restoration process to finish smoothly.
Pirated Software
Remove pirated Windows, programs and tools from the machine.
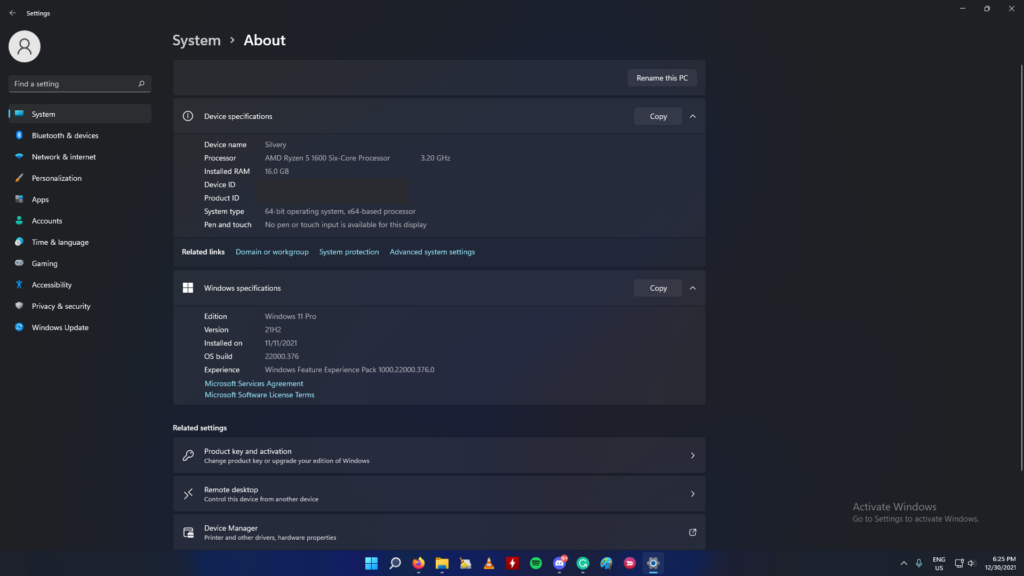
They contain some form of threat in it and I can’t give you exact information on it. But, I have learned that there is no such thing as pirated software that is free from threats. Pirated programs are the primary source for the privacy invaders to spread malware in the storage drives.
Bottom Line
Blue Screen of Death is a serious problem in Windows 11 machines, and you should release multiple patches for a year or so for Microsoft to fix various issues. You can go back to Windows 10, which is supported till 2025, so I don’t see why you have to stick with the unstable 11th edition. Book an appointment with the service center and don’t try to solve the hardware-level issues. In the comment section below, let us know how you solved BSOD in Windows.
Also Read
