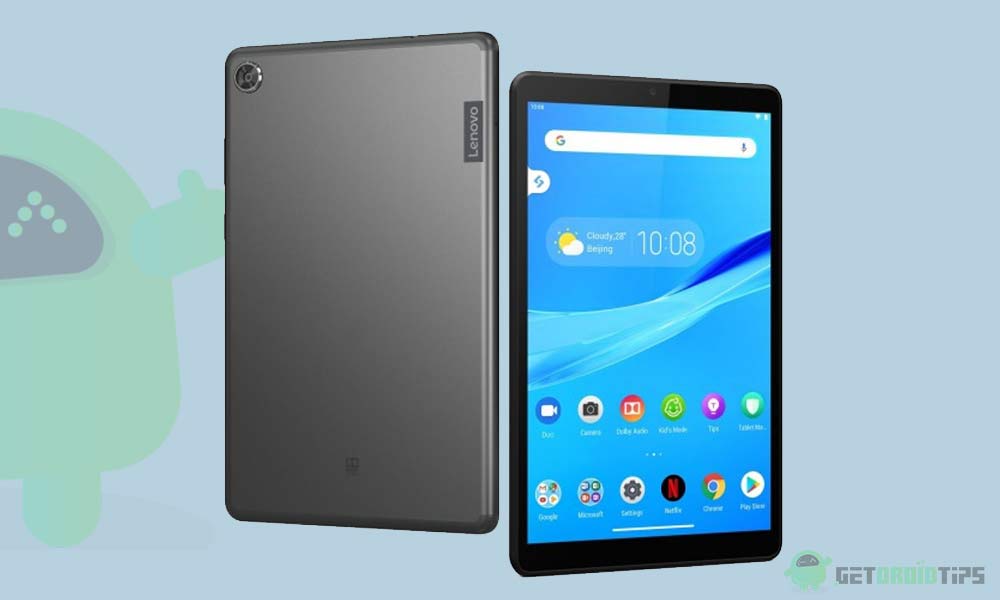
In this tutorial, we will guide you on how to install the firmware flash file on Lenovo TB-7306F. The device came out of the box with Android 10 Q and powered by MediaTek. If you are someone who is looking to fix your device’s common issues like boot loop, remove pattern lock, bypass FRP lock, repair IMEI, or extracting DA (download agent) file, then this guide is for you.
To install the firmware flash file on Lenovo TB-7306F, you need to download the software called SP Flash tool (also known as Smartphone flash tool). This method simple and easy. We have also added video and step by step tutorial to make things easier to flash the firmware file.

Page Contents
Advantages of Stock ROM:
Here are the answers to why you need to download and save the Lenovo TB-7306F Stock ROM flash file on your computer.
- If your device is dead, you can unbrick using the Stock ROM file
- You can fix or repair the IMEI on your device using DB files from Stock ROM
- Remove any malware or Adwares from Lenovo TB-7306F
- You can fix the boot loop issue on Lenovo TB-7306F
- Fix Unfortunately, the app has stopped error on Lenovo TB-7306F
- Fix Network related issue
- Patch Boot image to Root using Magisk: Mediatek Guide or Spreadtrum Guide
- You can unroot Lenovo TB-7306F
- To Reset or Remove FRP on your device: Mediatek FRP Guide or Spreadtrum FRP Guide
- Restore Lenovo TB-7306F back to Factory State
- Bypass Pattern lock on your device
How to Flash Lenovo TB-7306F Firmware File
Before installing the Stock ROM on your Lenovo TB-7306F, you should download the firmware flash file. Then download and install the USB Drivers and flash tool on the PC as well. Once you’re done with these, you can proceed to the steps below. But let’s take a quick look at the Stock Firmware importance and firmware details below.
Pre-Requirements:
- Supported device: Lenovo TB-7306F
- Make sure to charge your device more than 50%
- You need a PC or Laptop with a USB cable.
- Take a complete backup of your android phone
- Download Drivers and Tools: VCOM drivers, SP Flash Tool, and Lenovo USB Drivers
Download Flash Files
| Software Details | Download Link |
| Flash File Name: TB-7306F_S000022_210301_ROW.zip Android Version: 10 Q |
Download Link |
Instructions to Install: via SP Flash tool
Disclaimer:
Now, without wasting any more time, let’s jump into the firmware installation steps below:
- Make sure you follow and download all the required files and flash tools on your PC.
- Open the flash tool exe file to open the SP Flash Tool User Interface
- Tap on the Download option and load both the download agent and the scatter text file in the scatter-loading section.
- Once you load the file, click the Download button
- To start the upgrade process of stock ROM on your Lenovo TB-7306F, you need to turn off your device and hold the Volume Down and Volume Up key together and Connect your Phone to PC/Laptop using USB Cable (Keep the Volume Down and Volume Up button until your computer detects the phone.)
- When the phone connects, your device will start upgrading the stock firmware
- Wait for a few minutes, If you see a green button on your flash tool which means the upgrading process has been completed.
- That’s it! You can reboot your Lenovo TB-7306F
That’s it, guys. We hope that you’ve installed the Stock Firmware on your Lenovo TB-7306F device successfully. Feel free to ask in the comments below for any queries.
