If we are to take about an Apple product and Microsoft, we’ll be talking about two different dimensions within the tech world. In contrast, transferring media between these two dimensions is difficult. Just because of the fact that they’re using two entirely different software concept, the process of transferring files between them is hard. But let’s see what you can do if you really need to transfer media between them.
Also Read
You’ve got plenty of videos on your iPhone or iPad and you need to transfer them to your Windows PC. This is possible, and one of the recent iTunes updates makes things much easier too. So firstly, update your iTunes to the latest version and then follow the guide below to make a successful transfer. Without any further ado, let’s see how to transfer videos from iPhone or iPad to Windows PC.
Also Read
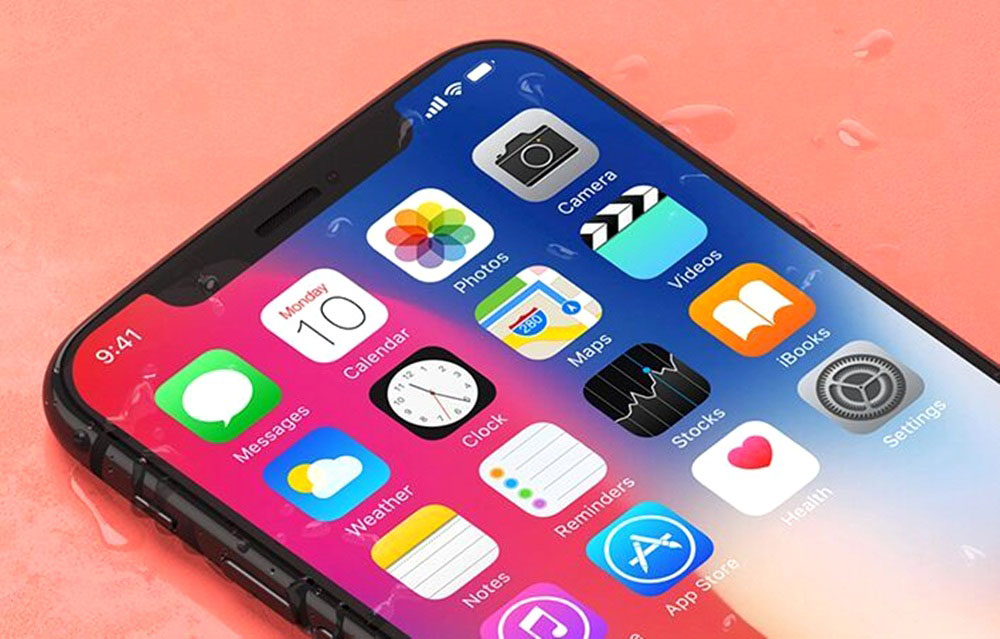
How to Transfer Videos from iPhone or iPad to Windows PC
- To start with, connect your iPhone or iPad to the Windows PC using the lighting cable
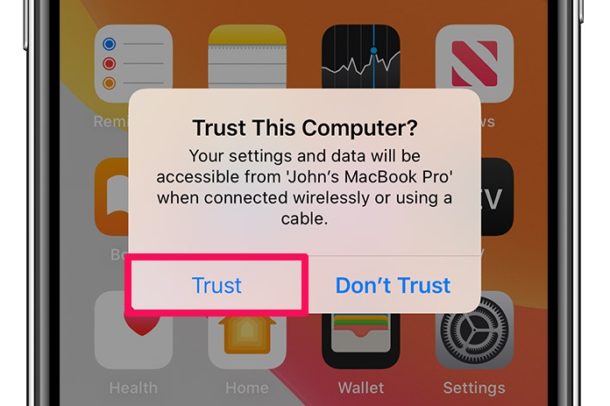
- You will get a prompt on your iPhone or iPad. Click Trust to proceed
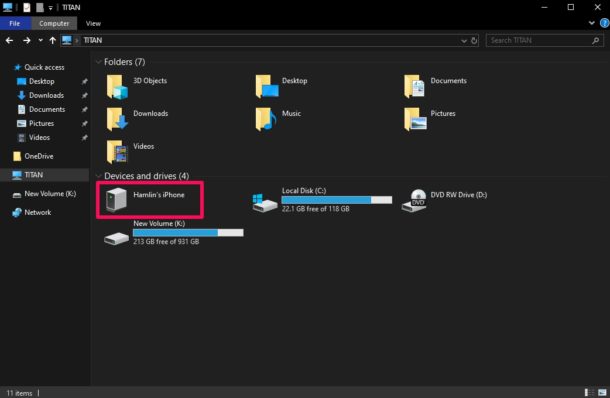
- Open the folder This PC/My Computer on your Windows PC
- Under Devices and drives, go into your iPhone or iPad
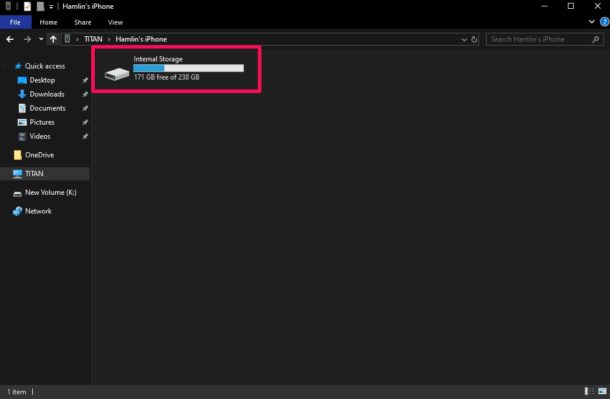
- Next, go into Internal Storage
- On the next screen, you’ll see a DCIM folder. Open it
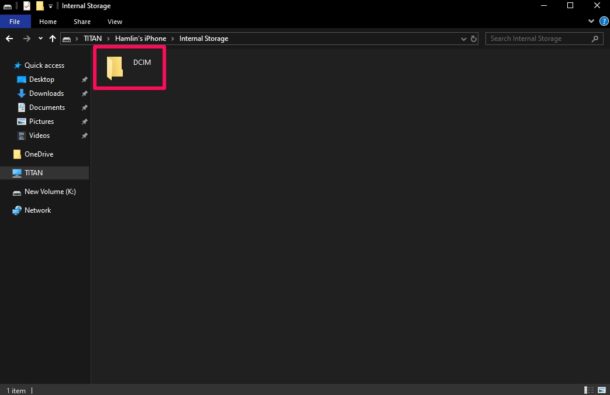
- You will see all the folders that contain your media here. If you are having a hard time browsing through all the videos that you want to transfer, simply type in the extension format of the videos in the search bar. These are .MOV, .MP4, .avi, etc.
- Simply select and copy the videos you want to transfer, open the location in your Windows PC that you want to transfer them to, and simply paste them there.
Summing up our guide, the basic thing you need to do to transfer videos from iPhone or iPad to Windows PC is an updated version of iTunes and a USB cable. After you update iTunes to the latest version, connect your iPhone or iPad to the Windows PC using the USB cable and follow the steps given above. The transfer will take time depending on the file size. That said, we hope reading the guide above has brought some valuable information and help to you. Please let us know by commenting down below if you have any further queries regarding the same.
Also, check out our iPhone Tips and Tricks, PC tips and tricks, and Android Tips and Tricks if you’ve got queries for it or want help. Thank you!
- How to Markup Screenshots on iPhone or iPad?
- How to Move Emails from Junk to Inbox in iPhone or iPad?
- Managing Your Outlook Tasks from Your iPhone or iPad
- How To Add Friends To Game Center In iOS 13/iPadOS On iPhone Or iPad
- Changing Passcode on iPhone or iPad
- How to Download Torrents Directly on your iPhone or iPad?
