In this guide, we will show you how to upload your photos and videos to Instagram right from your PC. This photo and video sharing social networking giant hardly need an introduction of any sorts. What initially started as just the platform to share your everyday moments has transformed into much bigger domain. Then with the introduction of Reels, the app has seen a further rise in its userbase. However, while everything well and good with the Instagram app, it’s the web service that suffers from a major drawback.
Also Read
Instagram Keeps Crashing on iPhone or Android | How to Fix?
How to Turn off Suggested Posts on Instagram
Can You Find If Someone Screenshots Your Instagram Story or Post?
What Happens If You Report Someone On Instagram
How To Permanently Delete Your Instagram Account (2023)
How To Save Instagram Story With Music?
Fix: Instagram This Story is Unavailable Message
Fix: Instagram Swipe Reply Not Working on Android or iPhone
How to Fix If Instagram Captions Not Showing Up
Dangers and Implications of Using Free Instagram Accounts Found Online
Instagram website or desktop app doesn’t have a native option to upload your photos or videos. While it may have done so to draw more people towards its app, however, might also be a cause of discomfort for many. If you have taken some pics via the digital camera, or if you edit your images via any PC software, then you will have to first transfer these photos to your smartphone before uploading them. This calls for unnecessary extra efforts. So how to counter this? Well, there exists a pretty nifty way to upload your photos to Instagram directly from your PC. Let’s check it out.

Page Contents
How To Upload To Instagram From PC
There exist two different methods through which you could carry out the aforementioned task. The first one is directly through the web browser whereas the second method utilizes a third-party app. we have shared the instructions for both these methods. Follow the one that meets your requirements.
Method 1: Via Web Browser
You could carry out the below steps across most of the web browsers. The below steps are executed on Microsft Edge (Chromium) and Google Chrome browsers, but you shouldn’t have any issues trying it out on other Chromium browsers as well. With that said, let’s get on with the guide to upload to Instagram via PC.
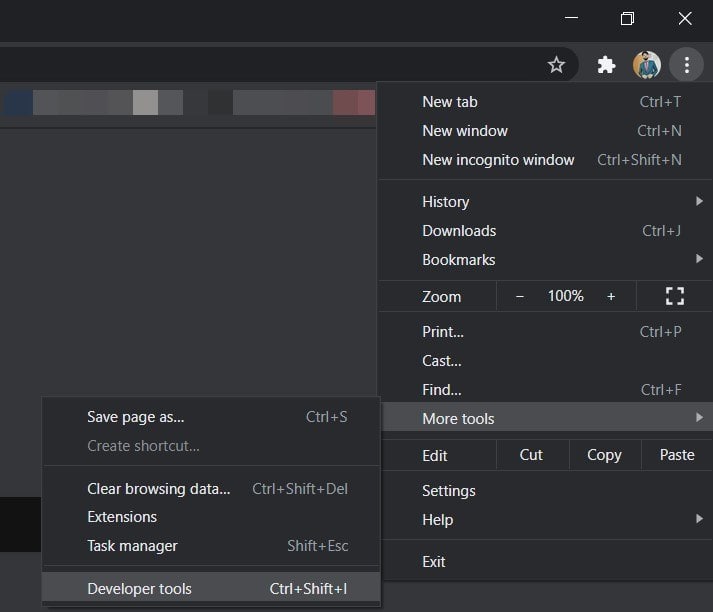
- Launch the browser on your PC and click on the overflow icon situated at the top right.
- Select More Tools > Developer Tools. You could also use the Ctrl+Shift+I shortcut keys for the same.
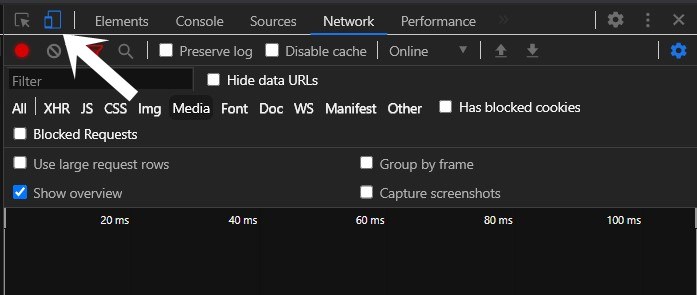
- Then click on the Toggle Device Toolbar icon situated at the right side of your screen.
- Once you do so, you should see the responsive option on the left. Click on it and select the device of your choice. Whatever device you chose from the drop-down, the window will adapt to its screen size.
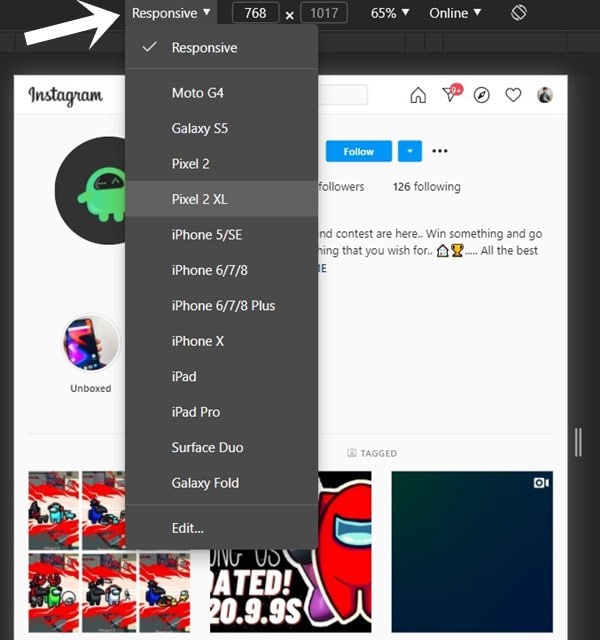
- After you have made the selection, refresh the browser once, and that’s it.
- You should now see the plus icon at the bottom bar. Click on it, browse to the desired media file that you need to upload, and hit OK.

So this was one way of uploading to Instagram via your PC, let’s turn our attention towards the next method.
Method 2: Via Third-Party App
If you wish to take a slightly easier route that doesn’t involve the use of developer tools, then you might have to look for a third-party app. In this regard, Bluestacks is the first name that comes to our mind. For the unaware, this is an emulator that allows you to run Android apps on Windows and macOS platforms. Since it utilizes the Android ecosystem, the app running on your PC would be along the lines of how you get on your smartphones. So without further ado, let’s get on with the guide to upload to Instagram via PC.
- To begin with, download and install BlueStacks on your PC.
- Go through the initial setup, select your preferred language, and click Continue.
- It will bring up the login screen, type in your Google Account credentials, and hit Enter.
- The Google Play Store should now be available on the Bluestack’s home screen.
- Open it, search for Instagram, and then hit the Install button.
- Once the installation is complete, open it from the App Drawer.
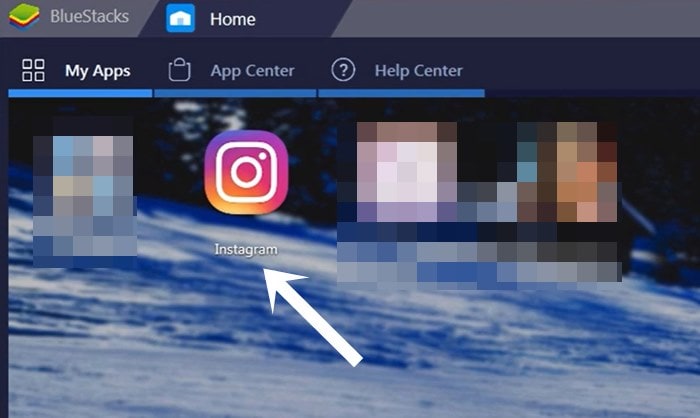
- As soon as you open the app, it will adapt to the interface of a portrait smartphone.
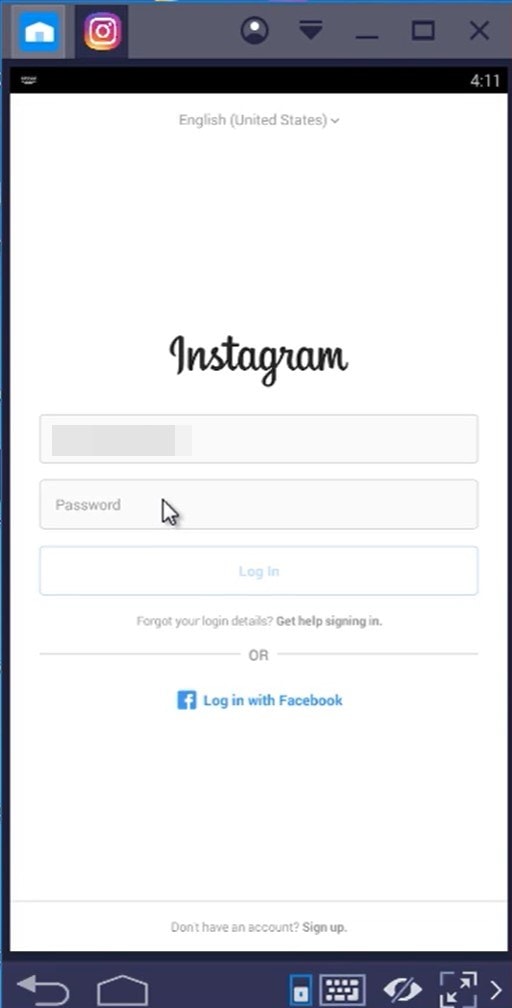
- Login to your account and you should then see the Plus (upload) icon at the bottom bar.

- Tap on it, select ‘Gallery’. Then scroll to the very end and select ‘Other’ > ‘Pick from Windows’.
- Browse to the photo of your choice, select it, and hit Open. That’s it. The desired image or video will now be uploaded.
With this, we conclude the guide on how to upload to Instagram from PC. We have shared two different methods for the same, do let us know which method you ultimately settled for. Rounding off, here are some other useful iPhone Tips and Tricks, PC tips and tricks, and Android Tips and Tricks that you should check out.
Also Read
