In this tutorial, we will show you how to unlock the bootloader and install TWRP Recovery on Galaxy Note 20/ Note 20 Ultra. The recent offering from the South Korean giants has definitely upped the ante when it comes to the flagships. The huge 6.9-inch screen has a 1440 x 3088 pixel-resolution with a 120Hz refresh rate. Under the hood, you get an octa-core Exynos 990 (7 nm+) chipset for the Global variant. The USA variant has an octa-core Qualcomm SM8250 Snapdragon 865+ (7 nm+) chipset.
Likewise, whereas the Global build comes with Mali-G77 MP11 GPU, the USA variant has Adreno 650. With two variants of 256GB 8GB RAM, 512GB 8GB RAM, the device comes with the latest One UI 2.5 based on Android 10. Sporting a triple rear camera setup (108+12+12)MP, it could record videos all the way up to 8K@24fps. On the front, you get a single 10MP camera with 4K@30/60fps video recording capabilities.
Supporting all these features is a 4500mAh battery with 25W fast charging. No doubt it beholds a pretty impressive specs sheet. But this is just the beginning. You could further explore the device’s uncapped potential once you unlock its bootloader and install the custom recovery. And in this guide, we will help you with just. So without further ado, here are all the required instructions to unlock the bootloader and install TWRP Recovery on Galaxy Note 20/ Note 20 Ultra.
Also Read
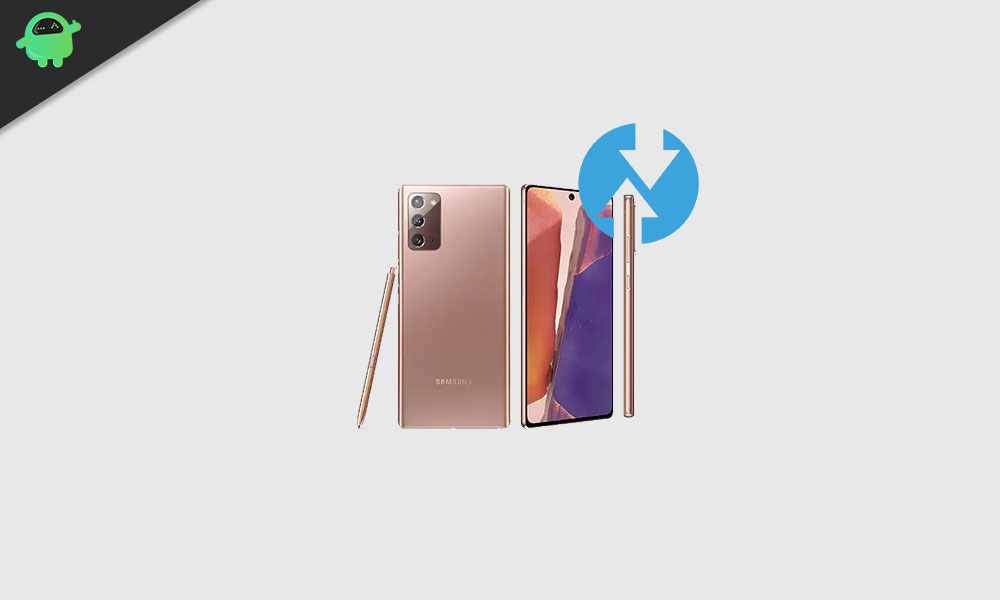
Unlock Bootloader and Install TWRP Recovery on Galaxy Note 20/ Note 20 Ultra
So one general question that might come to your mind is why does one need to try out a custom-built recovery when the device already has a stock one. Well, the stock recovery is limited in capacity and could only execute a few tasks like formatting device and ADB update. On the other hand, a custom recovery like TWRP brings with itself a plethora of goodies. To begin with, you could easily flash IMG and ZIP files and take a complete Nandroid backup of your device.
Also Read: Install Modified Custom ROM on Galaxy Note 20 / Note 20 Ultra (5G)
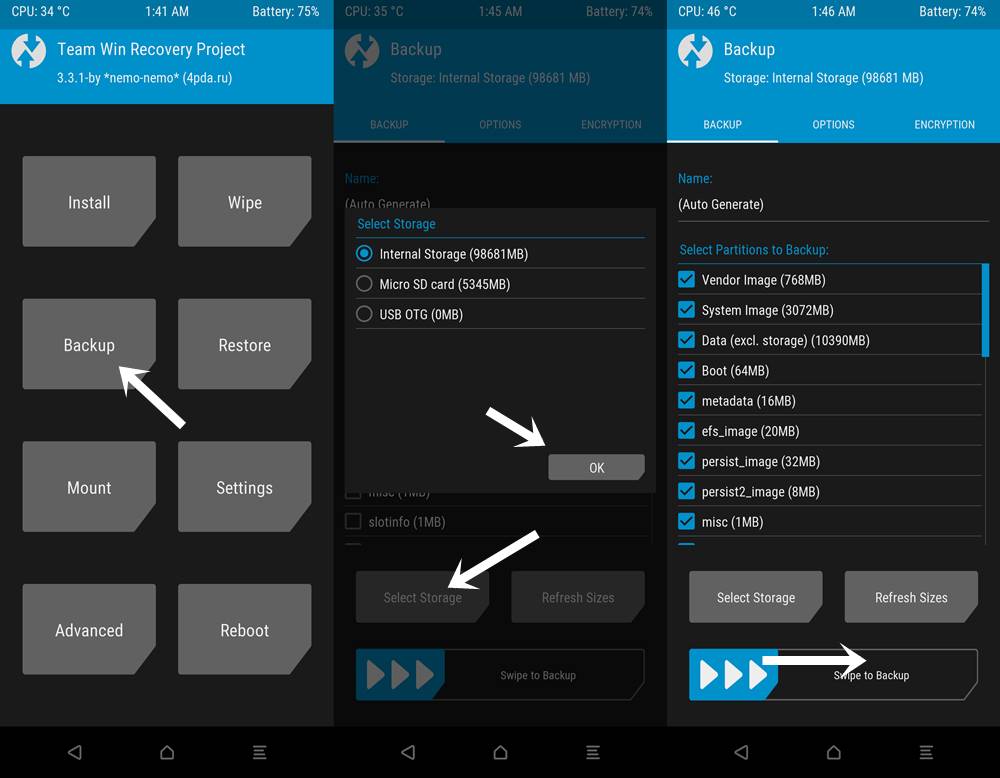
Likewise, you could also flash Custom ROMs, transfer files via ADB sideload feature, connect USB OTG via its MTP feature and the list could go on. The only prerequisite that is needed is that your device needs to have an unlocked bootloader. In this regard, this guide on how to unlock the bootloader and install TWRP Recovery on Galaxy Note 20/ Note 20 Ultra will help you out. But before we list out the instructions, there are a few very important points worth mentioning. Please go through them before proceeding with the steps.
Warning
Important Points to Keep in Mind
- It is only compatible with the Exynos variant. In no way it is compatible with Snapdragon variants including but not limited to American(U/A/T/P/V), Chinese(0/8/6), Hong Kong(0), Japanese(SC-*), Canadian(W) variants.
- KNOX will be tripped once you flashed custom binaries to your phone and your warranty might become null and void as well.
- Samsung Firmware OTA (aka System Updates) will no longer work once you flashed custom binaries.
- All apps that use KNOX like Samsung pay, Secure Folder, and maybe more will no more work
- While the recovery is in a stable state, yet it is an unofficial one.
- Furthermore, there are also MTP and Encryption Bugs. ADB PUSH works when you disable MTP in TWRP Mount Settings.
Also Read
Prerequisites
- Create a complete device backup. This is because the process will wipe off all the data from your device.
- Download the TWRP for the Note 20/Note 20 Ultra(Exynos variants):
- TWRP Recovery 3.4.0: Download Link. Credits to XDA Recognized Developer Mentalmuso for this TWRP build.
- Likewise, download and install the ODIN Flash Tool on your PC. This will be used to flash this TWRP file onto your device.
- Next up, download the Encryption Disabler Zip file: Download Link
- If you wish to root your device, then download the Magisk Installer ZIP file.
These were the required files that need to be downloaded. Once that is done, you may proceed with the steps to unlock the bootloader and install TWRP Recovery on Galaxy Note 20/ Note 20 Ultra.
STEP 1: Enable OEM Unlocking
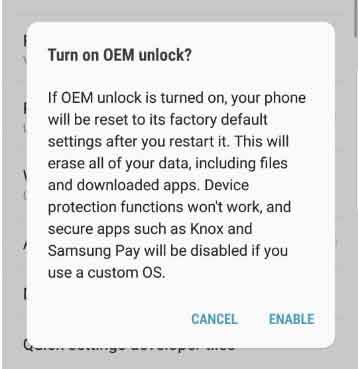
First and foremost, you will have to enable Developer Options and then OEM Unlocking. For that, head over to Settings > About Phone > Tap on Build Number 7 times > Go back to Settings > System > Advanced > Developer Options > Enable OEM Unlocking. For detailed instructions set on the said topic, check out our guide on USB Debugging and OEM Unlocking.
STEP 2: Boot Device to Download Mode
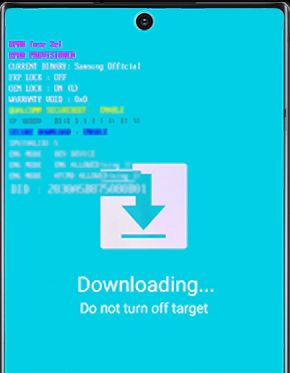
Now that the OEM Unlocking has been enabled, you will have to boot the device to Download Mode. To do so, power off your device. Then press the Volume Up and Volume Down buttons together and connect it to the USB cable, which should be connected to the PC. Your device will then boot to the Download Mode. At this point, you may release the pressed keys.
STEP 3: Unlock Bootloader
Once your device has been booted to the Download mode, you will see the option to Long press the Volume Up option to Unlock the Bootloader. Before starting this step, make sure you have taken a backup beforehand. When that is done, press the Volume Up button to unlock the device’s bootloader. You could also check out our guide on How to unlock the bootloader on Samsung Galaxy Phones.
Now reboot your device and make sure to connect it to the internet, otherwise, the “rmm prenormal” might be triggered. Then set up the device but don’t log into the Google Account or restore the backup. The reason for that is we will have to again format the data later on.
STEP 4: Flash TWRP via ODIN on Galaxy Note 20
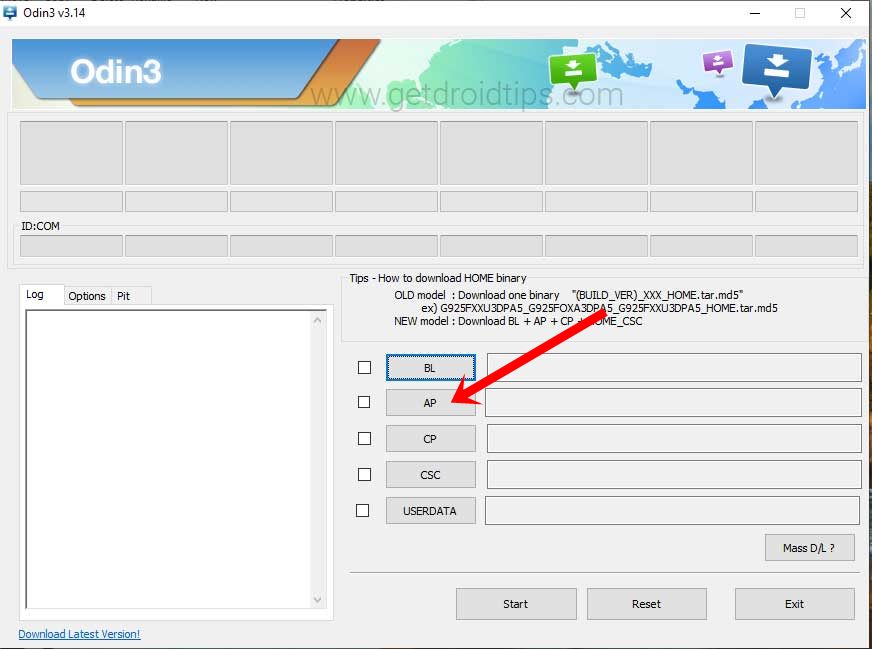
You will now have to install TWRP Recovery on Galaxy Note 20/ Note 20 Ultra. For that, reboot your device to the Download mode using the instructions given in STEP 2. Then launch the ODIN tool on your PC. Click on the AP button of the tool to add the TWRP Recovery .tar file.
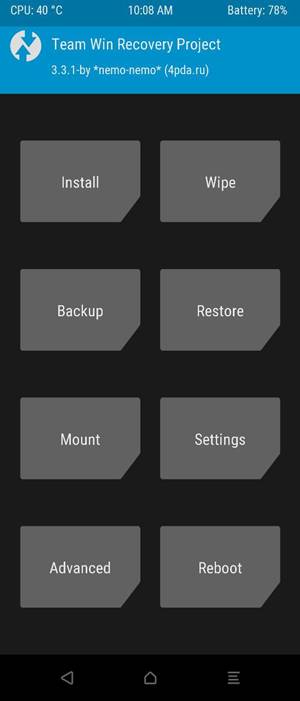
Then click on the Start button and the flashing will then begin. Also, at this point, keep pressing and holding the Vol Up + Power button while Odin is flashing the TWRP Recovery. Do so until your device is booted to the recovery. Once your device boots to TWRP, you may release the buttons.
STEP 5: Format Data
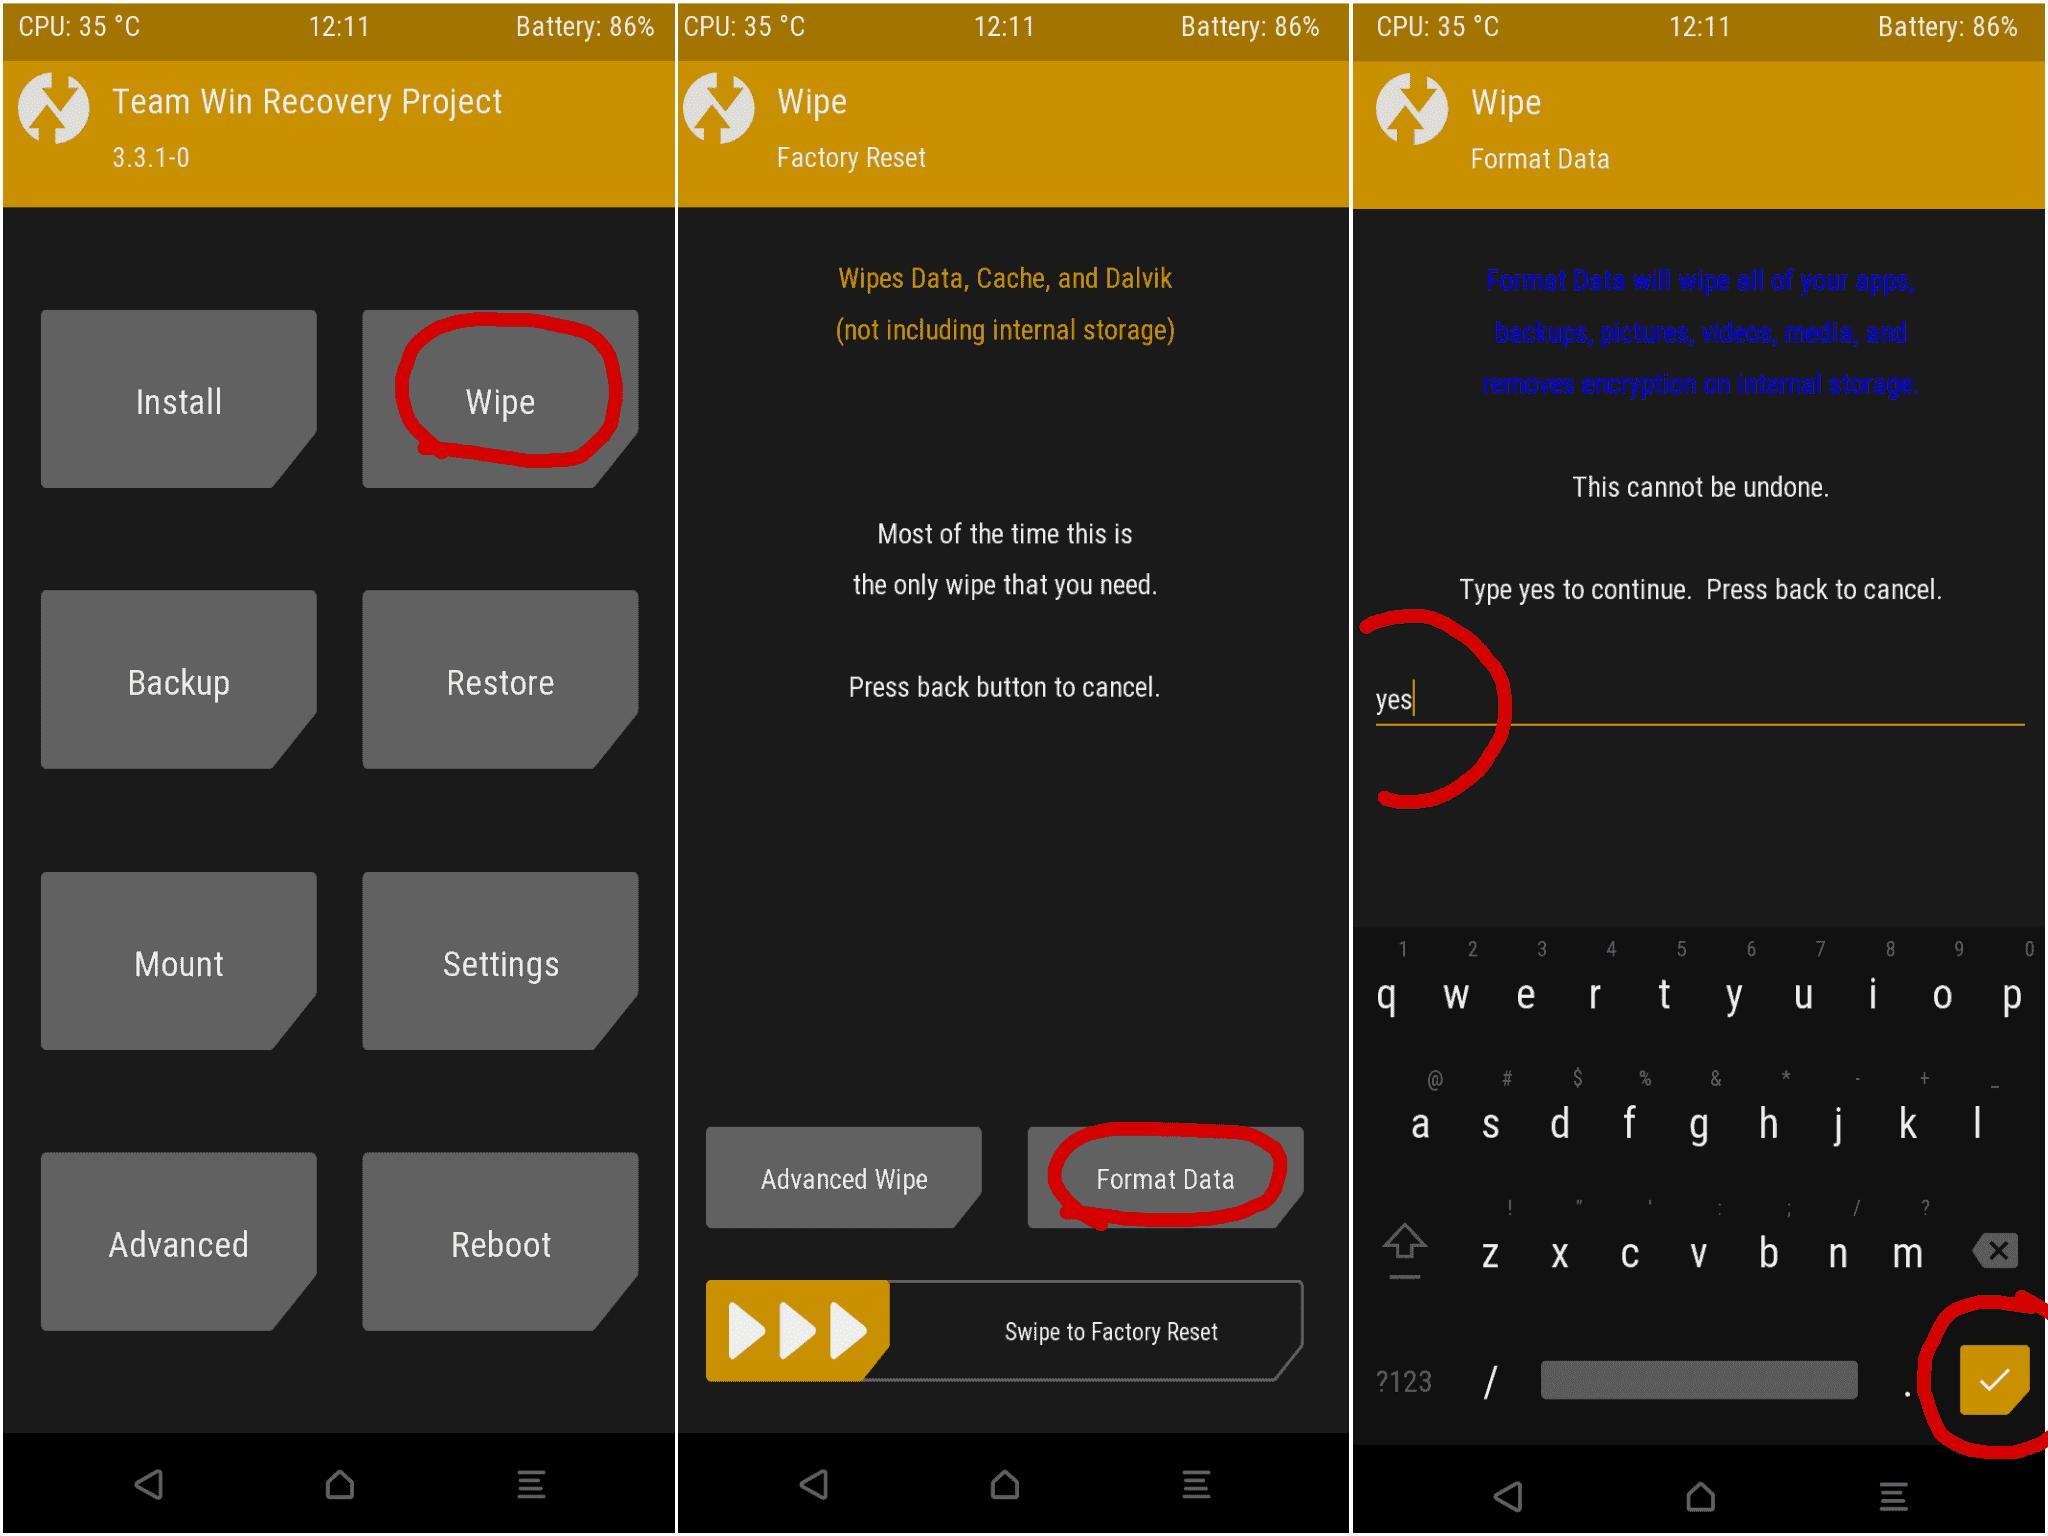
At this point, you will have to format data onto your device. So from the TWRP home screen, go to Wipe and tap on Format Data. Then type in YES and tap on the tick mark situated the bottom right. The formatting process will now begin and should take a couple of minutes, at max.
STEP 6: Disable Encryption
Next comes the turn to disable the encryption. For that, head over to Install, navigate to the Encryption Disabler ZIP file, and perform a right swipe to flash it.
STEP 7: Flash Magisk
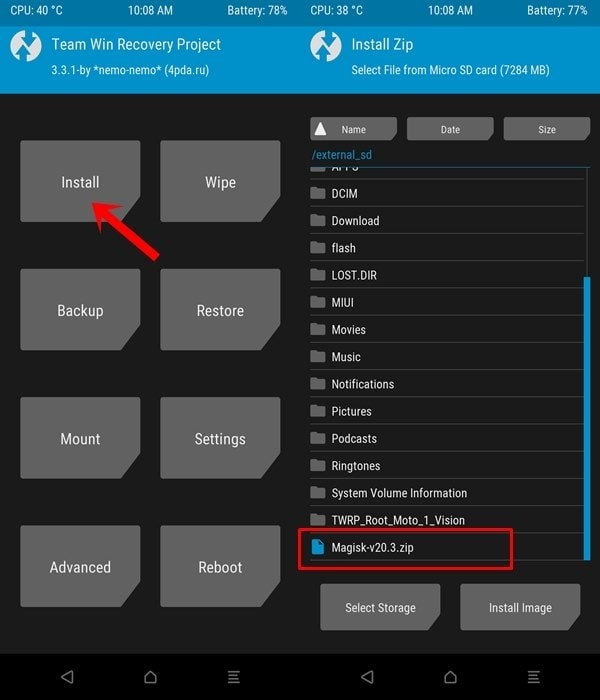
Along the same lines, you could root your device as well. For that, head over to Install and select the Magisk Installer ZIP file. Then perform a right swipe to flash the file.
STEP 7: Reboot to System
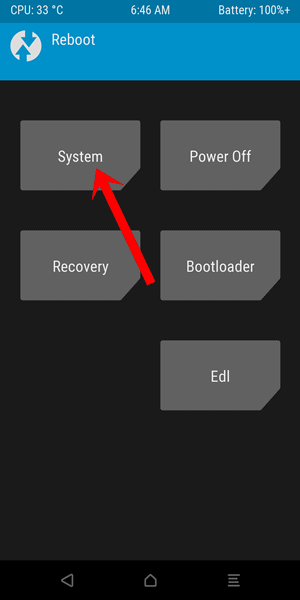
When you have flashed all the files, you could now reboot your device to the Android OS. For that, go to the Reboot option of TWRP and tap on System. Your device will now boot to the Android OS.
With this, we conclude the guide on how to unlock the bootloader and install TWRP Recovery on Galaxy Note 20/ Note 20 Ultra. Do keep in mind that the first boot might take up some time, there is nothing to worry about. Furthermore, you will also have to set up your device from scratch as the data has been wiped from your device. Apart from that, if you have any other queries, do let us know in the comments section below. Rounding off, here are some iPhone Tips and Tricks, PC tips and tricks, and Android Tips and Trick that you should check out as well.
Source: XDA

Great guide thank you. Is there a way to relock the bootloader and enable software updates? If so, how? I did dr katans method but it seems the phone radio is dying on it, maybe because it’s using the chinese software? Not sure. But it seems the phone radio is way better on the other now that wasn’t unlocked. Any help is appreciated thank you.